The Shirt Yoke and Placket Construction, Seam by Seam
The yoke is the panel across the back of a shirt's shoulders, and the plackets finish the shirt's openings: the front edge that carries the buttonholes, and the slit above each cuff. Each can be sewn several ways, and on a finished shirt many of those ways look the same. Where they do, leave the method to the factory. Your spec has to pin down the materials, the measurements and how the seams should look after washing.

Shirt yoke construction
On a dress shirt the yoke is cut twice from the same pattern, once for the outside and once for the inside. The back is sewn between the two layers in one seam, and the fronts are sandwiched between them at the shoulders, so when you turn the shirt inside out there are no raw edges along the yoke or shoulder seams. Both seams are then usually edgestitched, which means topstitched about 1.5 mm (1/16 in.) from the seam.
Below the yoke, the back can be left plain or pleated. A plain back looks the cleanest and suits a slim fit. Pleats give room to reach forward, either as a pair of side pleats or as a single box pleat at center back. The box pleat uses more fabric, and its traditional button-down-shirt look doesn't suit the slimmest fits. If you want a locker loop for hanging the shirt, it's sewn at the top of the box pleat, just under the yoke. Show the back on the tech pack sketch, along with how much width the pleats add, for example 5 cm (2 in.) for a pair of side pleats or 7.6 cm (3 in.) for a box pleat.
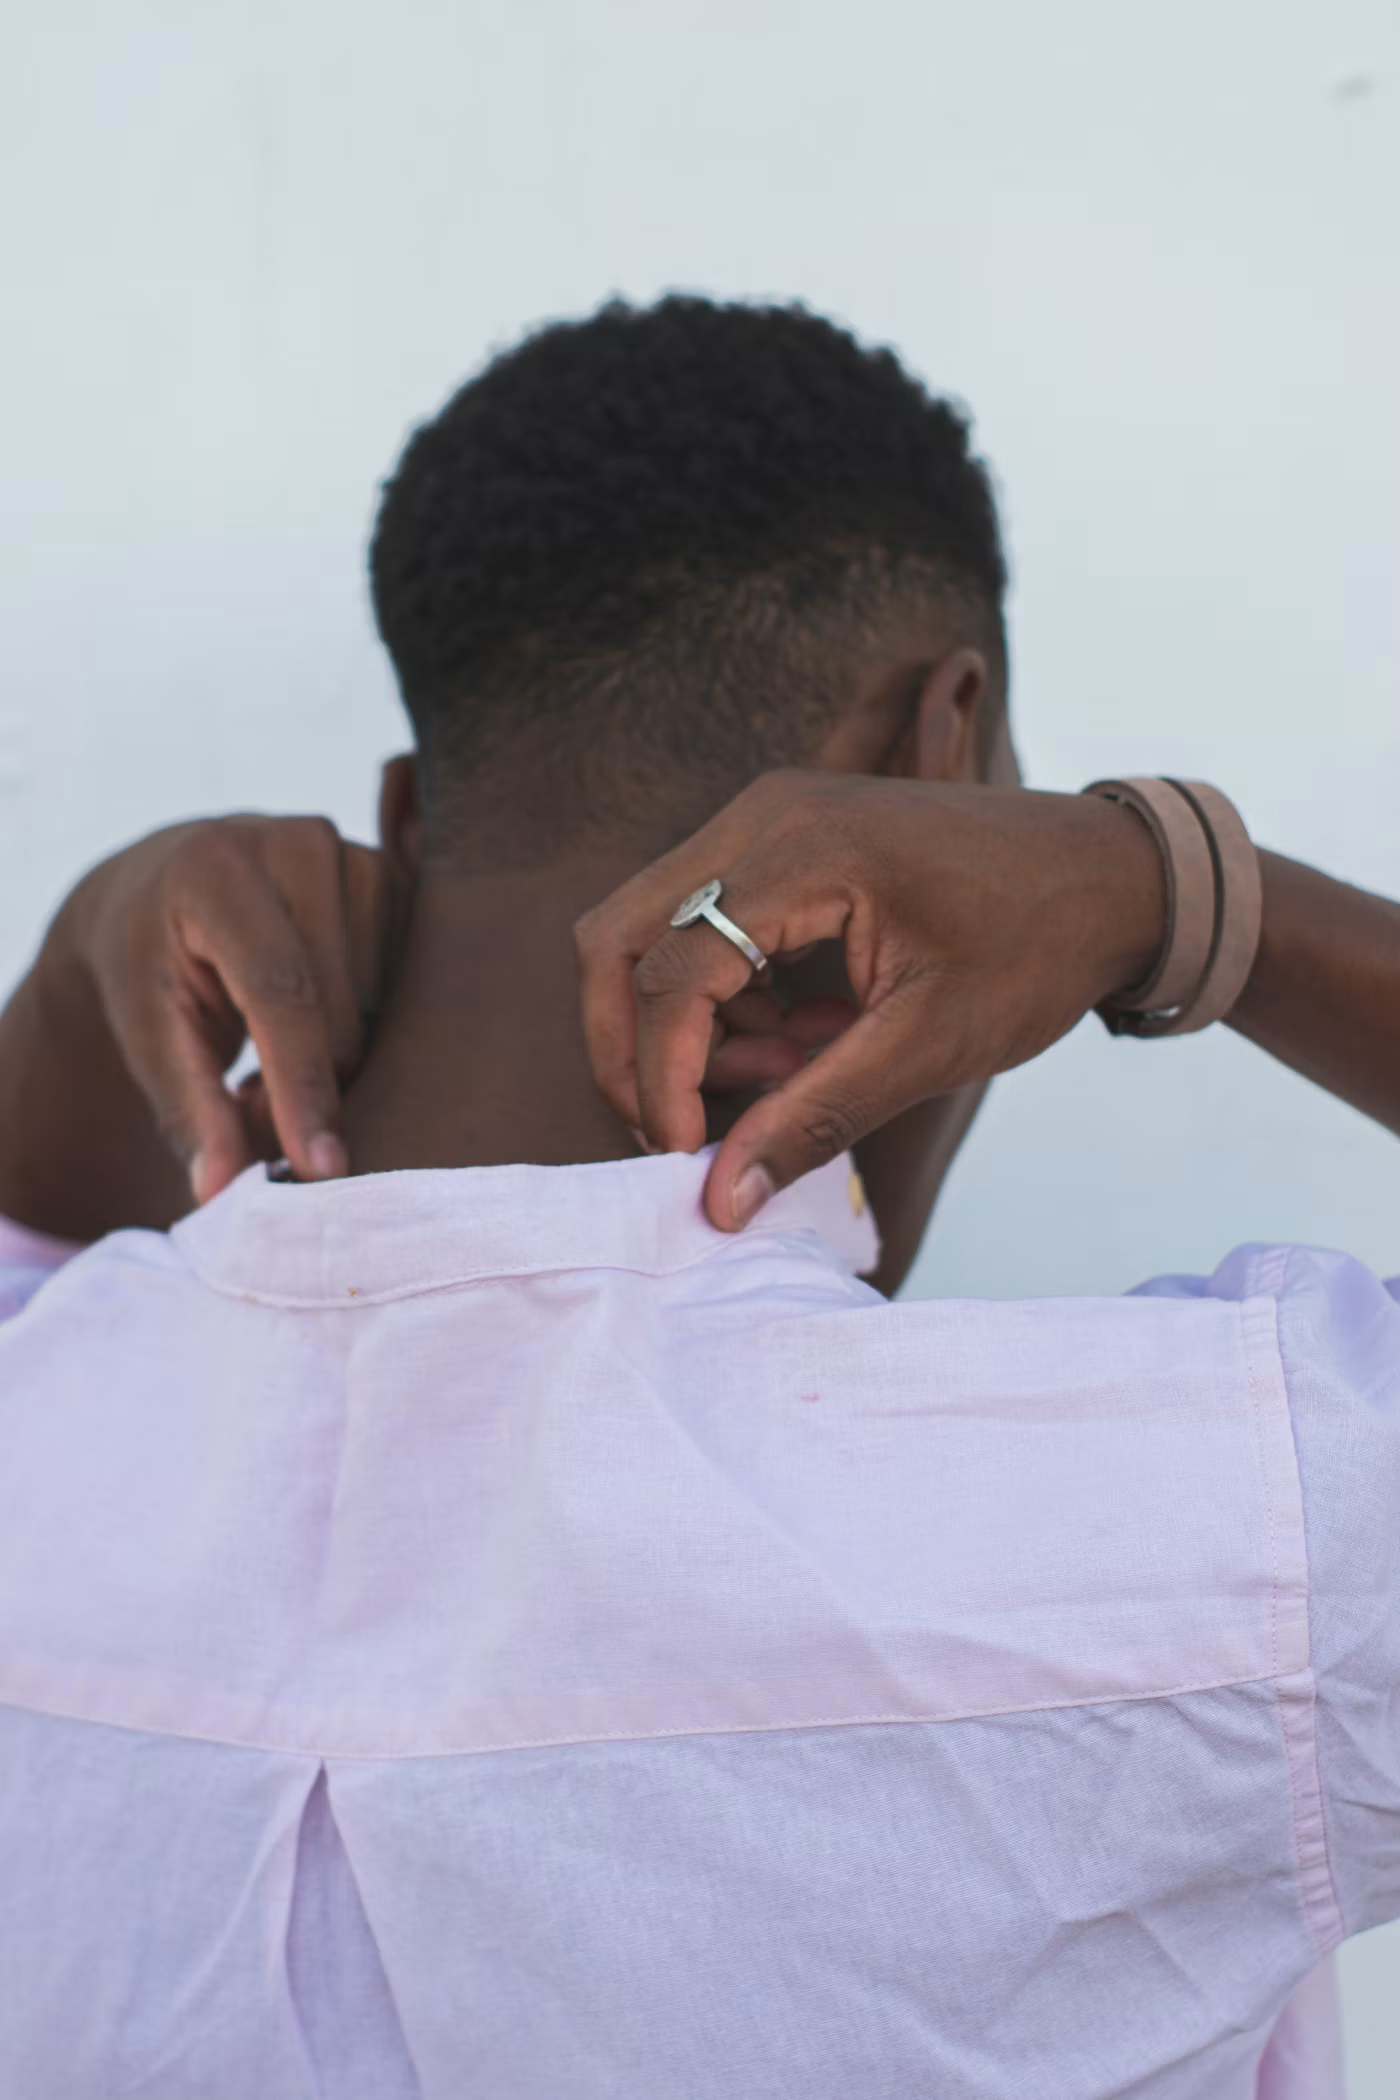
A split yoke is made from two halves joined at center back. Each half is cut at an angle, so on a striped fabric the stripes meet in a V, and the yoke has a little more give across the shoulders. On a solid fabric the V doesn't show, and the extra seam and fabric are only worth it if you want that bit of extra give.
In the tech pack, ask for a two-ply yoke with enclosed seams. Put yoke depth in the measurement chart, measured straight down at center back from the neck seam to the yoke seam, with a tolerance of 0.5 cm (3/16 in.) either way. Shoulder width is measured straight across the back from where the yoke meets one sleeve to the same point on the other, and 1 cm (0.4 in.) either way is a reasonable tolerance. If a brand label goes inside the yoke, give its distance from the neck seam. On a striped shirt with a one-piece yoke, mark the stripe direction on the sketch and say whether the stripes have to line up with the back.
Front placket construction
The most common front on dress shirts is the placket front, a strip down the buttonhole edge with a row of stitching along each side. Those two rows run along the lengthwise grain, where seams pucker most. On a dense poplin, they're where the front is most likely to ripple after washing. A French front has no strip. The edge is folded under and only the buttonholes show. It looks cleaner, with no visible stitching down the front, though it's a little harder to iron.
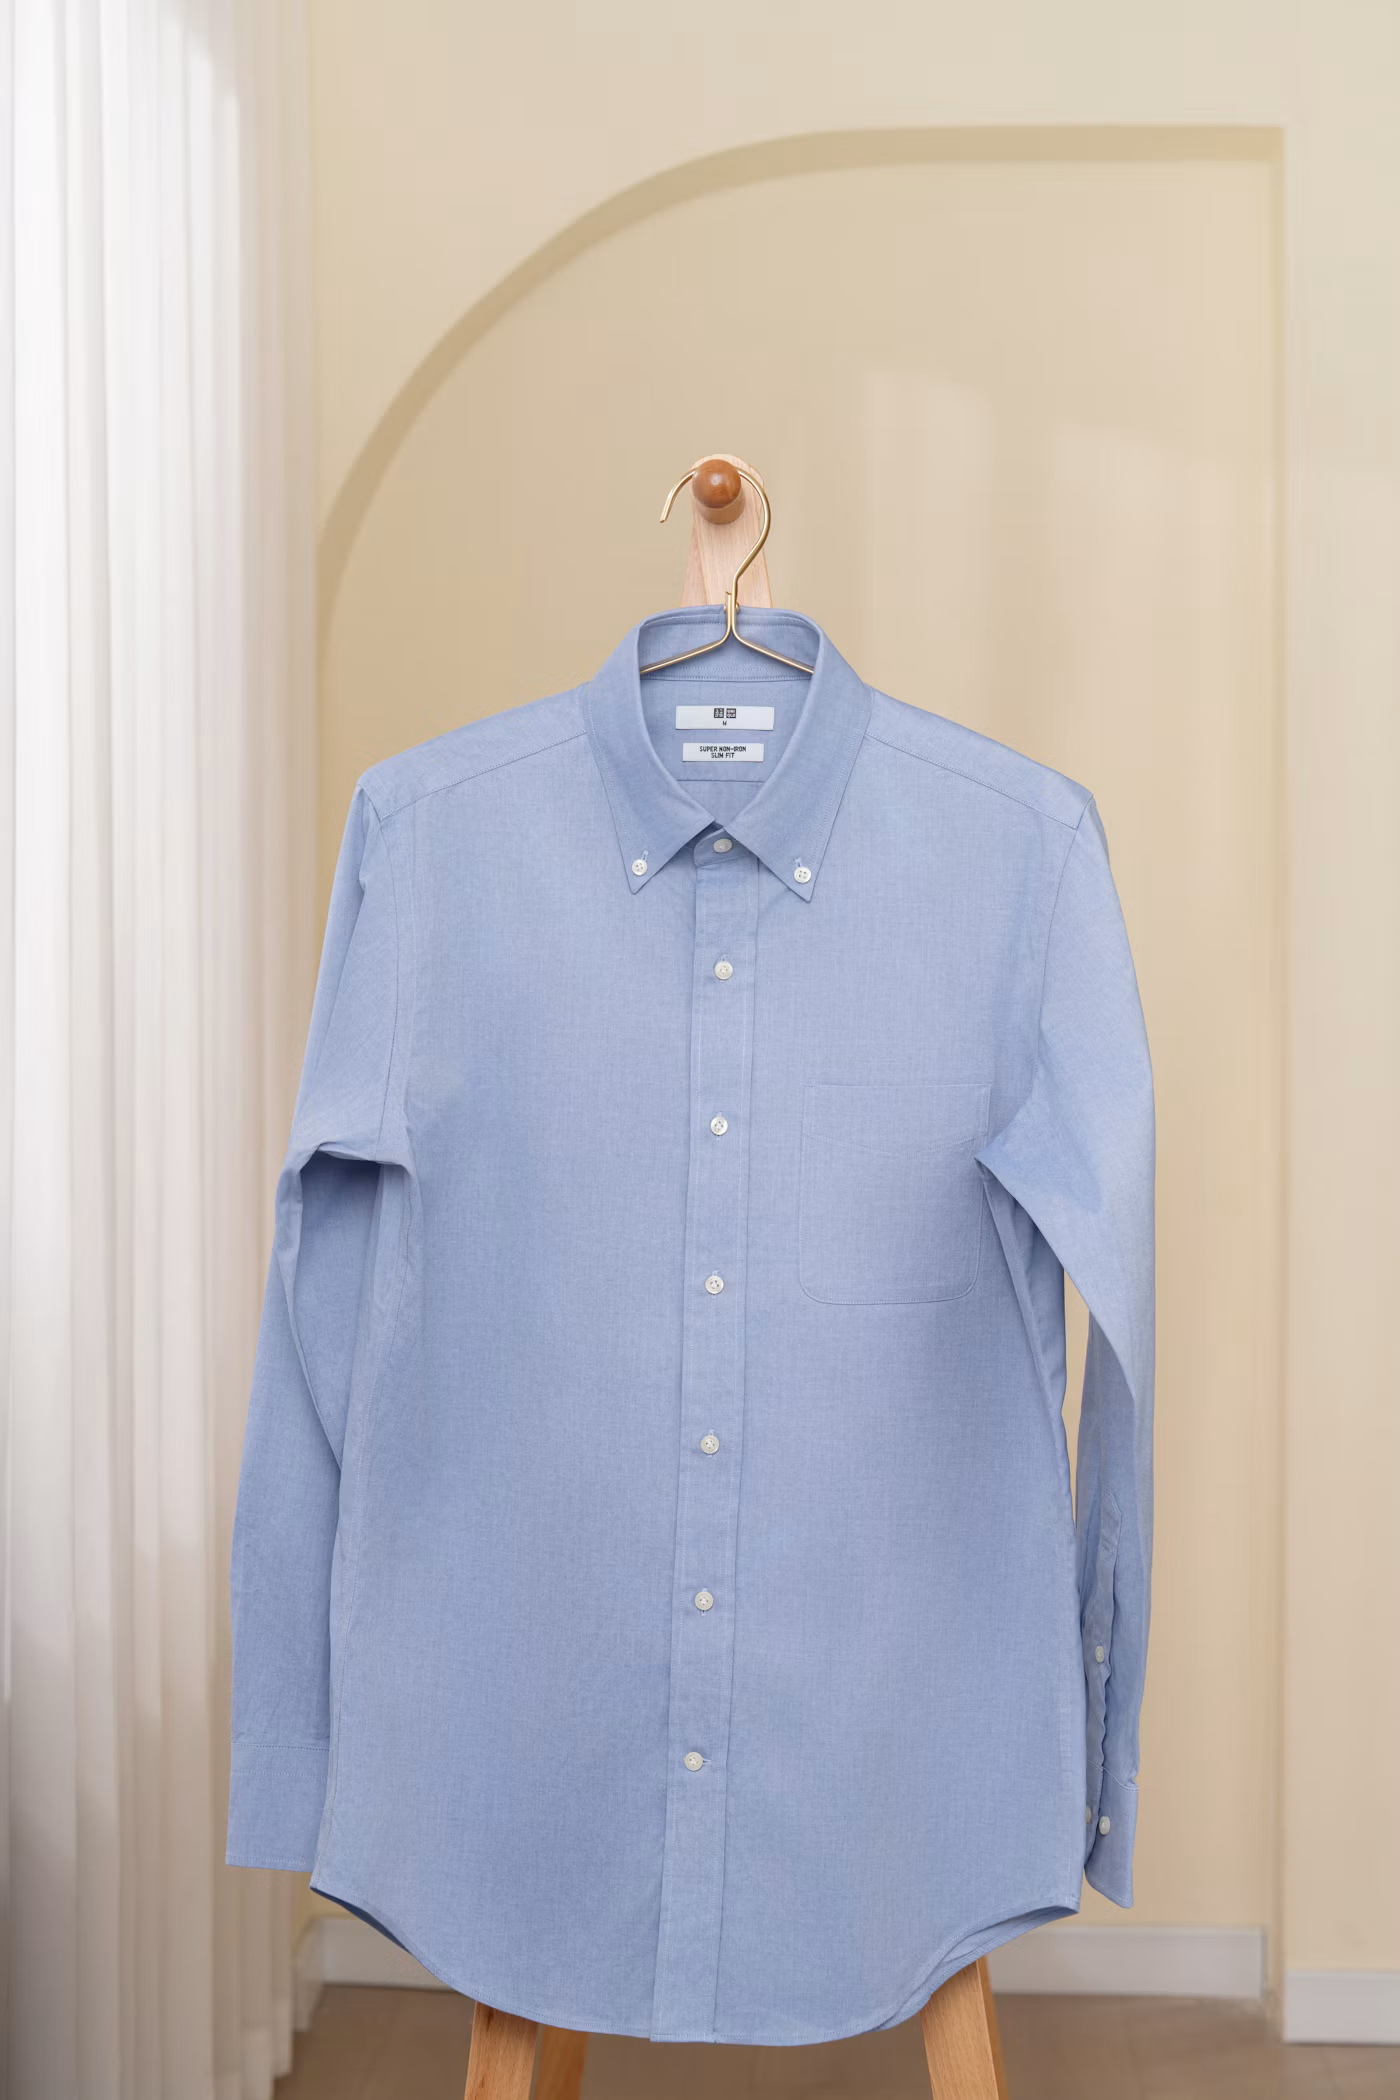
A concealed placket hides the buttons under an extra layer of fabric. It's a formal style, common on tuxedo shirts, and it takes more fabric and more sewing than either of the others.
A placket strip can be cut in one with the front and folded over, or cut separately and sewn on, and in a solid fabric you can't see the difference. Unless you ask for a strip on the button side as well, that side is simply folded under. In a striped or checked fabric, a separate strip lets you center a single stripe down the placket, and a placket in a contrast fabric has to be separate. For any patterned fabric, show on the spec where the placket should fall in the repeat.
A strip 2.5 to 3.5 cm (1 to 1 3/8 in.) wide is a good target for most shirts, and a casual shirt can go up to about 3.8 cm (1 1/2 in.). The two rows of stitching sit either 1.5 mm (1/16 in.) or 6 mm (1/4 in.) in from the edges. That's a style decision, but the spec has to state it. Many factories sew both rows in one pass on a multi-needle double chainstitch machine. Double chainstitch puckers less than single-needle lockstitch. If you specify single-needle stitching, the placket takes twice as many passes.
Fusing the placket
Fused interlining in the placket gives a dress shirt a crisp front. On a casual shirt with a soft collar and cuffs, the placket can be soft as well, with unfused interlining. A French front gives the collar less support. With a large fused collar on a lightweight fabric, the front can buckle just below it, and changing the collar style or the fabric can help.
Interlining that shrinks more than the shirt fabric pulls the placket up until the buttons no longer line up with their buttonholes and the shirt gapes. Once the difference passes 2%, the fusing itself can come apart and bubble. In the spec, cap the difference between interlining and fabric shrinkage at 2%. When a sample is approved, ask the factory for the interlining's article number and write it into the bulk order.
Buttons and buttonholes
Give the button layout as the distance from the bottom of the collar band to the center of the first front button, followed by the spacing between buttons. A first button 7.3 cm (2 7/8 in.) below the band sits a little lower than average, and 8 to 9 cm (3 1/8 to 3 1/2 in.) between buttons is a workable spacing. If the shirt will often be worn buttoned to the top without a tie, the placket can bulge just below the collar. Moving the first button 1.3 to 2.5 cm (1/2 to 1 in.) closer to the band helps.
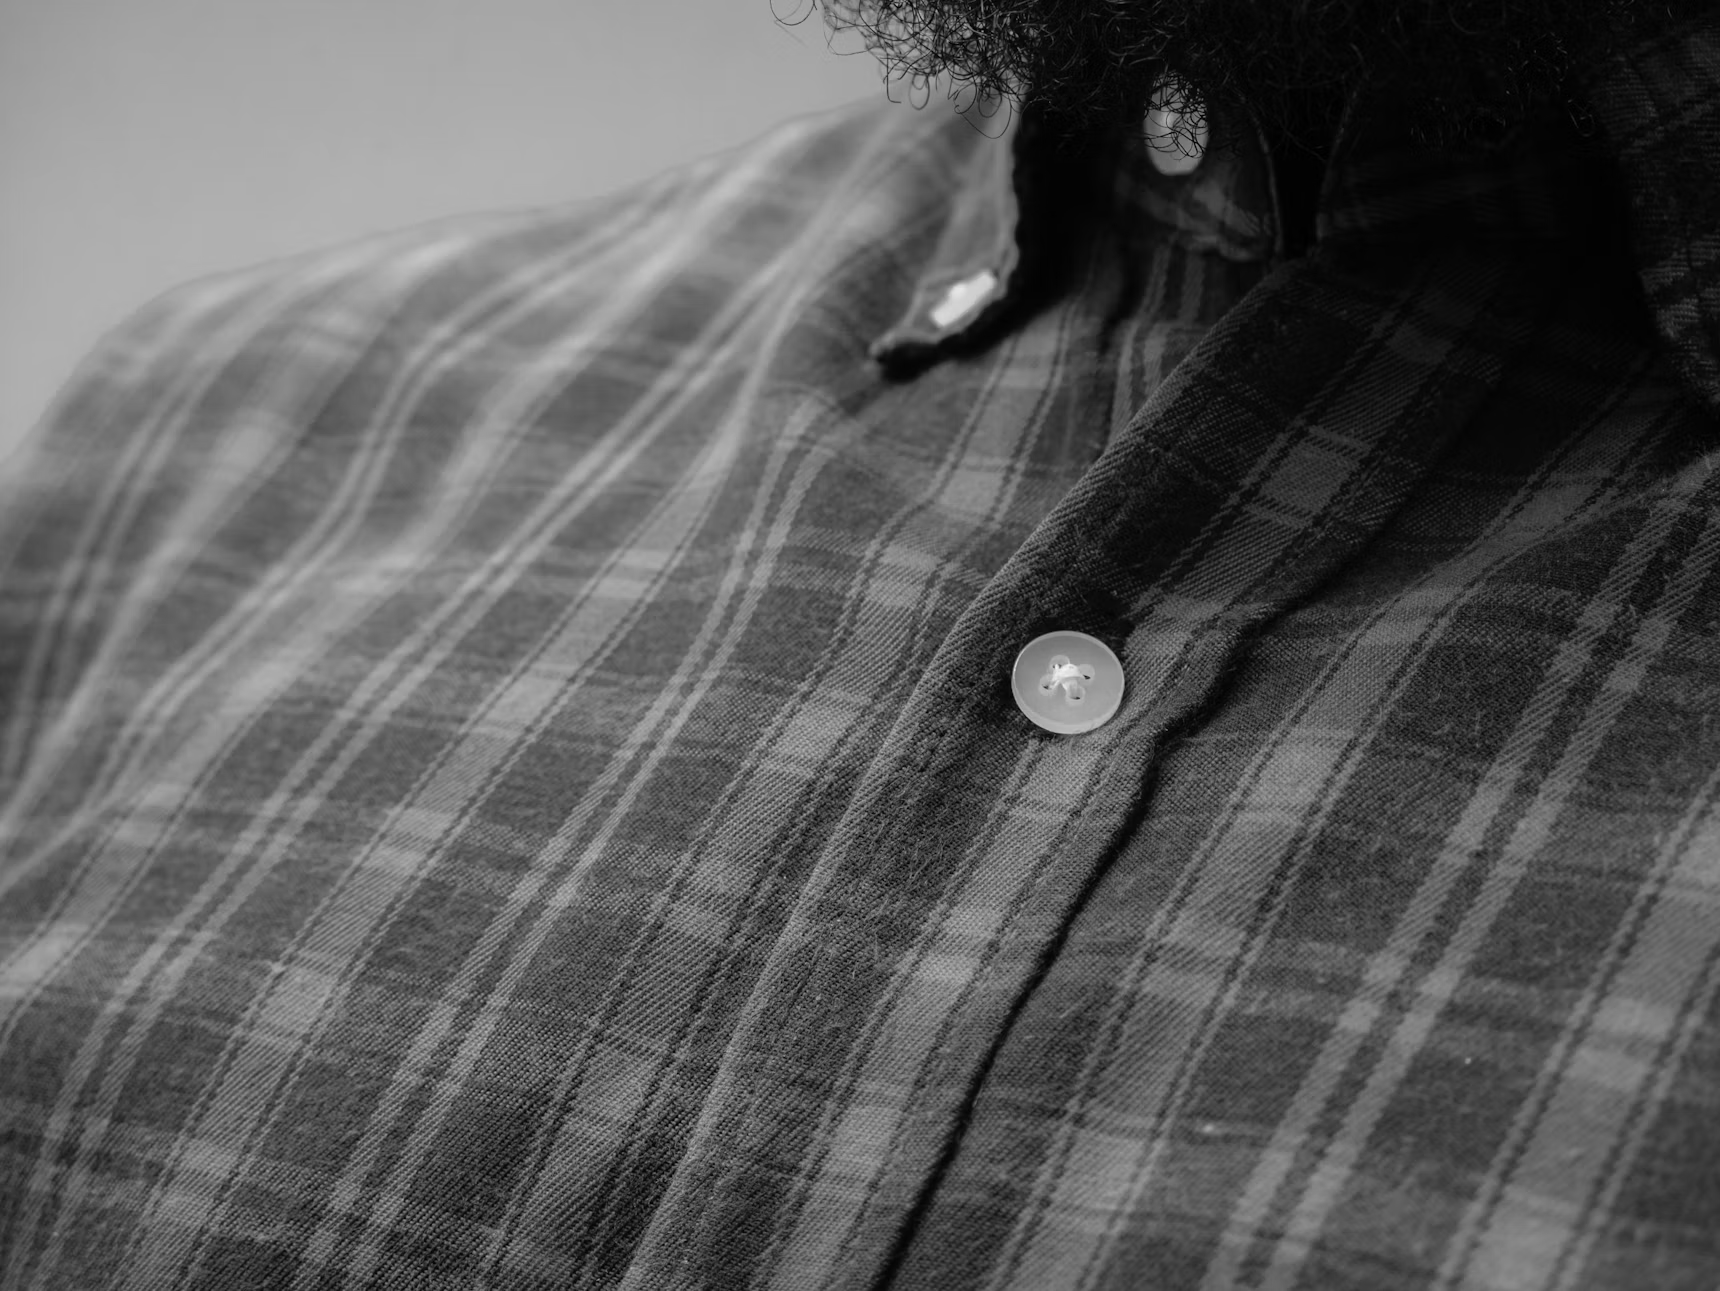
Ask for vertical buttonholes down the middle of the placket and a horizontal one on the collar band. Say whether you want the bottom one sewn horizontally too, as it is on many shirts. Buttonholes go on the wearer's left on men's shirts and on the right on women's, whatever the style of front. Button sizes are given in ligne, and one ligne is 0.635 mm (1/40 in.). A dress shirt front usually takes 17 or 18 ligne (10.8 to 11.4 mm, about 7/16 in.). Casual shirts often use 19 to 22 ligne (12 to 14 mm, 1/2 to 9/16 in.).
Sleeve placket construction
Men's dress shirts should have a tower placket. One edge of the slit is bound with a narrow strip, and the other gets a wider overlapping strip, called the tower, that ends in a point above the opening. The most common finish on women's shirts and blouses is a continuous placket, a single strip that binds both edges, with no point. It's quicker to sew, and it can just as well go on a casual men's shirt.
The small button partway up the tower, called the gauntlet button, is optional. It keeps the opening from gaping above the cuff. In the measurement chart, give the sleeve placket's finished width and visible length, for example 2.5 by 18 cm (1 by 7 in.), and the gauntlet button's size and position, for example a 10 mm (3/8 in.) button centered 8 cm (3 1/8 in.) above the cuff seam. If the fabric has a stripe or check, specify that the two sleeve plackets match each other.

Pucker after washing
Pressing hides seam pucker on a new shirt, but the pucker comes back in the first wash. Some of it comes from the sewing itself. Thread stretched by the machine's tension relaxes and gathers the seam, and in a densely woven fabric each stitch has to push yarns aside to fit. Rows of stitching sewn close together compound the pucker. Washing adds more wherever the thread or interlining shrinks more than the fabric. Cotton thread swells and shortens when it gets wet, and the seam can stay puckered after it dries.
Ask for polyester thread, or a core-spun thread with a polyester core and a polyester wrap. One thread maker's stitch guide puts dress shirts and blouses at 14 to 20 stitches per inch (5.5 to 8 per cm) and casual shirts at 10 to 14 (about 4 to 5.5 per cm). The higher counts let a finer thread carry the seam, and finer thread puckers less. On dense poplin, though, every extra stitch pushes more yarns aside, so ask for the low end of the range and a finer thread and needle, as long as the seam is still strong enough. Where a fabric is especially prone to pucker, leave off any topstitching the shirt can do without, starting with the edgestitching on the yoke seam.
When a cotton shirt is garment-dyed, polyester thread won't take the dye the way the fabric does. For those shirts, ask for a cotton-wrapped core-spun thread made for garment dyeing, which shrinks less than all-cotton thread and gives a better seam.
Put a pucker grade in the order, along with the standard it's graded to. China's national shirt standard, GB/T 2660-2017, sets a seam pucker grade (起皱级差) for six parts of the shirt, the collar, pockets, cuffs, front placket, side seams and hem, judged against the GSB 16-2952-2012 reference photographs, with higher grades for smoother seams. Before washing, the front placket has to reach 4.5 at every quality level. After washing, the first-class level needs 3.5 or better, a sensible minimum for a shirt that sells on its finish. All-cotton, all-wool, all-linen and cotton-linen shirts are allowed half a grade less after washing, so a first-class all-cotton shirt needs 3.0 or better. Have the factory or a testing lab grade the front placket on a sample before and after washing.
If you'd rather use a US test method, name AATCC TM88B instead. It rates seam smoothness after home laundering against its own photographs, on a scale of 1 to 5 where 5 is smoothest. It allows several wash and dry procedures, and the order needs to name one, along with the grade the shirts must reach.
Checking the approval sample
If a lab is testing for pucker, then before you order samples, ask how many shirts it needs. A wash test may need three finished shirts, and a full set of physical and chemical tests usually needs at least four. On top of those, keep one approved sample as your bulk reference and wash another yourself.
Start by measuring the samples against the chart: yoke depth, shoulder width, button layout, the sleeve plackets and the front placket width in a few places. Then fold one in half at center back. The shoulder seams should lie on top of each other at the same length, and so should the two halves of the yoke seam. If the yoke seam is edgestitched, the stitching should stay the same distance from the seam all the way across, with none of the inner yoke showing. Check the pleats, label and loop against the sketch.
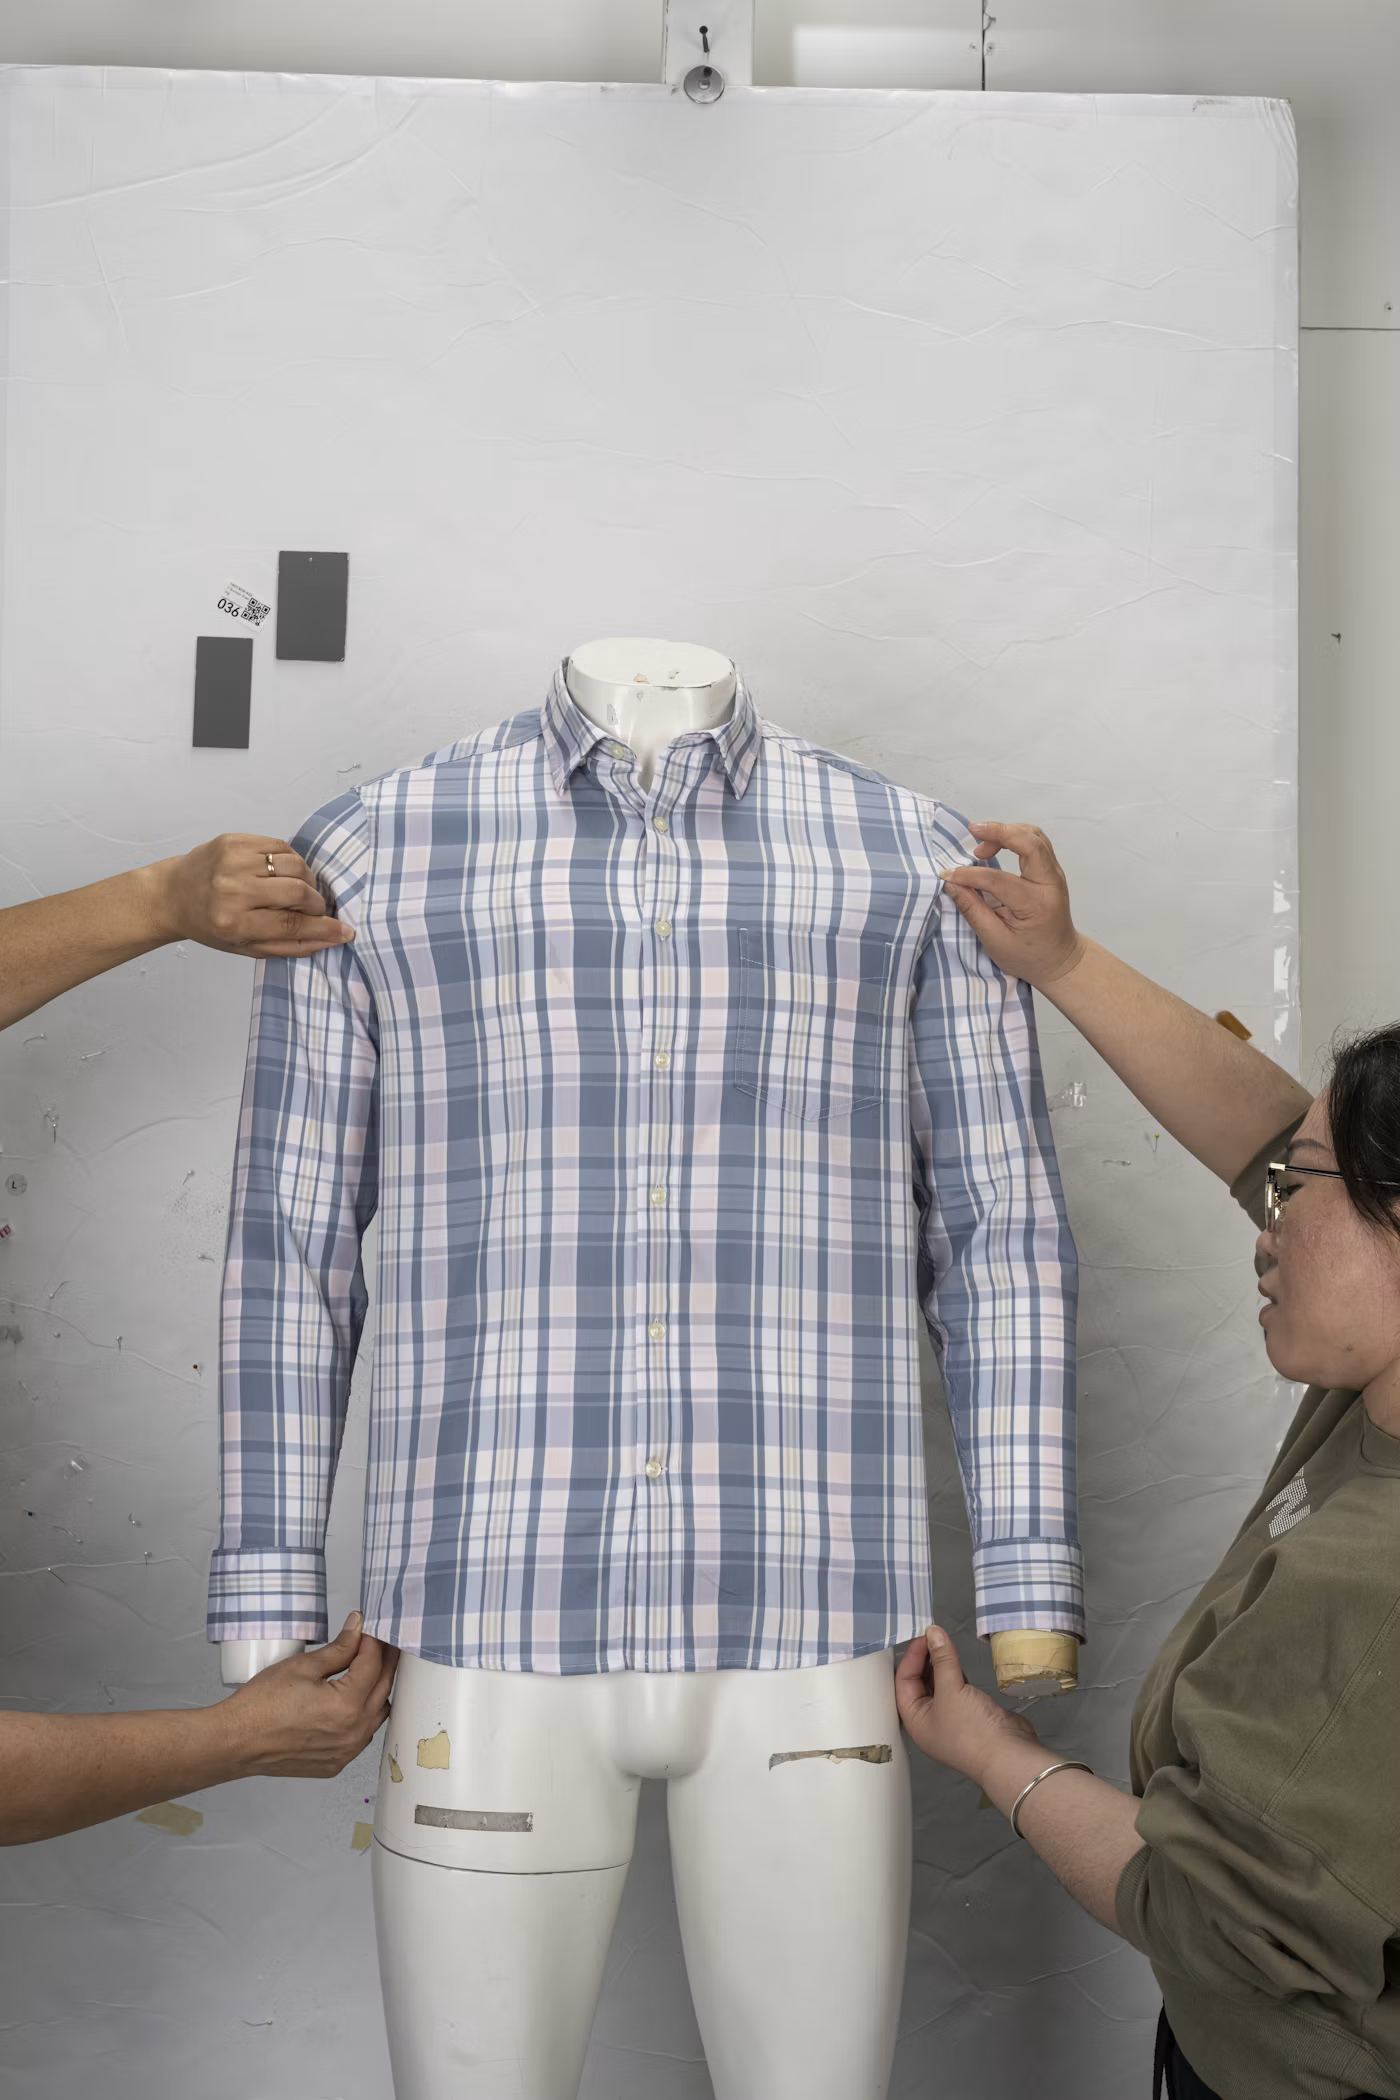
Button the shirt and lay it flat, front up. The two front edges should be the same length. For inspection limits in your order, you can adopt the ones in a 2025 draft Chinese standard for high-count, high-twist all-cotton shirts (T/ACCEM). They aren't part of GB/T 2660. Under them, a length difference of 0.4 cm (5/32 in.) or more is a minor defect and 0.7 cm (9/32 in.) or more is a major one. A button 0.4 cm (5/32 in.) or more out of line with its buttonhole is a minor defect, and no skipped stitches are allowed at the collar or placket.
Lay the sleeves side by side. They should be mirror images, with any stripe or check falling the same way on both. With each cuff buttoned, the placket should hang straight, and the cuff shouldn't show any folds or puckers apart from the pleats in your spec. Check the top of each slit for holes or fraying at the corners. If the placket won't lie flat there, the corners may not have been clipped all the way to the stitching.
Don't approve bulk until the sample you kept to wash has been washed and dried the way your customers will care for the shirt, and the after-wash grade from the factory or lab meets the grade in your order. Button up the washed shirt and compare the two sides again. On a dress shirt, pucker is most noticeable at the shoulder seams, and the sleeve plackets sit where it's easy to see. Look at both and down the front placket, and check a fused placket for bubbles.
Main sources
- Royal Canadian Mounted Police, duty shirt specification G.S. 1045-290 (2017)
- Proper Cloth's shirt reference pages on front placket types, back pleats, split yokes, top button placement, the placket bulge below the collar and sewing tolerances
- SGS, summary of China's shirt standard GB/T 2660-2017 (2017) and AATCC TM88B, seam smoothness after home laundering
- Thread makers: American & Efird's stitch density and seam pucker guides, Coats on seam pucker and post-dyed garments, and Amann's pucker guide and garment-dyeing thread
- Prabir Jana, "Shirt making re-imagined," Apparel Resources
- Laundry and Cleaning News, "Interlinings" (2017)
- T/ACCEM draft group standard for high-count, high-twist all-cotton shirts (2025, in Chinese)
- Details: WAWAK button size chart, Gear Patrol on the horizontal bottom buttonhole, Threads on the continuous sleeve placket, and patents on dress-shirt seam pucker, US 5,568,779 and US 5,775,394