Overlock Seams That Stop Fraying
An overlocker wraps a cut edge. The loopers lay thread over the cut from both sides and the needle pins those loops to the cloth a few millimetres in, so the yarns are held by being pinched between thread and cloth, and on a firm weave that's enough to keep an edge intact for the life of the garment. For a seam allowance on a woven, the three-thread stitch at 2.5 mm or shorter is the one that does this.
It's worth keeping that picture in mind when an overlocked seam frays anyway, because what's gone wrong is something to do with the pinch. Most often the chain was cut flush at a seam end and the stitches have run back from there, or the stitches are too far apart, or too close to the cut, to hold a fabric that sheds; both of those are a few minutes at the machine. Then there's the loose weave whose yarns slide out from under stitches that are still perfectly intact. The stitching has held and the cloth around it has given way, and running the edge through the machine again does nothing for it. That seam needs tape under the stitching or a different construction, and on a fitted garment sometimes more ease than the pattern gave.
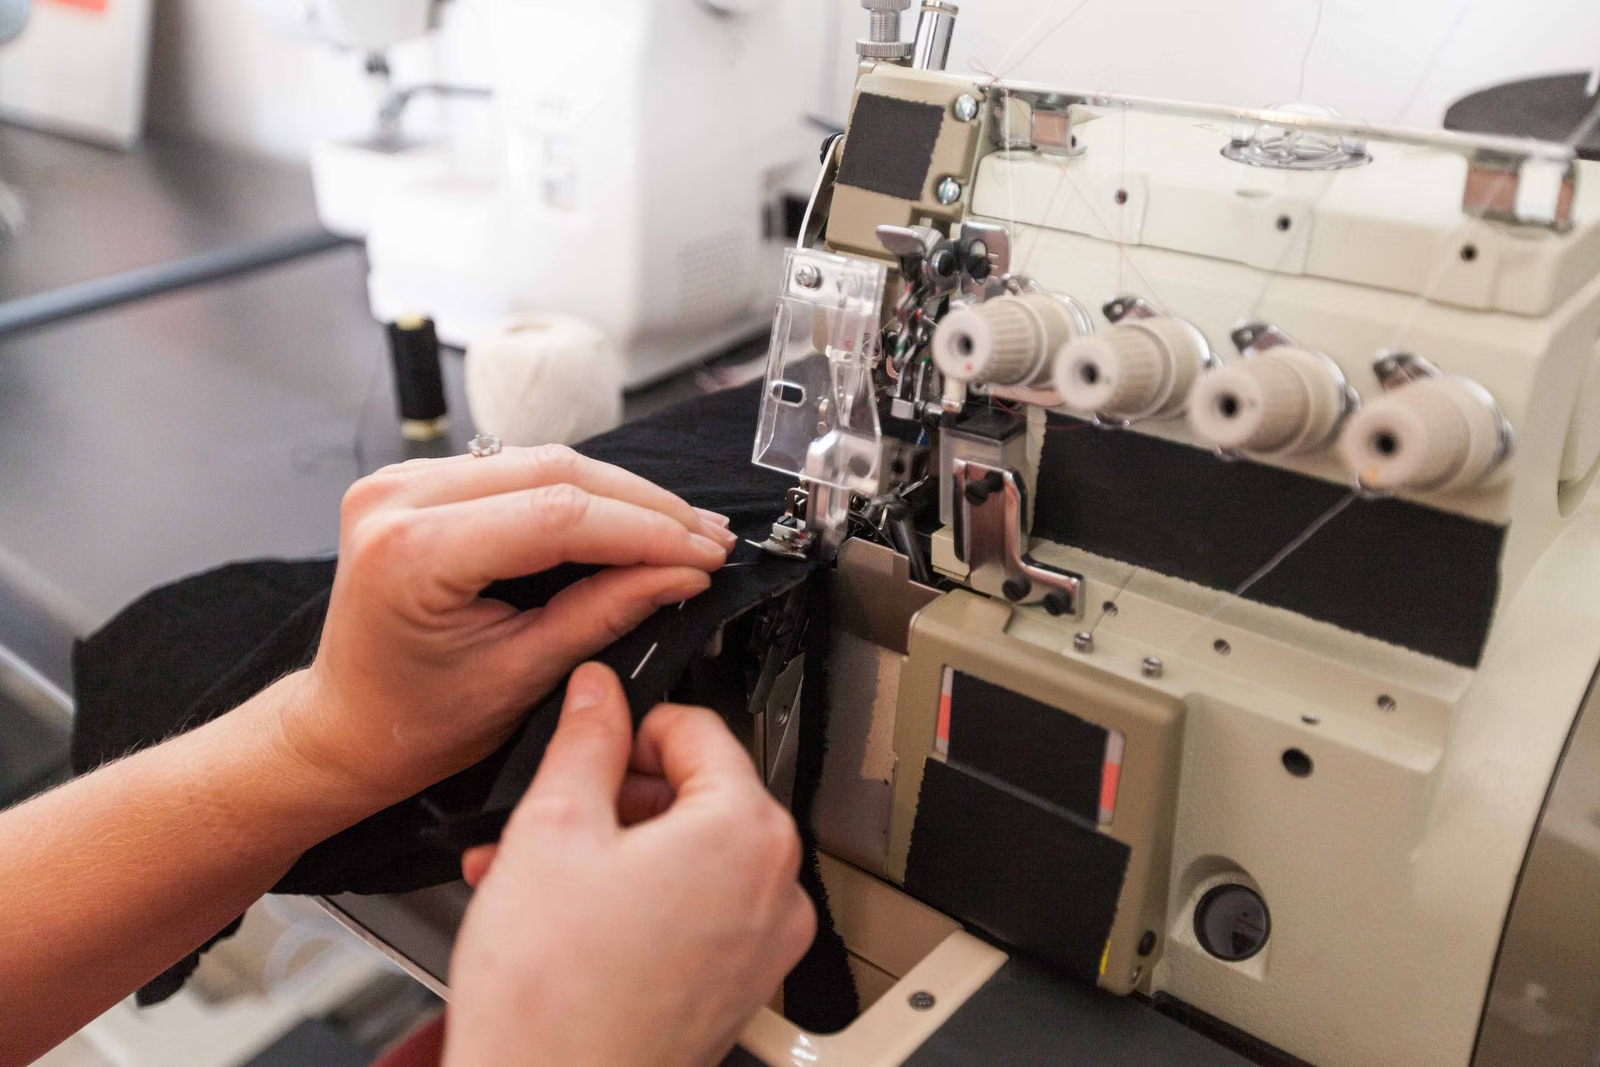
What the stitch is doing to the cut edge
An overlocker does two jobs in one pass. The knife trims a clean edge a few millimetres ahead of the needle, then the two loopers throw thread over that edge from above and below while the needle stitches the loops down just inside the cut. The loopers never pass through the cloth; the one thread that does, the needle thread, is what holds the whole wrapping on, and you see this the day you have to unpick a seam, when pulling the needle thread out lets the looper threads lift away as a loose wrapping with nothing holding them. The cut yarns stay put because they're pinched between the looper threads and the needle line, and on a firm weave that pinch is all the edge needs. A loose or slippery weave gives the yarns room to creep inside it, and then how far apart the stitches are, and how much fabric and thread are sitting at the edge, decide whether the edge holds.
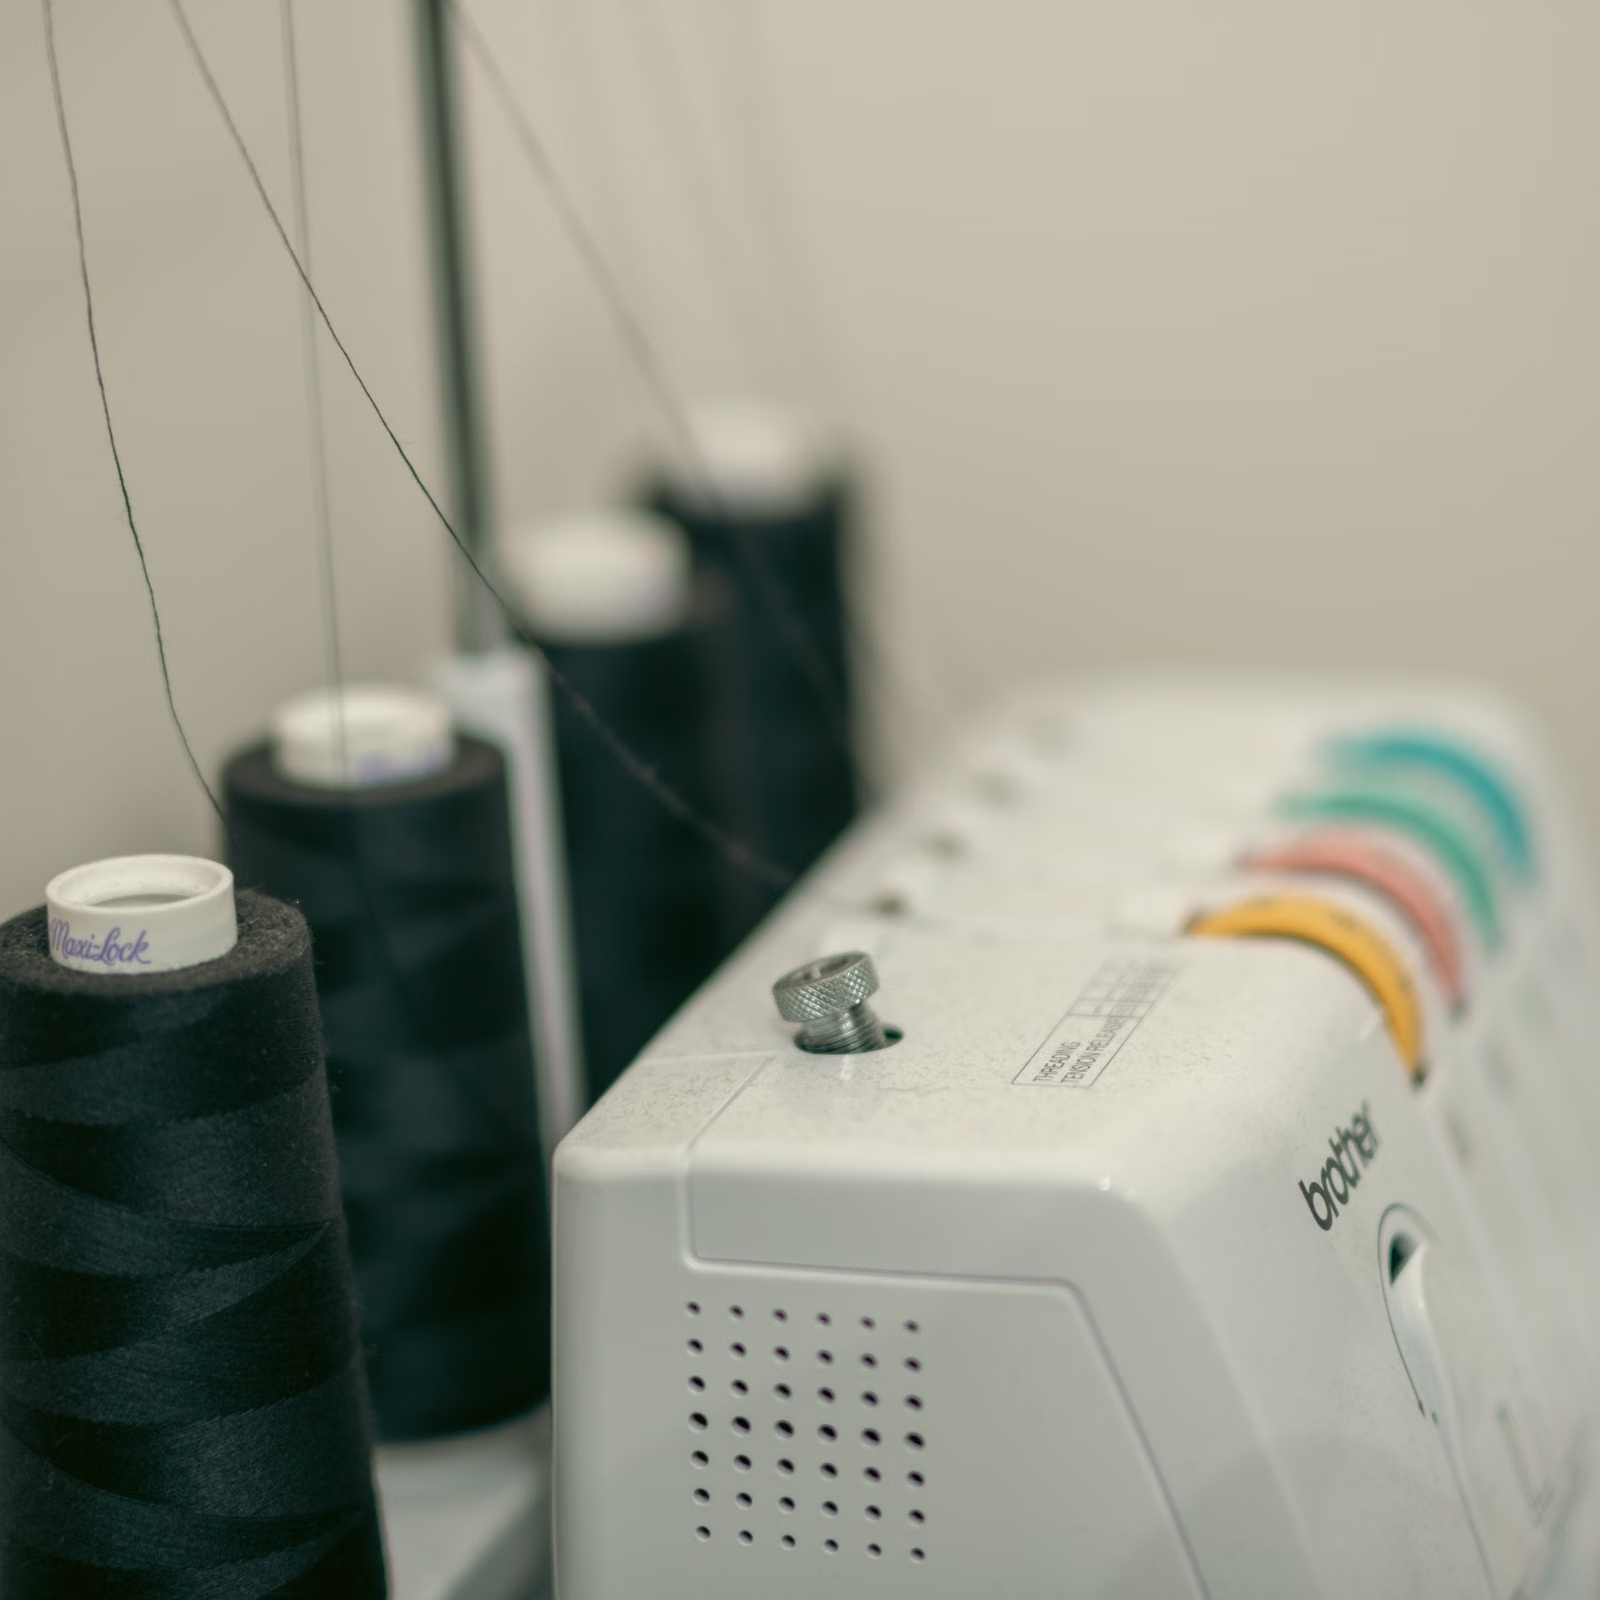
The stitch numbers you'll meet in manuals describe the same thing with more or fewer threads. A domestic overlocker does the 3-thread stitch, 504 in the catalogues, which is the standard edge finish on wovens and also the rolled hem; put the second needle in and it becomes the 4-thread 514, a seaming stitch that's mostly used on knits. The 2-thread 502 and 503 are light finishes for fine fabric. The 5-thread 516 inside many factory-made trousers is a chainstitch carrying the load with a 3-thread covering the edge beside it.
How an overlocked seam frays
From across the room they all look like fraying; under a decent light they're three different problems, and each turns up in its own place on a garment.
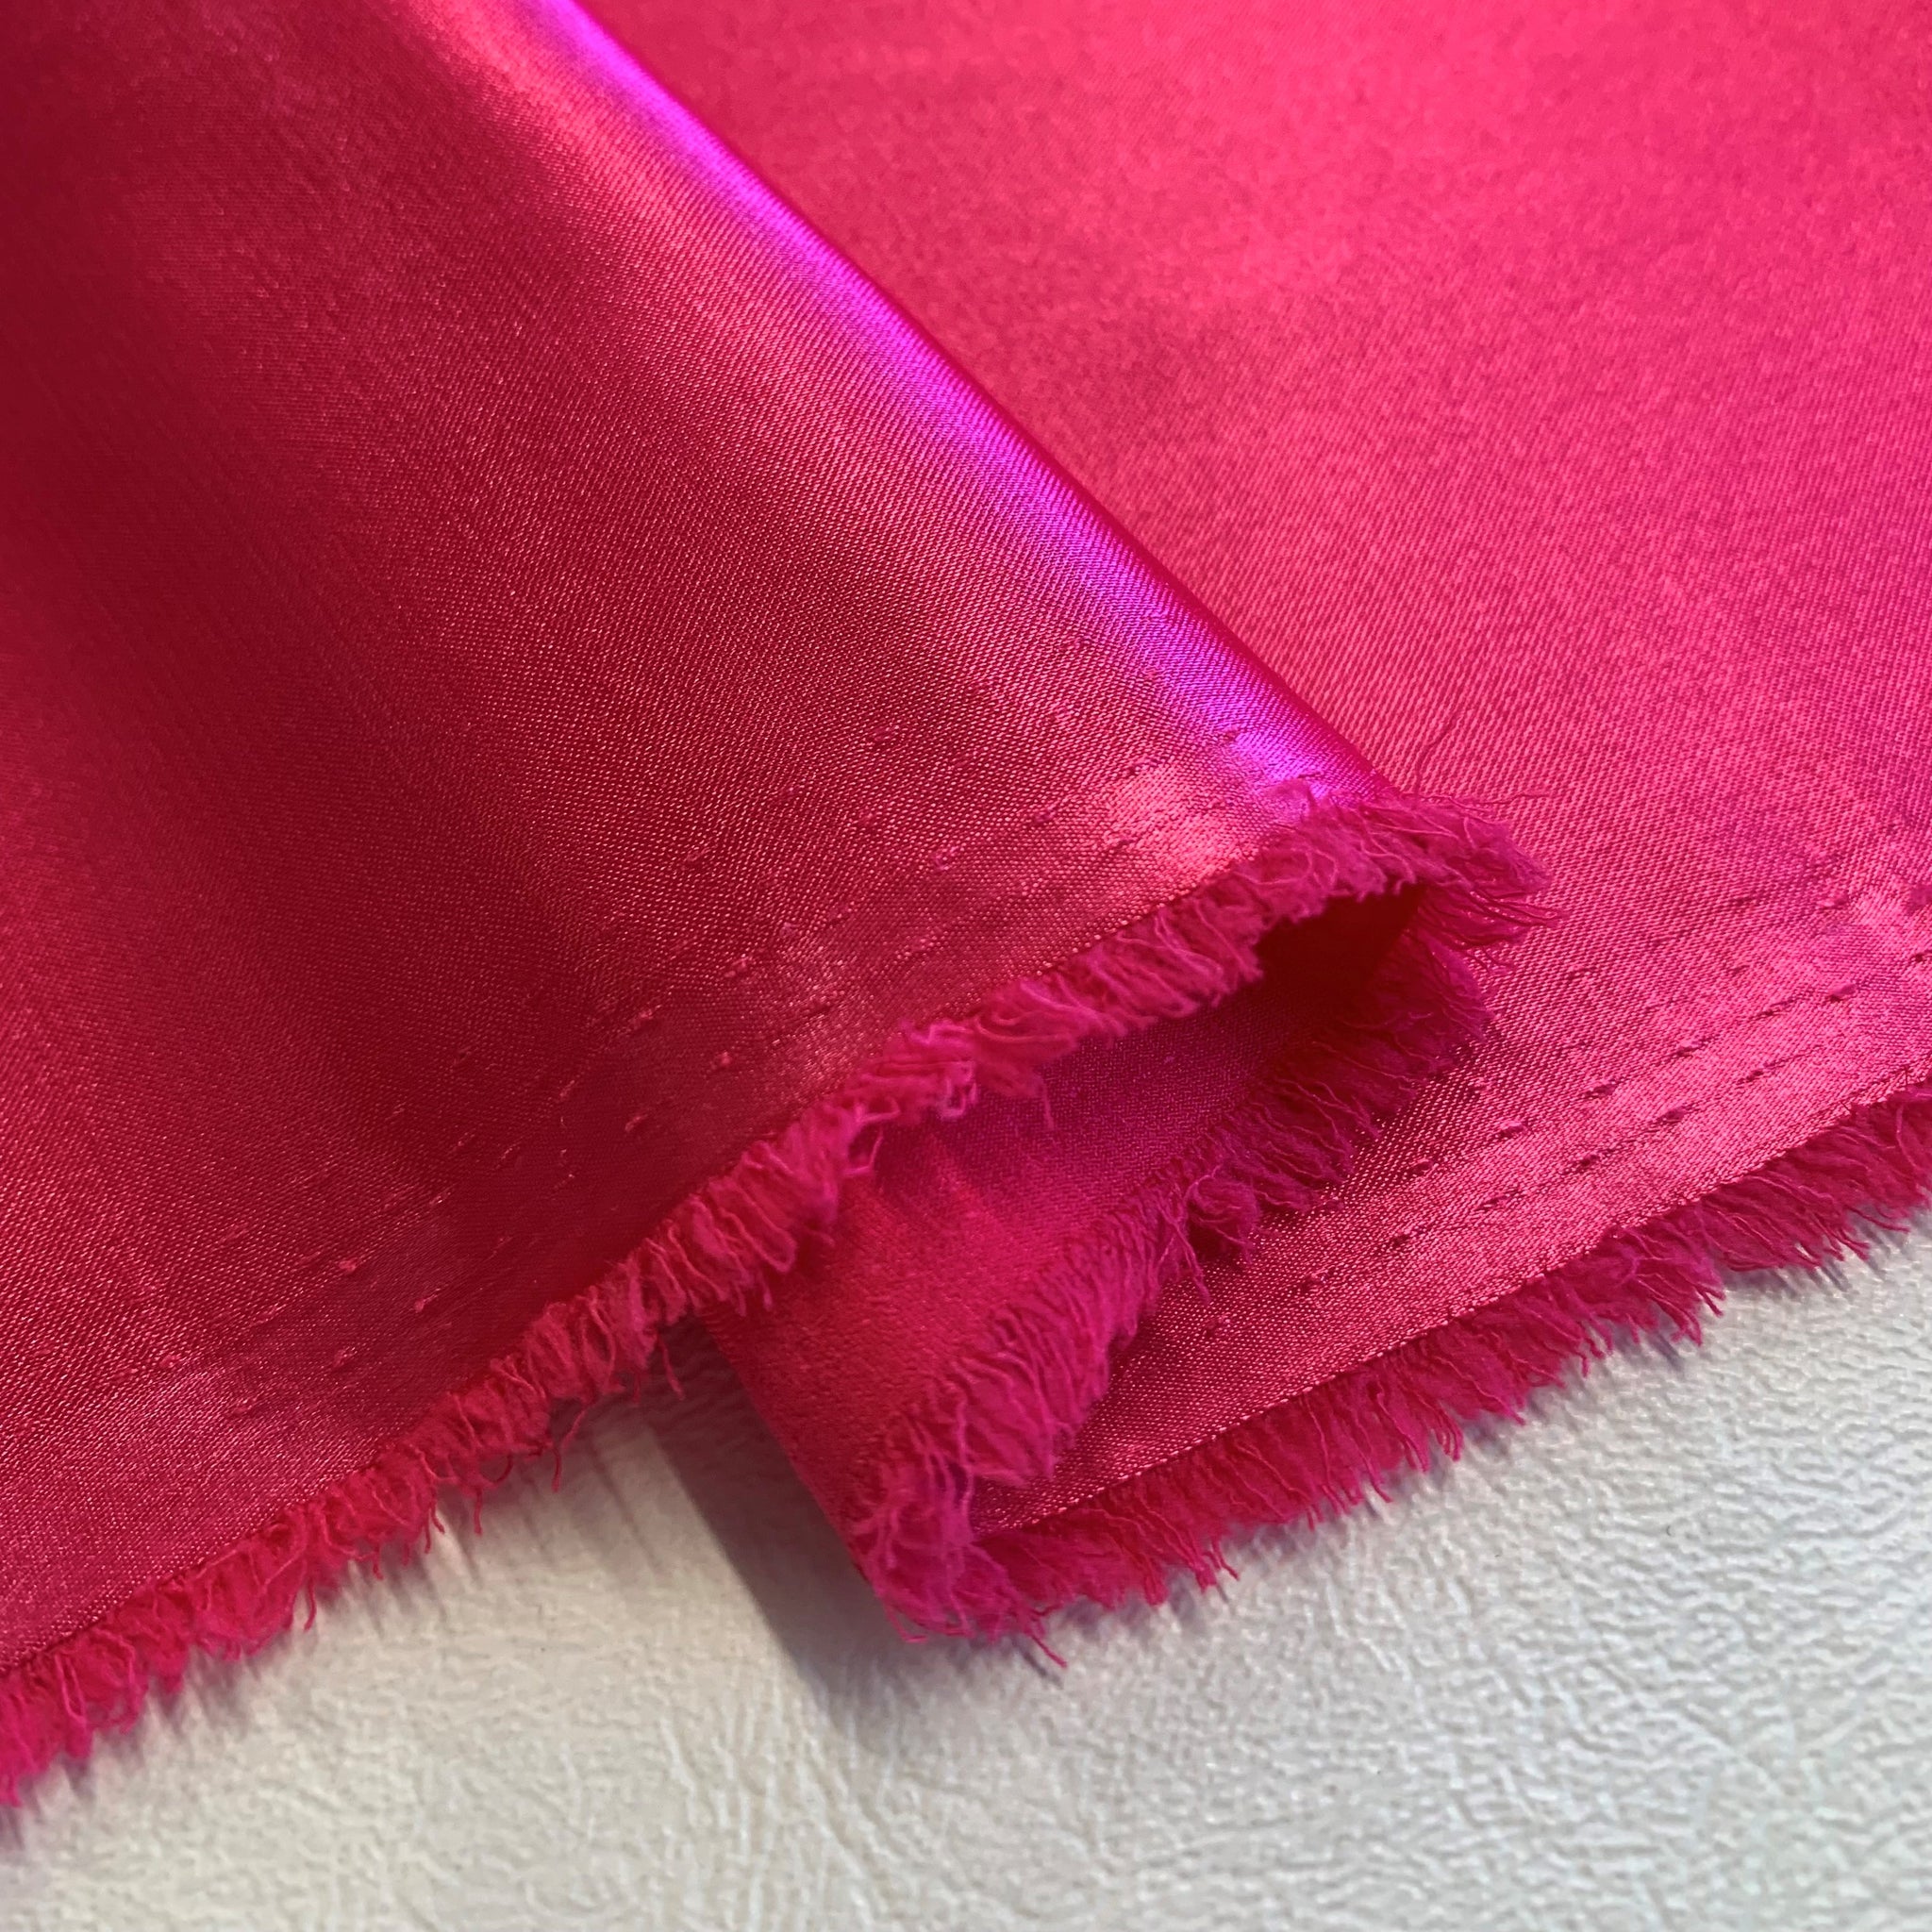
Overlock stitches are just threads looped through each other, with no knot anywhere. Snip the chain flush at a seam end and let the right thread catch on something, and the loops let go one after another along the seam. What you see is a bare, clean-cut stretch starting at a seam end, a hem edge or a clipped curve, with the overlocking intact beyond it; the bare bit usually isn't fuzzy yet, because the stitches left before the cloth had time to shed. Either the tail was trimmed flush, or a crossing seam that was supposed to lock the end never got sewn.
With whiskers the stitching is all there, but short fibres and yarn ends are poking out between the looper threads, and after a wash or two the edge looks hairy, because the fabric is shedding faster than the stitch can cover it. Usually the stitch length is too long for the fabric, or there's too little fabric inside the loops and they're hanging off the edge, or the knife never actually cut the edge and it went under the foot already frayed. A blunt blade chewing instead of slicing does it too, and so does thread too fine to fill the gaps.
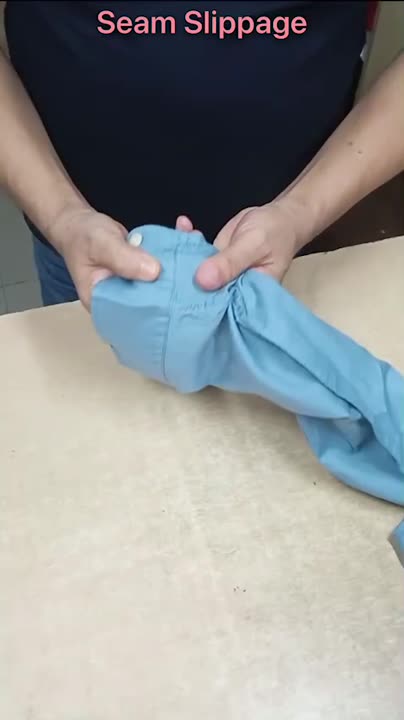
Slippage looks different again. Hold the seam up to the light and there's a gap beside the stitch line, with yarns pulled sideways out of the weave, while the overlocking hasn't broken and nothing has unravelled. Seam testing in the trade counts this as its own kind of failure, separate from the fabric tearing or the thread breaking, and it needs a different fix. A 2005 thread on the Threads magazine forum has the classic case. The poster had made an unlined top from a Sandra Betzina Vogue pattern in a 50/50 poly-rayon bouclé, which turned out to be more loosely woven than she'd thought and had no give in it at all. She'd made it snug and fitted, though, in her words, "it wasn't THAT tight". The seams were a three-thread overlock and nothing else; in retrospect she'd have used four threads, and perhaps run a straight stitch along the back, side and front panel seams. Taking it out to wear a second time, she found the back seam coming apart in places and holes forming at the stitch line in several places along the side seams. The stitching itself had held: "just ragged frayed fabric pulling OUT from line of stitches", and when she tugged gently at seams that still looked fine, they started to separate too.
The replies disagreed about why. The first asked whether the needles had been too big or the stitches too close together; another said the real problem was the stitch length and that she should shorten it, and asked what thread she'd used. Several wanted the seams supported: a line of machine stitching just inside the overlocking, over a stabiliser, cotton tape sewn into the seam with a three-step zigzag over it, or every seam re-sewn over a strip of fine, pre-shrunk cotton, possibly cut on the bias so it gives. Several more said the pieces should have been underlined or fused from the start. One wrote that if the top was too tight it would only come apart again however well the seams were sewn and supported, and suggested adding side back pieces, or cutting bigger ones if the pattern already had them; the poster answered that it wasn't too tight and that the fabric was simply weak. She left saying she'd try tape under the seams, and underline next time.
| What you see | Where it shows | What it is | Where to look |
|---|---|---|---|
| A bare, clean-cut stretch starting at an end | Seam ends, hems, clipped curves | The chain has run | The ends |
| Fuzz and yarn ends between intact loops | Along the whole edge, worse after washing | Not enough cover for the fabric | Settings |
| A gap beside intact stitches, yarns pulled sideways | Side seams, back seam, underarm | Seam slippage | Seam slippage |
Settings that hold on fabric that sheds
Try every one of these settings on a scrap of the actual fabric before it goes near the garment, because the bolt shifts the numbers as much as the machine does, and the table further down is only where to start.
The thread maker AMANN gives four stitches to the centimetre and a 5 mm seam width as the clothing-trade standard for overedging, with a higher density for fabrics that fray easily. On a domestic machine, four to the centimetre is a stitch length of 2.5 mm. Each setting here either puts more fabric inside the loops or puts the loops closer together.
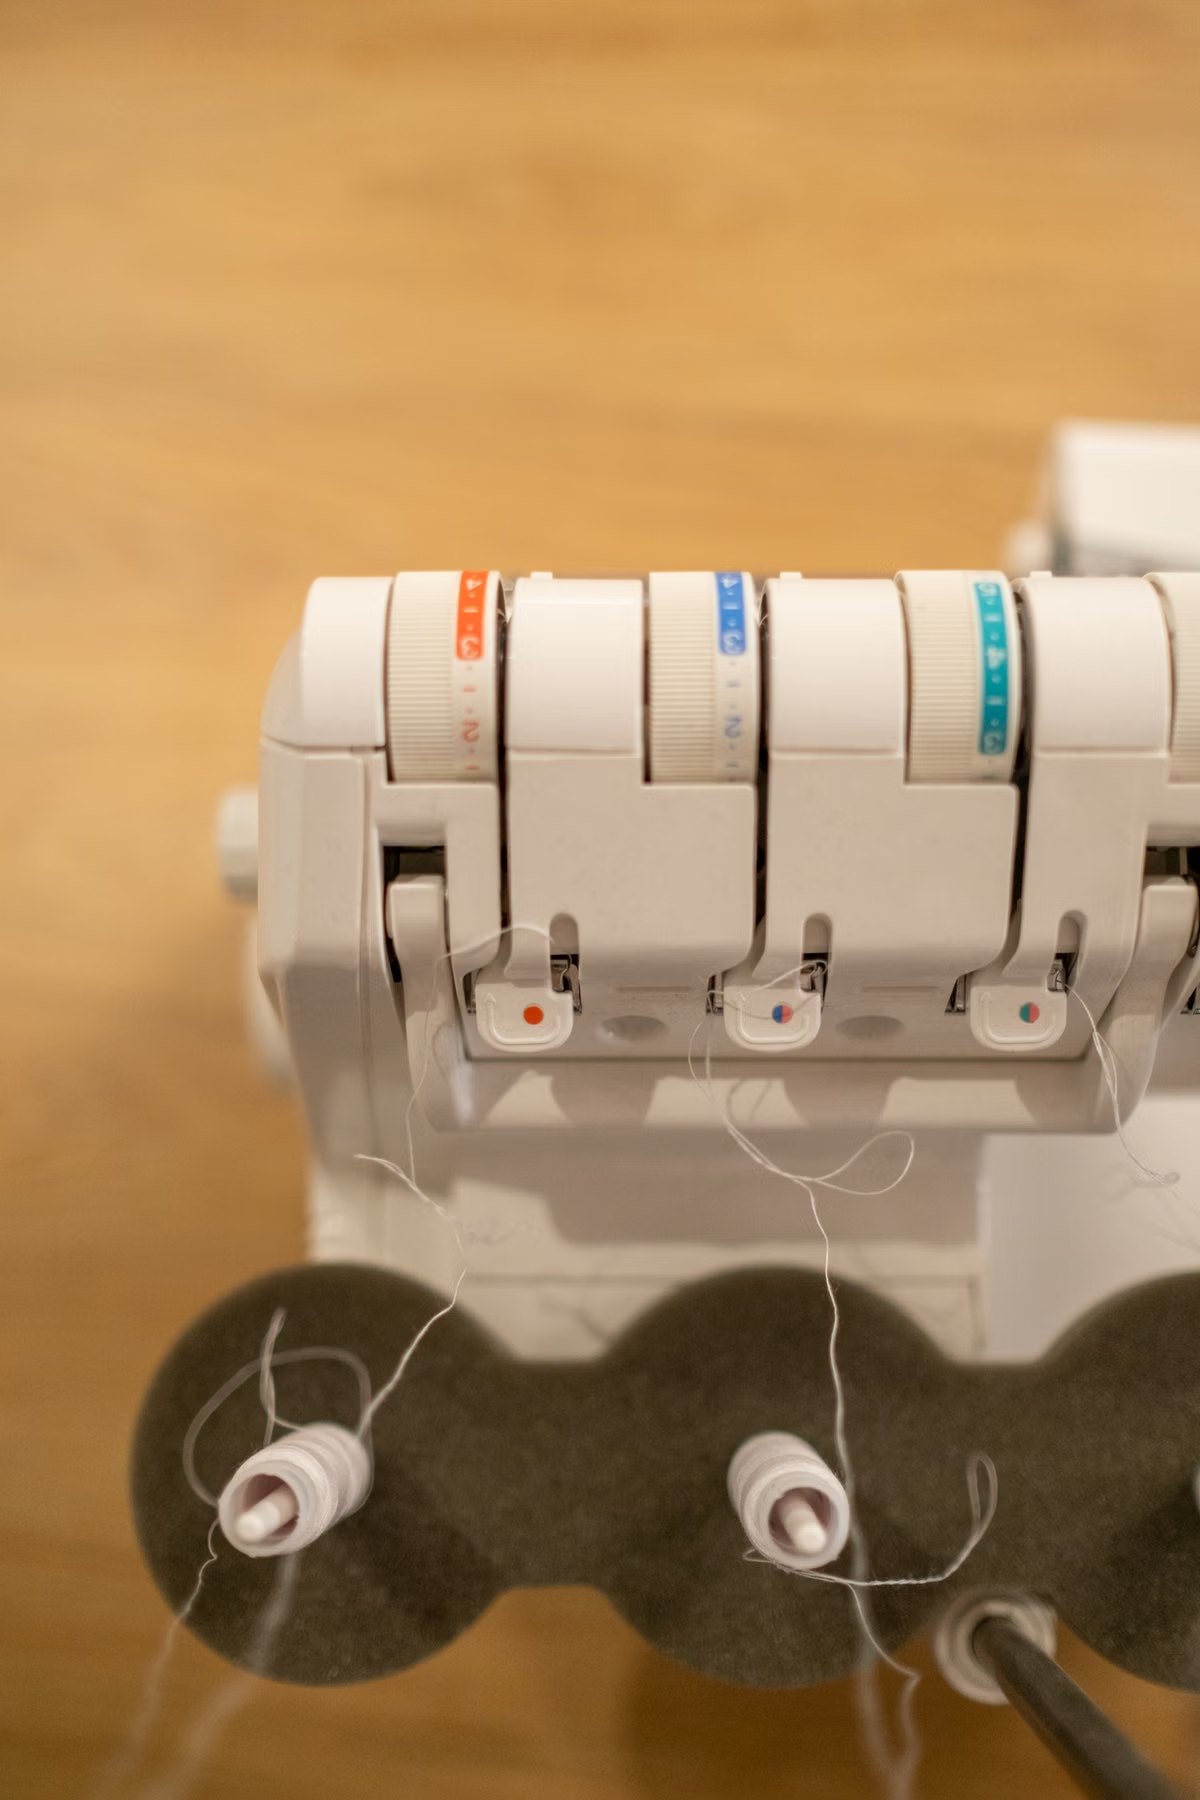
The knife
Before you change any setting, check that the knife actually touched the edge. If you steer the fabric so the blade just misses, the loops end up wrapping an edge that's been handled, pinned, pre-washed and shedding since the day it was cut. Feed the fabric so the knife takes off at least a sliver, every time, and if the pieces have been sitting cut for a while, take a slightly deeper cut and live with a fractionally narrower seam allowance. Check the blade while you're at it, since a blunt knife on a fabric that frays leaves a ragged, uneven allowance that no stitch setting will get back.
Cutting width
The cutting width, which some manuals call the bite, sets how much fabric sits inside the loops. Katrina Walker, who teaches serger classes and wrote Serger 101, says the "cutting blade is the fastest and easiest way to adjust an overlock seam", and her diagnosis is quick: if the looper loops are hanging over the edge, the fabric isn't filling the stitch, so widen the cutting width before you go anywhere near a tension dial. The opposite sign, an edge that curls or rolls inside the stitching, means it wants narrowing. For fabrics that shed, err wide, which on a two-needle machine means the left needle and the wider end of the range; the Juki MO-4S manual, for one, puts a three-thread overlock at 5–7 mm wide with the left needle and 3–5 mm with the right. The wider the bite, the more yarns get trapped between the needle line and the cut. AMANN's guiding principle for seam width is "as wide as necessary, as narrow as possible", since a wider seam uses more thread, so stop widening once the loops are full.
Stitch length
Stitch density is what decides how much of the cut edge actually gets covered. Start at 2.5 mm and drop to 2.0 mm for loosely woven linen, bouclé, tweed and rayon challis. If the overlock is also doing the seaming, go to four to six stitches per centimetre, which is 1.7–2.5 mm. If the edge starts drawing up or the stitches pile into a ridge, look at the differential feed and the presser foot pressure before you shorten any further.
Tension
The two looper threads should meet right on the cut edge. If one is being pulled across to the other face of the fabric, tighten the looper whose thread is wandering, or loosen the one that's pulling it. If the stitches look open and the seam gapes when you stretch it, the needle thread is too loose. The numbers in a manual are a starting point: the MO-4S manual gives its rolled hem as needle 3–5, upper looper 4–6 and lower looper 6–8 at a stitch length of 1.5–2, and notes that the tensions may need adjusting for the fabric and thread.
Thread
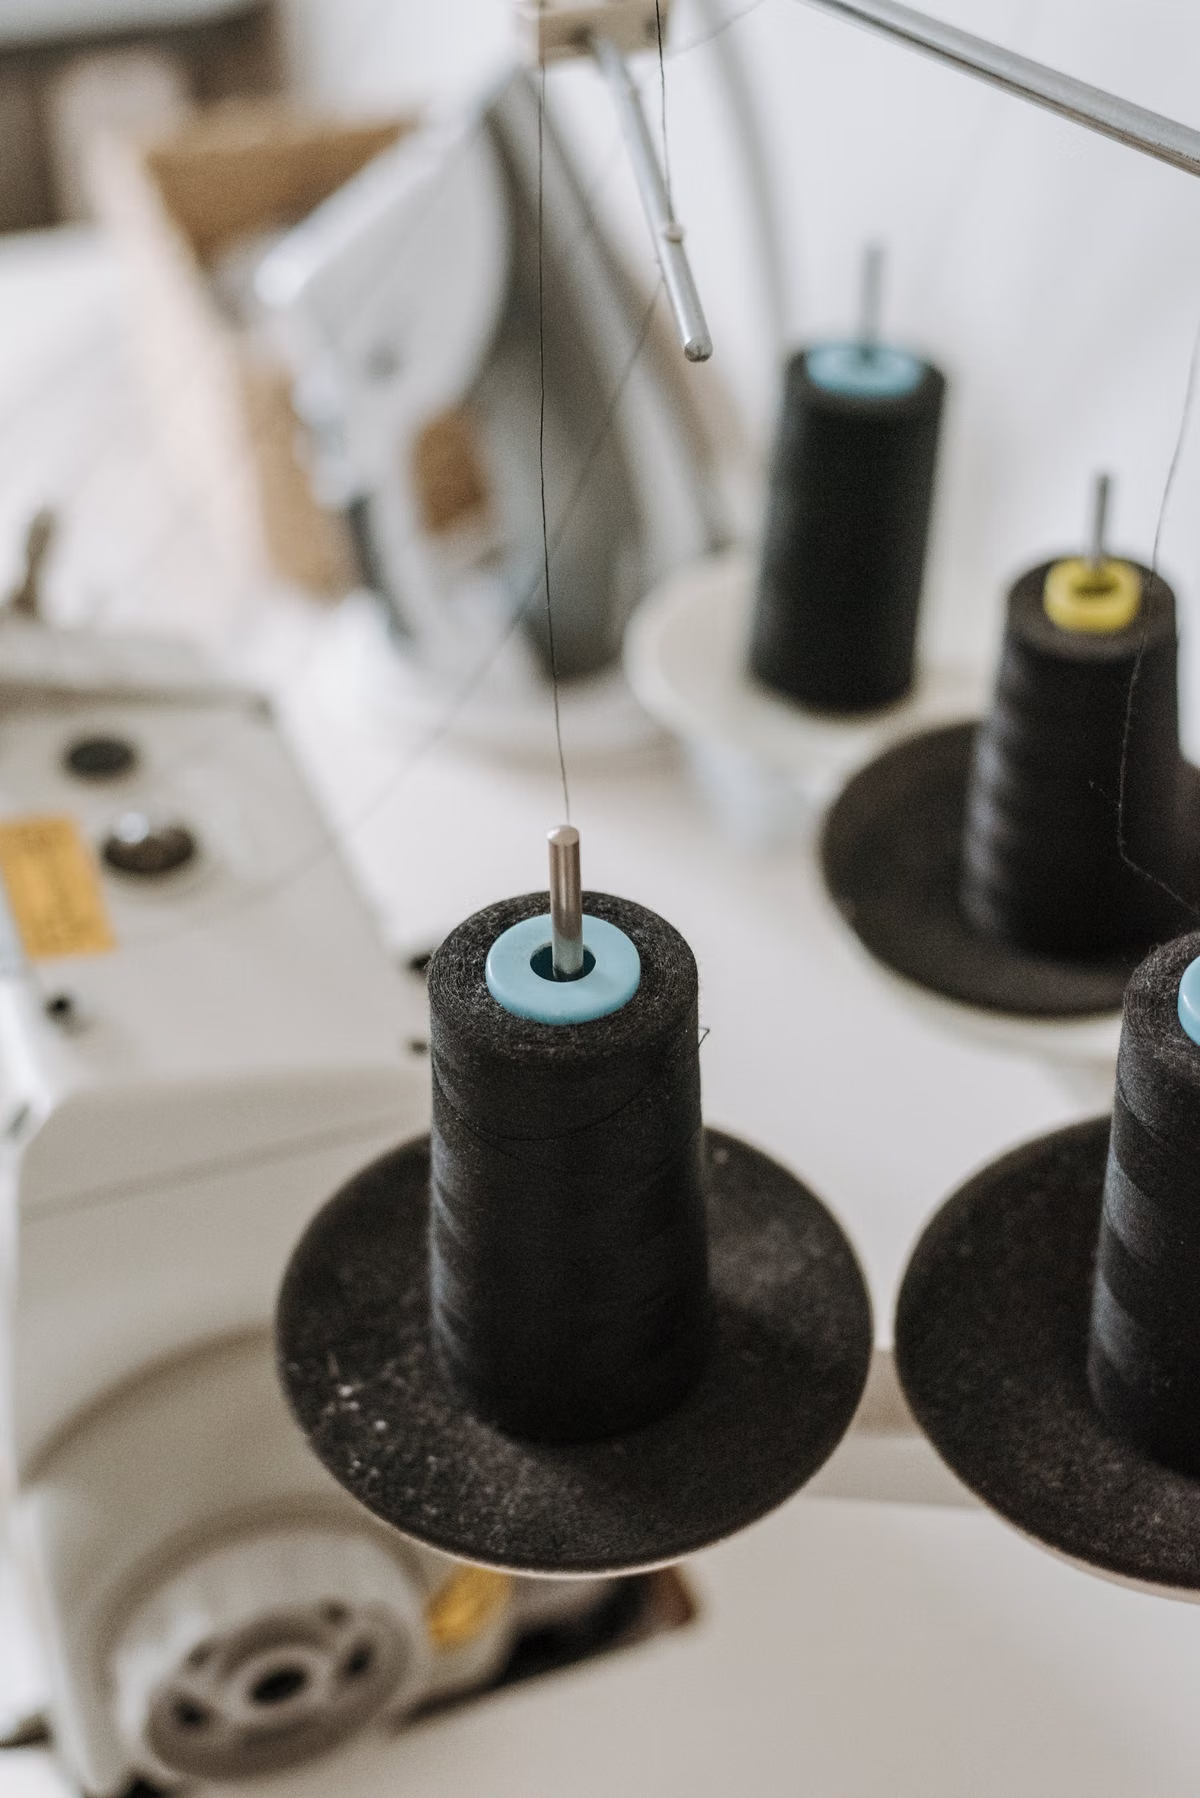
Ordinary polyester overlocking thread goes in the needles, where strength matters. For fabrics that shed, woolly nylon (textured nylon, sold as "80s bulk" in the UK) in the loopers fills the gaps between stitches, because it fluffs up after it leaves the looper; it usually wants a little less looper tension, and YLI, who make it, call it a looper thread and keep ordinary thread in the needles. Each looper covers one face of the edge, the upper looper the side facing up as you sew and the lower looper the underside, so woolly nylon in one looper fills the gaps on one face only. YLI's advice for garment seams is to keep it to one looper, since both together add bulk, and that's the right call when the fabric is only whiskering on the face you can see: sew with that face up and put the woolly nylon in the upper looper. A thick loose weave such as bouclé or tweed sheds along the whole thickness of the cut edge, and the extra bulk from a second looper sits in an allowance that's already thick, so there both loopers is the better trade. On a thin fabric that sheds, a second looper of woolly nylon shows through when the allowance is pressed, so keep to one looper and get the rest of the cover from a shorter stitch and a wider bite.
Three threads or four
Use the three-thread stitch to finish seam allowances. The four-thread, with both needles, is for when the overlock is the seam, and on wovens that shed that should be rare. For those fabrics, finish the raw edges of the cut pieces first, then sew the seam on the sewing machine and press it open: the lockstitch takes the strain, and the allowance stays intact for fitting.
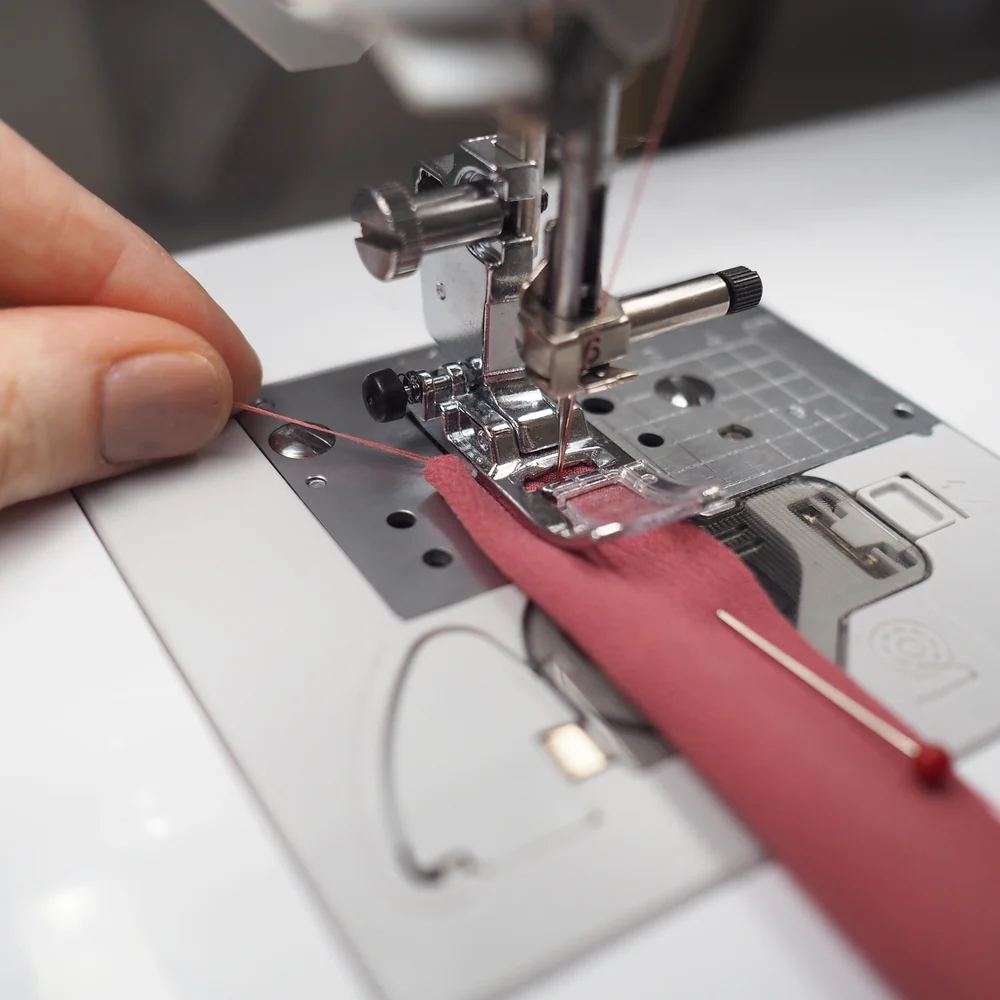
Seam first and overlock the allowances together only when the allowance is too small to spare a cut, or on a knit, where the seam has to stretch with the fabric.
| Fabric | Stitch | Cutting width | Stitch length | Notes |
|---|---|---|---|---|
| Quilting cotton, poplin, shirting | 3-thread | Standard, about 5 mm | 2.5 mm | The baseline. Knife taking a sliver |
| Loosely woven linen and cotton | 3-thread, left needle | Wide, 6–7 mm | 2.0 mm | Finish the edges first, then seam on the sewing machine; woolly nylon in one looper if it still whiskers |
| Rayon and viscose challis | 3-thread | About 5 mm | 2.0–2.5 mm | Lighten presser foot pressure |
| Bouclé, tweed, loose wool | 3-thread, left needle | Wide | 2.0 mm | Woolly nylon in both loopers; stay tape under seams; consider underlining |
| Chiffon, georgette, organza | Rolled hem, or narrow 3-thread | Under 2 mm rolled; 3–4 mm narrow | 1.0–1.5 mm rolled; 2.0 mm narrow | A French seam is often the better answer; water-soluble stabiliser if the edge runs from the foot |
| Denim, canvas, heavy twill | 3-thread, left needle | Wide | 3.0 mm | 90/14 needle; the blade must be sharp |
| Satin, polyester lining, smooth filament | 3-thread | About 5 mm | 2.0 mm | Prone to slippage, so seam as described below, and skip fabric softener |
Differential feed stays at 1.0 for all of these. Nudge it up if a loose edge stretches or waves as it feeds, and down if a light fabric puckers.
The ends
An overlocked seam is weakest at its two ends, because that's where the chain can be pulled open, and on a domestic machine nothing locks them for you. Keep a tail of 8–10 cm at both ends, every time, until the end has been dealt with in one of these ways:
Let the next seam cross it. Most seam ends are crossed by another seam or folded into a hem, which locks them; leave the tail long until that seam is sewn, then trim. Where it applies, nothing else is needed.
Sew the chain into the seam at the start. Of the methods that don't rely on another seam, this is the one that holds up best through laundering. The steps are below.
Overlock and flip at the end. Stop with the needle one stitch off the fabric, raise the needle and the foot, ease the stitches off the stitch finger, turn the work over, move the knife out of action so it cannot cut the stitching you just made, and overlock back over the last 1–2 cm, then angle off the edge.
Thread the tail back under the loops. A tapestry needle, a loop turner or a serger seam hook will carry the tail under six to eight stitches on the wrong side. Trim, and on anything that will be washed add a dot of seam sealant.
Knot and trim. The least secure on its own and the bulkiest. Keep it for heavy decorative threads that will not pass under the loops.
To sew the chain in at the start:
Run a chain of 12–15 cm, then raise the presser foot.
Bring the chain round to the front of the foot and lay it along the line the stitches will take, between the needle and the knife, so the loops will cover it. Keep it out of the knife's path for now.
Put the fabric under the foot on top of the chain, with the edge against the knife, and lower the foot.
Overlock 2–3 cm over the chain, then swing whatever is left of the chain out to the right so the knife trims it off.
On a neckline or a sleeve hem that goes round in a circle, overlap the start by three or four stitches, steer off the edge, and thread the tail back under the loops.
Away from the needle
A good deal of what decides whether an edge holds up happens away from the needle. Timing is the big one on loose weaves. The fabric sheds a little with every handling, and a piece that has been pinned, tried on, unpinned and stacked for a week has already lost yarns along the edge before it reaches the knife, so overlock the day you cut if you can, and before any fitting. Then there's the matter of where the allowance goes, because the knife has to cut and every cut eats seam allowance. With a 1.5 cm allowance, set the blade to shave 1–2 mm and you still have room to fit. A 1 cm allowance on a fabric that sheds doesn't leave that room, so cut the pieces 3 mm wide on the seam edges, or sew the seam first and overlock the allowances together.
Not every edge needs finishing, either: one that's fully enclosed under a waistband or a facing on a stable fabric can go as it is, but a lining usually leaves the allowances reachable at the hem, where a loose weave will still shed.
The knife and the stitch finger need more looking after on these fabrics than on anything else. Fluff packs under the needle plate and around the finger quickly, and once it builds up there the loops stop forming cleanly. The same fluff on the knife blunts it, so brush out between pieces rather than at the end of the project. One of the two knives is meant to be replaced by you and the other by a technician; the manual says which, and it's the replaceable one, usually the cheaper of the pair, that wears first. When the cut edge turns fuzzy or the blade starts pushing fabric instead of slicing it, fit a new knife before you touch anything else. Keep pins well inside the seam line, or use clips, and pull them out before they reach the foot, because a pin nicks either blade, and a chipped blade or a burred stitch finger snags yarns on every pass.
Too much presser foot pressure drags a loose edge out of shape as it feeds; lighten it and let the differential feed hold the edge flat instead. Look at the stitch finger before you start, too. A rolled-hem lever left in the rolled-hem position forms the stitch on a narrow finger and rolls the edge under, which is fine for chiffon but on a loosely woven linen makes a rolled edge that pulls away from the cloth, so it wants to be in the standard position for finishing. Woolly nylon is still nylon: a hot iron flattens it and can melt it, and the fluffy coverage you chose it for ends up as a hard ridge, so press those edges under a cloth at a synthetic setting. On thin fabric a dense overlocked edge also prints through to the right side when pressed, so slip a strip of paper between the allowance and the garment first.
Seam slippage
When the stitches are intact and the yarns are pulling sideways out of the weave, the edge finish is already doing all it can, and the work has to go into the seam itself. Slippage is a property of the fabric. AMANN's page on it lists the usual causes: too little grip between warp and weft yarns, loose constructions, and finishes that let the yarns move.
What helps:
Sew the seam on the sewing machine with a straight stitch, four or more to the centimetre, with at least 1 cm of seam allowance and more on anything fitted. A lockstitch spreads the pull along the seam more evenly.
Fuse a strip of light interfacing along the seam line and sew through it, or sew stay tape in. For critical seams AMANN says an inlay bonded along the seam line before sewing can be effective; the strip of fusible is the home version.
Topstitch the allowance to one side, or press it open and edgestitch both sides, so the seam line isn't the only thing holding the layers.
Underline the whole piece with silk organza, batiste or a light fusible, which is what tailors do with bouclé.
Give the garment ease, since the strain across a fitted seam is what pulls the yarns out.
Liquid fabric conditioner lubricates the yarns, and the effect is big enough to measure. A 1999 study at the SGS laboratory washed test seams once with conditioner in the final rinse and then measured how hard they were to open: plain and satin weaves lost close to half their resistance to slippage, jacquard and twill about a third. The fabrics that slip are the ones this matters for, so on a loose or filament-yarn fabric leave the conditioner out of the wash.
Before you cut a new fabric, do the thumb test: sew a short seam on a scrap, pull the two layers firmly apart across the seam, and watch the yarns. Labs measure the force it takes to open a seam by 6 mm, and if your thumbs can open a gap you can see, go denser on the stitch and add tape before the garment gets cut.
Washing a sample
You won't know whether a setting holds until it's been through the washing machine, so before the garment, launder two scraps of its fabric overlocked with the settings you plan to use, one with the ends secured and one with the tails trimmed flush. Wash them in a normal load at the temperature the garment will get, and dry them the way the garment will be dried. Look at both after the first wash and again after the third; if you then repeat the test with new settings, change one thing at a time or you won't know which one fixed it. Whiskers between the loops mean more density or a wider bite is needed, and a run at the flush end is what every unsecured seam in the garment will do. A wash won't show slippage, so pull the two layers of a seamed scrap apart as well and look beside the stitch line.
Repairs
Look at the seam before you unpick anything, because the three failures need different repairs, and only the first two are quick.
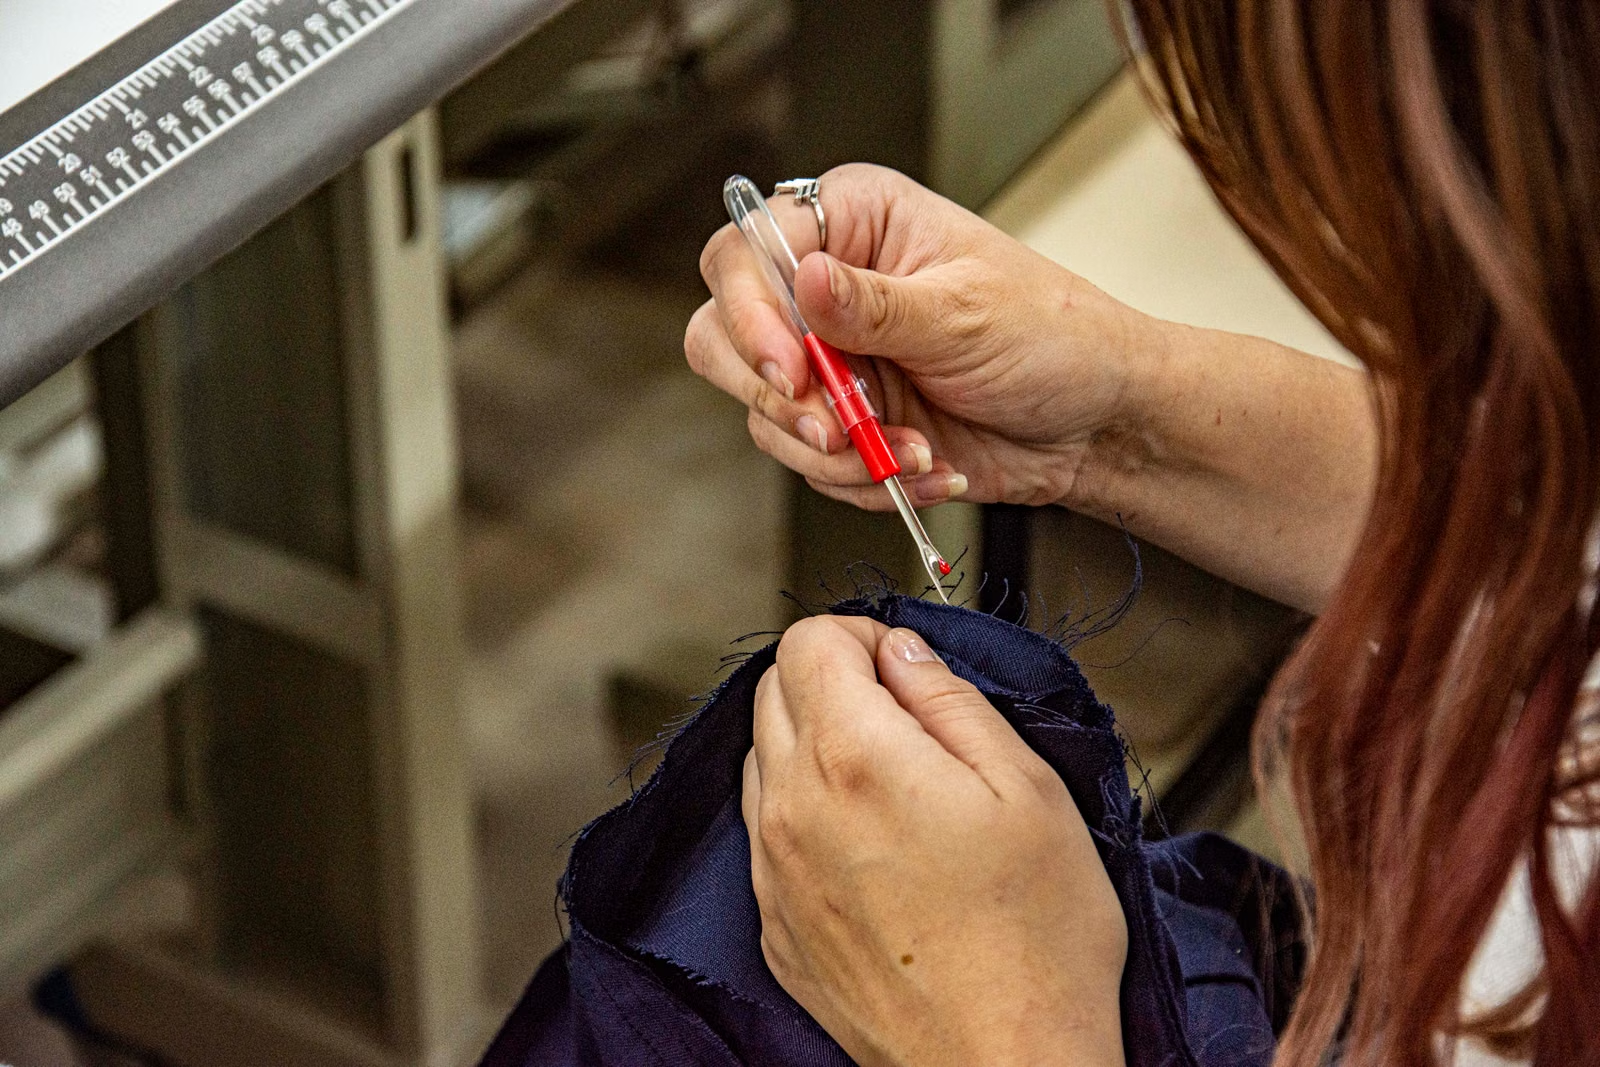
If the chain has run, don't pull the loose thread, because it'll take more of the seam with it. Unpick back to sound stitching, thread the loose ends under the loops with a needle and seal them. If the bare stretch is more than a few centimetres, re-overlock it, starting 2–3 cm inside the good stitching with the knife taking a sliver, and finish with one of the methods above. Where the fabric has already frayed back you may need a slightly deeper cut, so check the allowance can spare it before the knife goes in.
Another pass sorts out whiskers: a shorter stitch, a wider bite and the knife taking off the frayed fringe. When the allowance can't afford another cut, a three-step zigzag sewn over the existing overlocking on the sewing machine adds cover without taking any fabric away.
For slippage the seam has to come open: press the allowances flat, lay stay tape along the seam line on the wrong side, re-sew the seam on the sewing machine the way the slippage section describes, then overlock the allowances. If the fabric has already torn away beside the stitch line, the seam has to move inward into sound cloth, so check the fit first. If the garment failed because it was tight, moving the seams inward makes it tighter still, and the only lasting repair is more ease, which can mean letting out whatever the allowances will give or recutting a piece.
Without an overlocker
The overcast stitch on a sewing machine, with an overcast foot, does the same job more slowly, and a zigzag just inside the raw edge with a straight stitch next to it comes close. For fabrics that shed badly, the three-step zigzag spreads the thread over the edge better than a plain zigzag. For sheers, a French seam encloses the raw edge completely and is usually the better answer whether you own an overlocker or not. Pinking won't do the job on its own, because a pinked edge still ravels, especially in loose weaves and anything that gets washed a lot.
Sources
AMANN Knowledge Hub, Selection of processing parameters for overedging
AMANN, How to prevent seam slippage: causes and practical solutions
Just Style, Seams in Good Condition (1999)
Katrina Walker, Tips for troubleshooting serger issues, C&T Publishing (2024)