How to Create Your Own Custom Sweatshirts Design
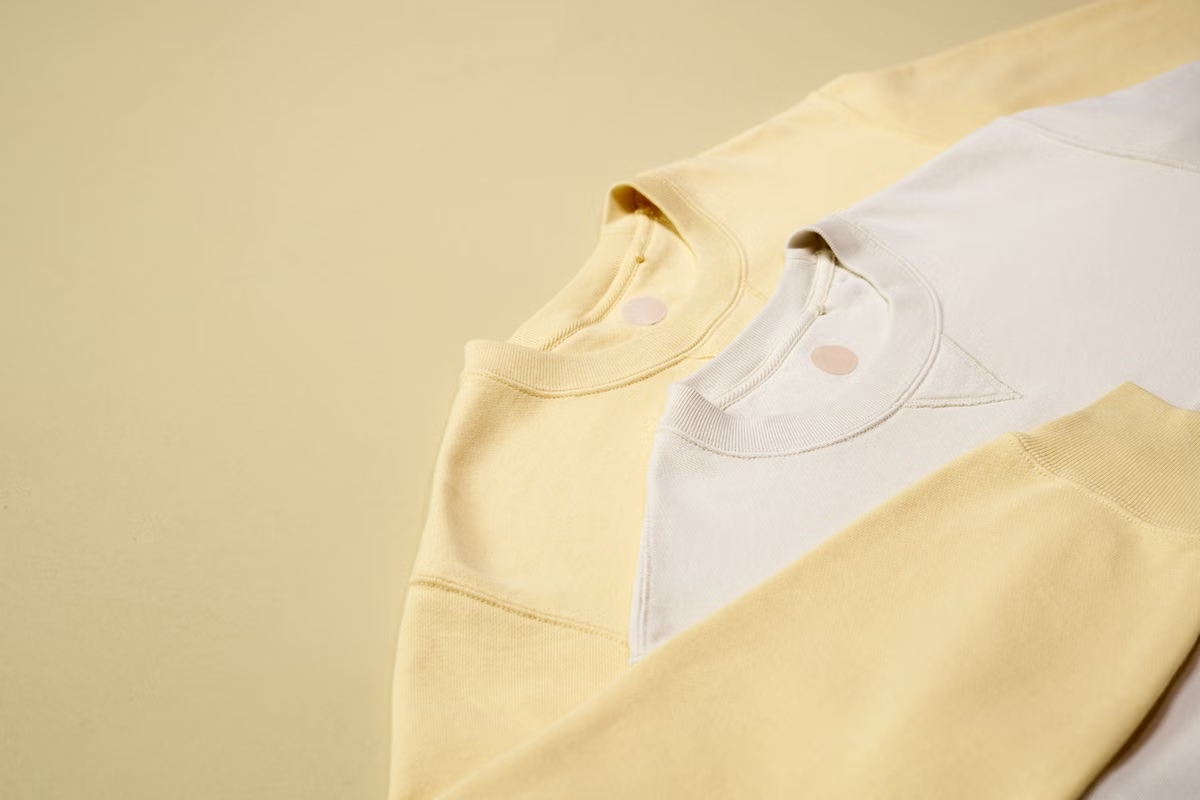
For a ceramics club sweatshirt, a cup sketch could sit below the club’s name on an oatmeal crewneck. The drawing only needs a brown outline; the fabric supplies the color inside the cup. Rust-colored lettering would give the design a second ink color.
Working on the Drawing
A pen sketch works for the cup. After scanning it into a graphics editor, the club name can be added as text. The drawing stays on its own layer so there’s room to adjust its size as the lettering takes shape. A photograph or an illustration drawn directly in the editor can be used in a design, too.
“Clay Club” could follow a shallow curve above the cup, with the town on a straight line underneath. If the club name needs two lines, the cup may have to sit lower to make room. The town name also needs some space around it. At the intended print size, it should read as a separate line beneath the drawing.
With the full name in place, the gaps between letters become easier to judge. A gap beside a wide or angled letter can look larger than the other spaces, even with the same spacing setting. Those gaps can be adjusted individually in the working file.
Finding the Sweatshirt
For a group order, I’d get one of the actual blanks before paying for the printing. There’s a chance to try the fit and feel the fabric, and it becomes the sweatshirt used for the paper layout. Its style code and color name can go straight into the quote request.
A sweatshirt from the wardrobe gives the size chart something to compare with. Say it measures 58 cm across the chest. A blank measuring 60 cm at the same point adds about 4 cm around the body. For a shorter fit, a line marked 3 cm above the existing hem shows where the proposed length would end. The ribbed band at the bottom matters here: a snug band pulls the hem inward and gathers fabric above it.
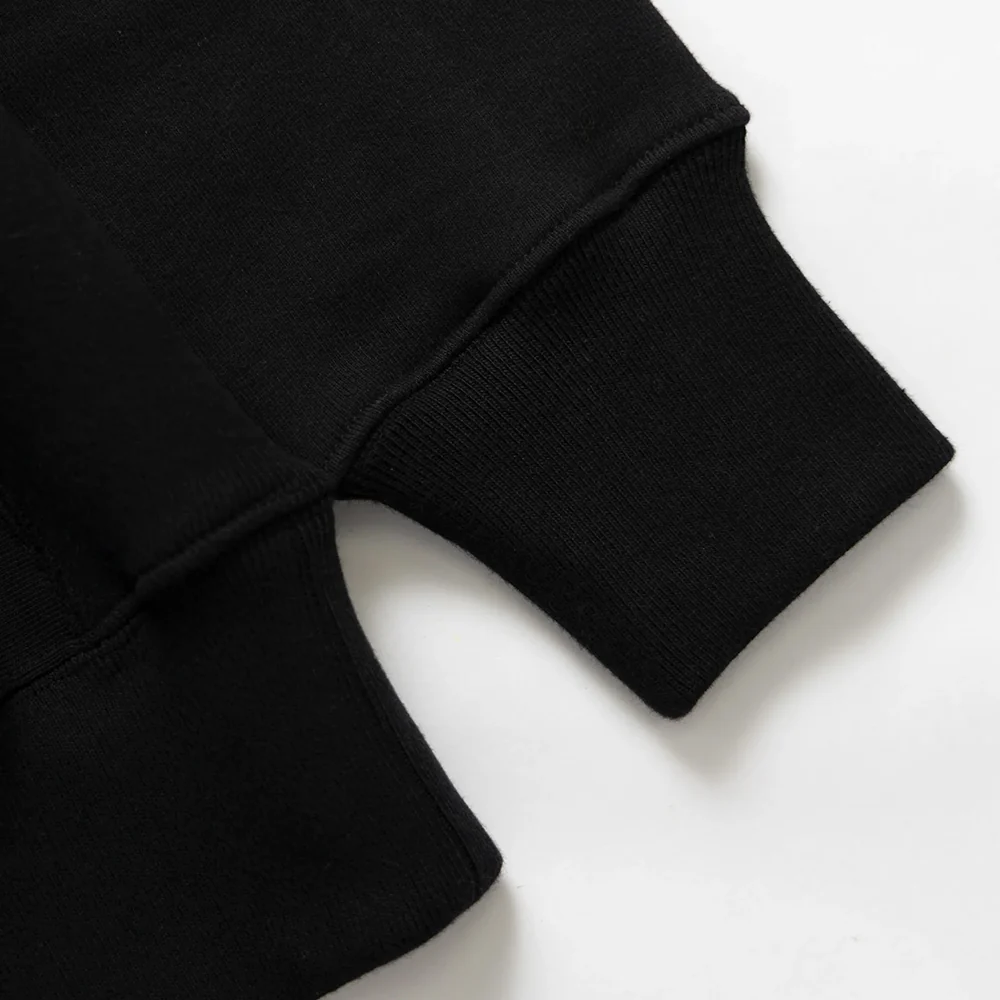
The inside of French terry has small loops. Brushed fleece has a fuzzy surface against the skin. A fabric label such as 350 GSM gives the weight in grams per square meter. The knit and finishing also affect how the fabric feels, so a sample is useful when choosing material for a sweatshirt made from scratch. A piece large enough to fold over the hand gives a sense of its thickness and how it hangs. The maker can send the ribbed cuff and waistband material with it.
Making Room for the Graphic
The cup design can be printed on paper and tried on the sweatshirt. A 28 cm-wide copy gives this example a starting size. Moving it a little higher or lower changes the space between the name and the neckline, as well as the room left beneath the cup.
It’s useful to see that paper layout with the sweatshirt on. The fabric curves around the body, and the sides of a wide drawing can wrap toward the arms. A back print on a hoodie needs room beneath the resting hood. For sleeve lettering, the words should be checked with the arm down, where they’ll sit during ordinary wear.
Across a group order, the same graphic can take up a lot of the front on a small size. A 28 cm print covers a little over half the chest width of a sweatshirt measuring 50 cm across. The layout may need a second print size for part of the order.
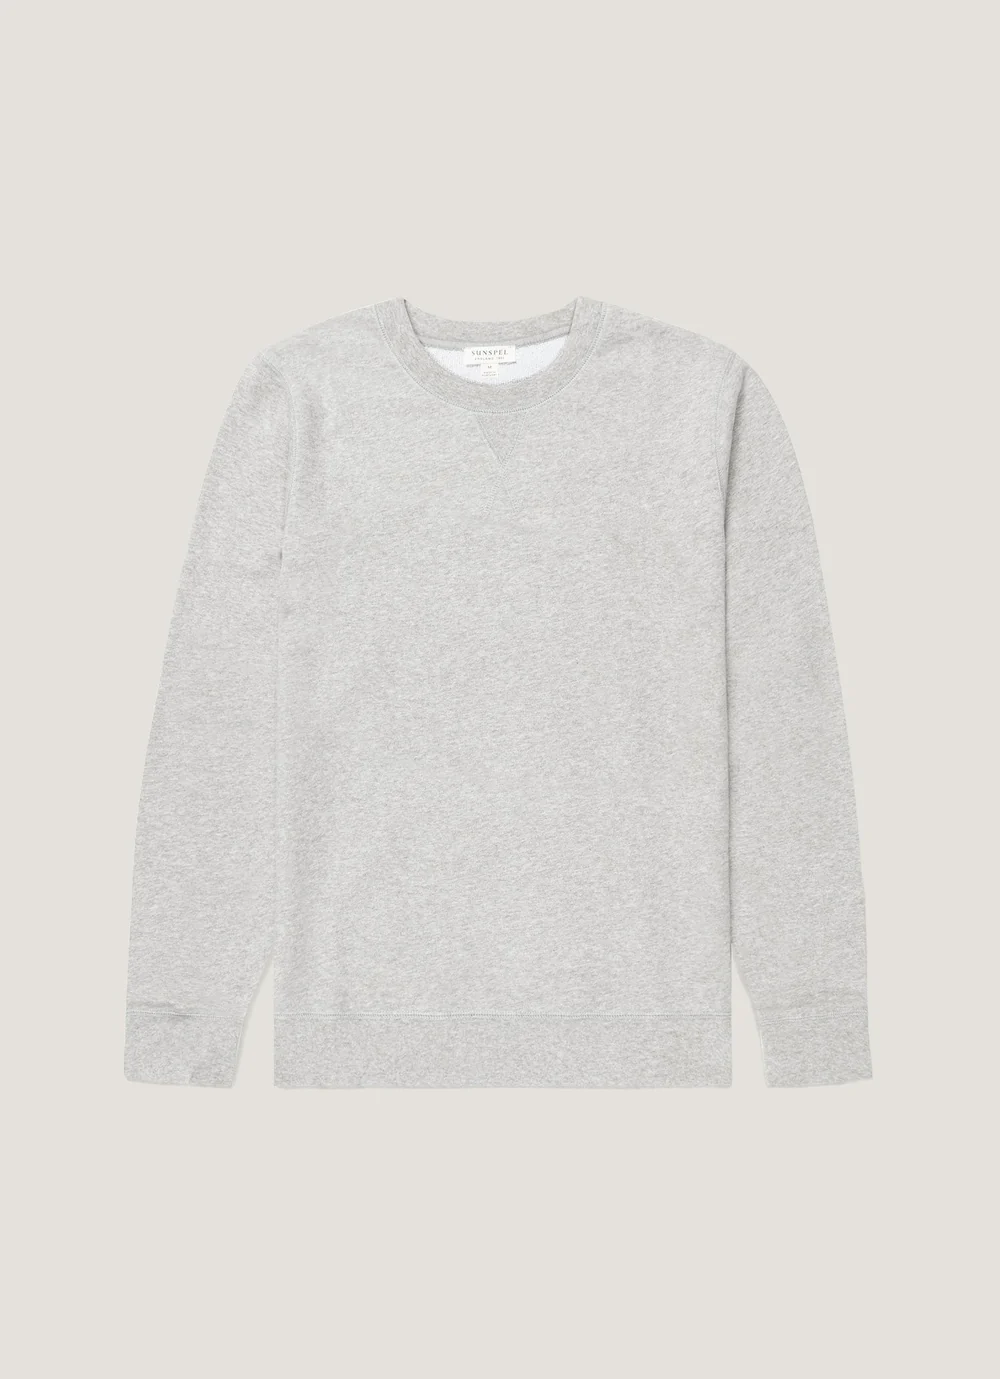
After trying the position, a short note gives the printer the dimensions:
Front artwork: 28 cm wide, centered on the chest, with the top of the visible design 7 cm below the center-front neckline seam.
Any sizes using a different print width can be listed beside the sweatshirt photo.
Printing the Design
The cup outline and lettering make a two-color front print. A shop can quote that for screen printing, where each ink color normally needs a separate screen. A sleeve print would add another location to the job. The sweatshirt color also belongs in the request, since it affects the ink setup.
For a photo or a shaded illustration, the conversation may move to digital printing:
| Method | How the artwork goes onto the sweatshirt |
|---|---|
| DTG | Ink is printed directly onto a suitable garment, often a cotton-rich sweatshirt. |
| DTF | The image is printed onto film and transferred to the fabric with heat. |
A sample on the chosen sweatshirt shows how the image looks and how the printed area feels as the fabric bends. On polyester, heat can also cause dye from the sweatshirt to move into the artwork. The shop needs the actual garment color and planned ink or transfer to test that combination.
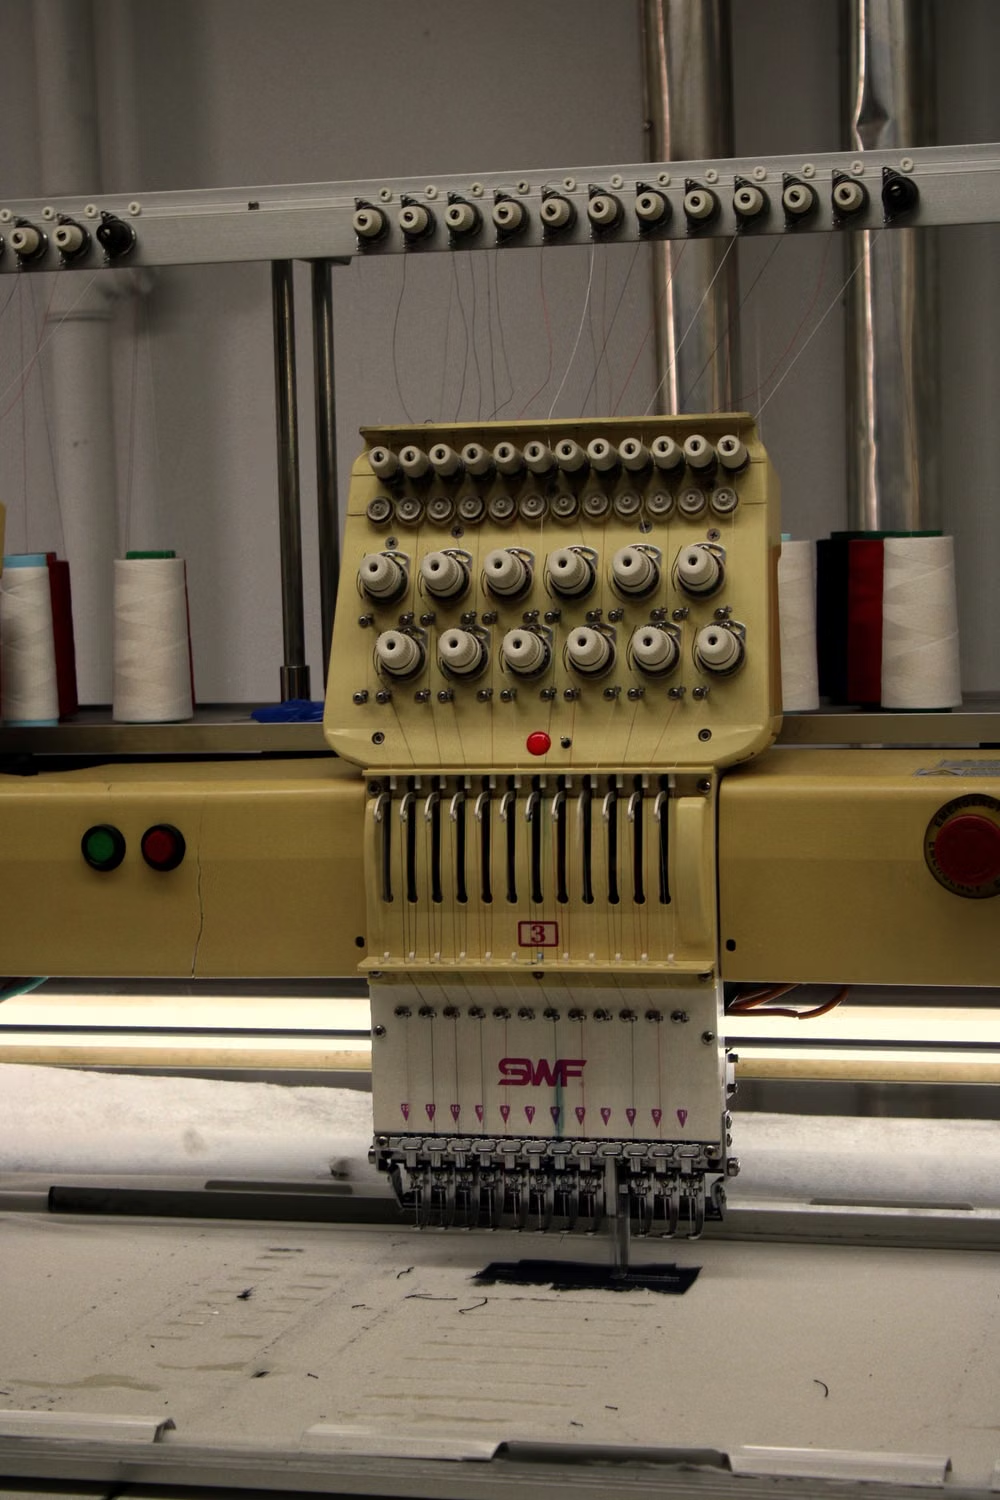
Initials or a small emblem can be embroidered. Small text is the detail to discuss with the embroiderer: Printful’s flat embroidery requirements, for example, specify letters at least 0.25 inches high, about 6.35 mm. Its minimum line thickness is 0.05 inches, about 1.27 mm. A sample of the smallest lettering sewn on the chosen fabric will show whether the words are readable at that size.
Getting the File Ready
The print size determines how many pixels an image needs. For a 12-by-10-inch design at 300 pixels per inch, that’s 3,600 by 3,000 pixels. A photograph placed inside the design needs enough pixels for the space it occupies, too.
The print shop can provide the export settings. Printful asks for 150–300 DPI depending on the product and recommends sRGB color. A PNG can keep the space around the cup transparent. For vector artwork, a shop may ask for a PDF with the lettering converted to outlines, which saves the letter shapes in the file. An editable copy can stay in the original working file.
The files to send are straightforward:
- The artwork at the agreed print size, with a separate file for each printed area.
- A picture showing the artwork on the sweatshirt, marked with its width and distance from the neckline.
- A note identifying any garment sizes that use a different print width.
Getting a Price
For the club order, the request could read:
I’d like a quote for 60 crewneck sweatshirts with a two-color front print, 28 cm wide. I’ve attached the artwork, its position, the blank style and color, and the sizes required. Please include a printed sample, setup, packaging and delivery in the price, with an estimated delivery date for the full order.
The size list could be 10 small, 20 medium, 20 large and 10 extra-large. A sweatshirt made from scratch also needs the chosen fabric and garment measurements. The supplier may set a minimum for each style or color, which needs to be checked against the proposed order split.
The delivery date includes time for the sample to arrive and be tried on. Changes may require another sample. The shop can explain when its production clock starts and whether the quoted days are working days or calendar days.
Setup and shipping sometimes appear as separate charges. A $90 setup charge spread across 60 sweatshirts adds $1.50 to each one. Quotes can be compared using the full total, including delivery to the same destination.
Trying the First Sample
Try on the sample with the shirt that will usually be worn underneath it. Reaching forward gives a feel for the room across the back. The sleeves should also feel comfortable with the elbows bent. A large print can be felt as the sweatshirt moves, and embroidery has backing on the inside that may touch the skin.
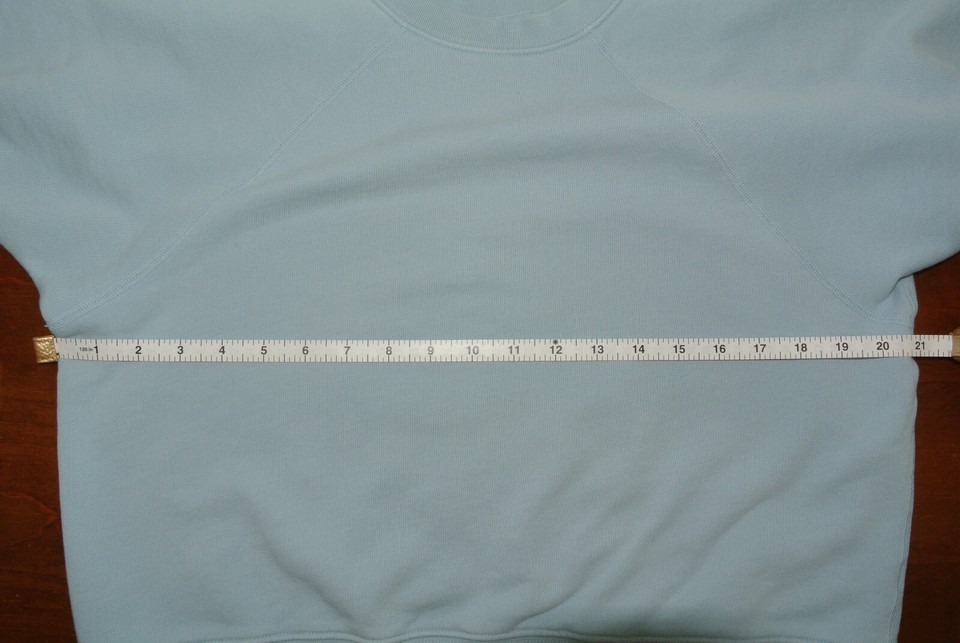
A few photos and measurements before washing give something specific to compare afterward. The photos can show the small lettering and print edges. Chest width, body length and the relaxed cuff and waistband openings can go beside them. After washing according to the care instructions, let the sweatshirt dry fully and rest flat, then measure the same points again. Keep the wash and drying settings with the record of any change in size.
If a sweatshirt that was 68 cm long now measures 66 cm, trying it on again shows where the hem sits. The earlier photos also help show changes in the lettering or puckering around embroidery. For a batch order, keep a separate, unwashed pre-production sample in the chosen fabric and color as a reference.
A marked photo can go back to the printer with a direct request: “Please set the top of the front design 8 cm below the neckline seam and keep the print 28 cm wide.”