Drop Shoulder Cuts and the Lowered Seam
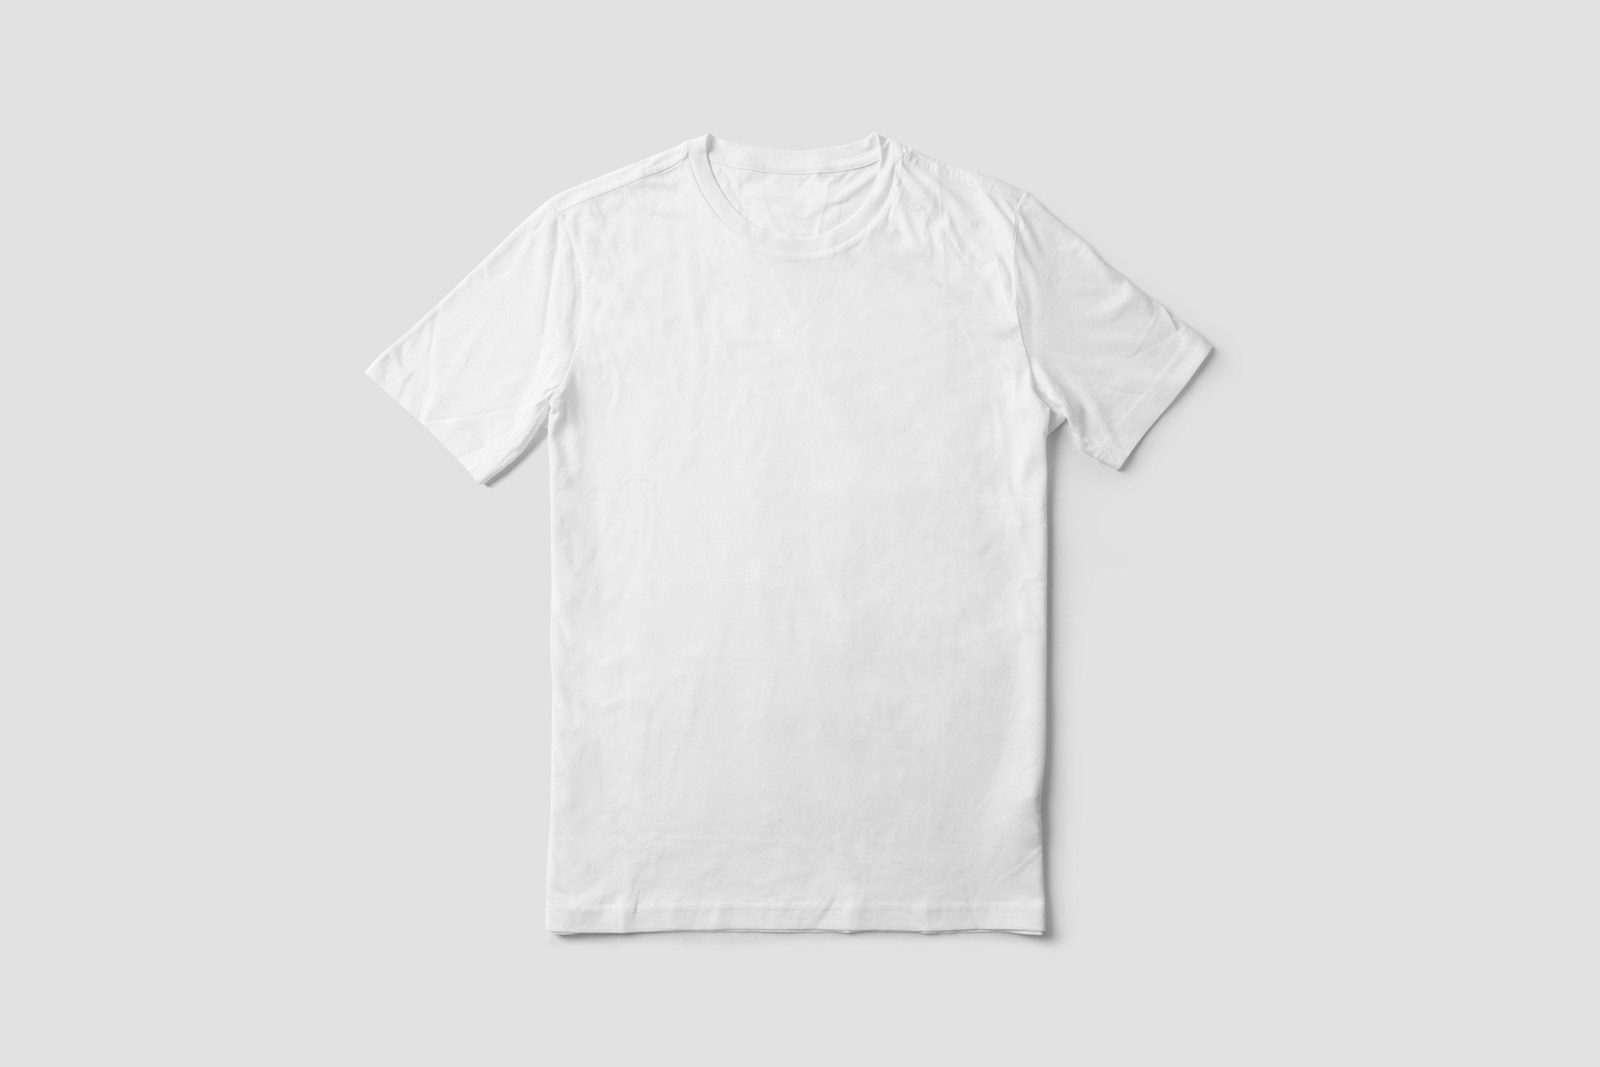
A drop-shoulder cut extends the body of a garment beyond the wearer’s natural shoulder point, placing the sleeve attachment farther down the upper arm. The extra fabric passes over the shoulder and creates the broad, relaxed outline familiar in T-shirts, sweatshirts, sweaters and loose dresses.
On a garment with separately sewn sleeves, the shoulder seam runs from the neckline to this lowered attachment, where it meets the armhole seam surrounding the sleeve opening.
The pattern has to accommodate that extension. The upper body covers more of the arm, the sleeve begins from a new position, and the joining curves must fit together. Shoulder slope and the shape beneath the arm influence how the garment hangs once those pieces are assembled.
Where the Extra Shoulder Length Goes
One drafting method transfers part of an existing sleeve head onto the front and back body patterns. The sleeve head is the curved upper portion of the sleeve. Moving some of that area onto the body extends the shoulder and leaves a shorter separate sleeve.
The extended shoulder line also needs to sit correctly around the wearer. Simply continuing the original slope can shift its endpoint forward. The front and back have to be considered together when the new shoulder line is drawn. If the shoulder seam itself is moved toward the front, the sleeve reference marks need to follow that position so the sleeve hangs in the intended direction.
For a development sheet, armhole depth should have its own measurement. One workable method is to measure vertically between a horizontal line through the side-neck point and another through the underarm joining point, with the garment laid flat and the center front kept vertical. This keeps changes to the underarm position separate from changes to shoulder width.
For an illustrative long-sleeve sample, lay the garment flat and smooth it gently without stretching. Measure horizontally between the points where the shoulder seams meet the sleeve joins. Increasing that width from 50 cm to 60 cm, with a centered neckline and symmetrical alteration, adds 5 cm on each side.
The sloping shoulder path needs a separate measurement. Suppose the original garment measures 18 cm from the side-neck point along the shoulder seam, followed by 58 cm through the sleeve and cuff. The full route is 76 cm. After redrawing the shoulder, the first section measures 23 cm.
23 cm along the shoulder + 53 cm through the sleeve and cuff = 76 cm.
The 23 cm figure comes from measuring the revised sloping seam. Its relationship with the added horizontal width changes with shoulder angle. On the sample, mark the wearer’s natural shoulder point and check where the new sleeve join settles. The cuff position is checked with the arm relaxed.
Commercial garments can use a longer measurement route. The District DT1104 drop-shoulder hoodie, for example, measures from the center-back neckline, through the shoulder area, to the finished sleeve hem. Its medium size is listed at 32¾ inches, approximately 83.2 cm. The extended shoulder is part of that total measurement.
Matching the Sleeve Head to the Armhole
Before fabric is cut, the sleeve and body patterns are checked along their sewing lines. Patternmakers often call this walking the sleeve. The sleeve curve is progressively matched around the armhole while the distances between the front, back and shoulder reference marks are checked.
Suppose the front armhole sewing line measures 25.5 cm and the back measures 27 cm. Their combined length is 52.5 cm. A sleeve-head sewing line measuring 54 cm contains 1.5 cm, or 15 mm, of ease.
54 cm sleeve head − 52.5 cm armhole = 1.5 cm sleeve-head ease.
This extra length sits along the joining curve. Sleeve-cap height is another measurement, taken from the upper-arm reference line toward the top of the cap.
A documented drop-shoulder jacket development uses approximately 15 mm of total sleeve-cap ease. The attachment position is established first, followed by revisions to the body armhole and sleeve head.
The distribution of the ease matters. A correct total length can still leave too much fabric in one portion of the sleeve. Walking each section between its reference marks shows where the extra length sits before the garment is sewn.
Knitted sweaters can form the lowered attachment during knitting. On some constructions, stitches are picked up around the completed armhole and the sleeve is worked toward the cuff. In that arrangement there is no separately inserted sleeve head.
What Happens During a Forward Reach
During a fitting, watch where the garment first becomes tight when the wearer reaches forward. Pressure may appear around the upper arm, across the back or near the front neckline.
Use the same wearer and inner layer when comparing samples. Begin with the arms resting at the sides, then raise both arms forward to shoulder height and continue overhead. The front-center hem can be measured against a fixed reference so its upward movement is recorded in centimeters.
A useful fitting note might read: “The upper sleeve grips before the arms reach shoulder height, and the front neckband presses against the throat.” This identifies the location and the point in the movement where the restriction starts.
The upper-arm measurement is taken at the fullest part of the arm and compared with the garment at the same level. In an illustrative example, a 32 cm upper arm inside a 38 cm garment circumference has 6 cm of ease. A simple symmetrical sleeve measuring 38 cm around would be approximately 19 cm across when laid flat.
A deep drop can place the sleeve attachment below the fullest part of the upper arm. The area that feels tight may then sit inside the extended body panel. Mark the pressure point while the garment is still being worn before checking it flat.
A spare fitting sample can be opened temporarily along the restrictive seam. Repeating the same reach shows whether additional room at that location changes the movement.
Soft folds beneath the arm are common in relaxed drop-shoulder garments. They move as the arm changes position and can remain part of the intended silhouette.
The Fabric’s Fold Over the Shoulder
The extended body panel has to bend over the shoulder before reaching the sleeve. Fabric with a crisp hand tends to hold the resulting folds more visibly, while greater drape lets the same area settle closer to the body.
A fitting sample should therefore use material close to the intended production fabric in weight, thickness and drape.
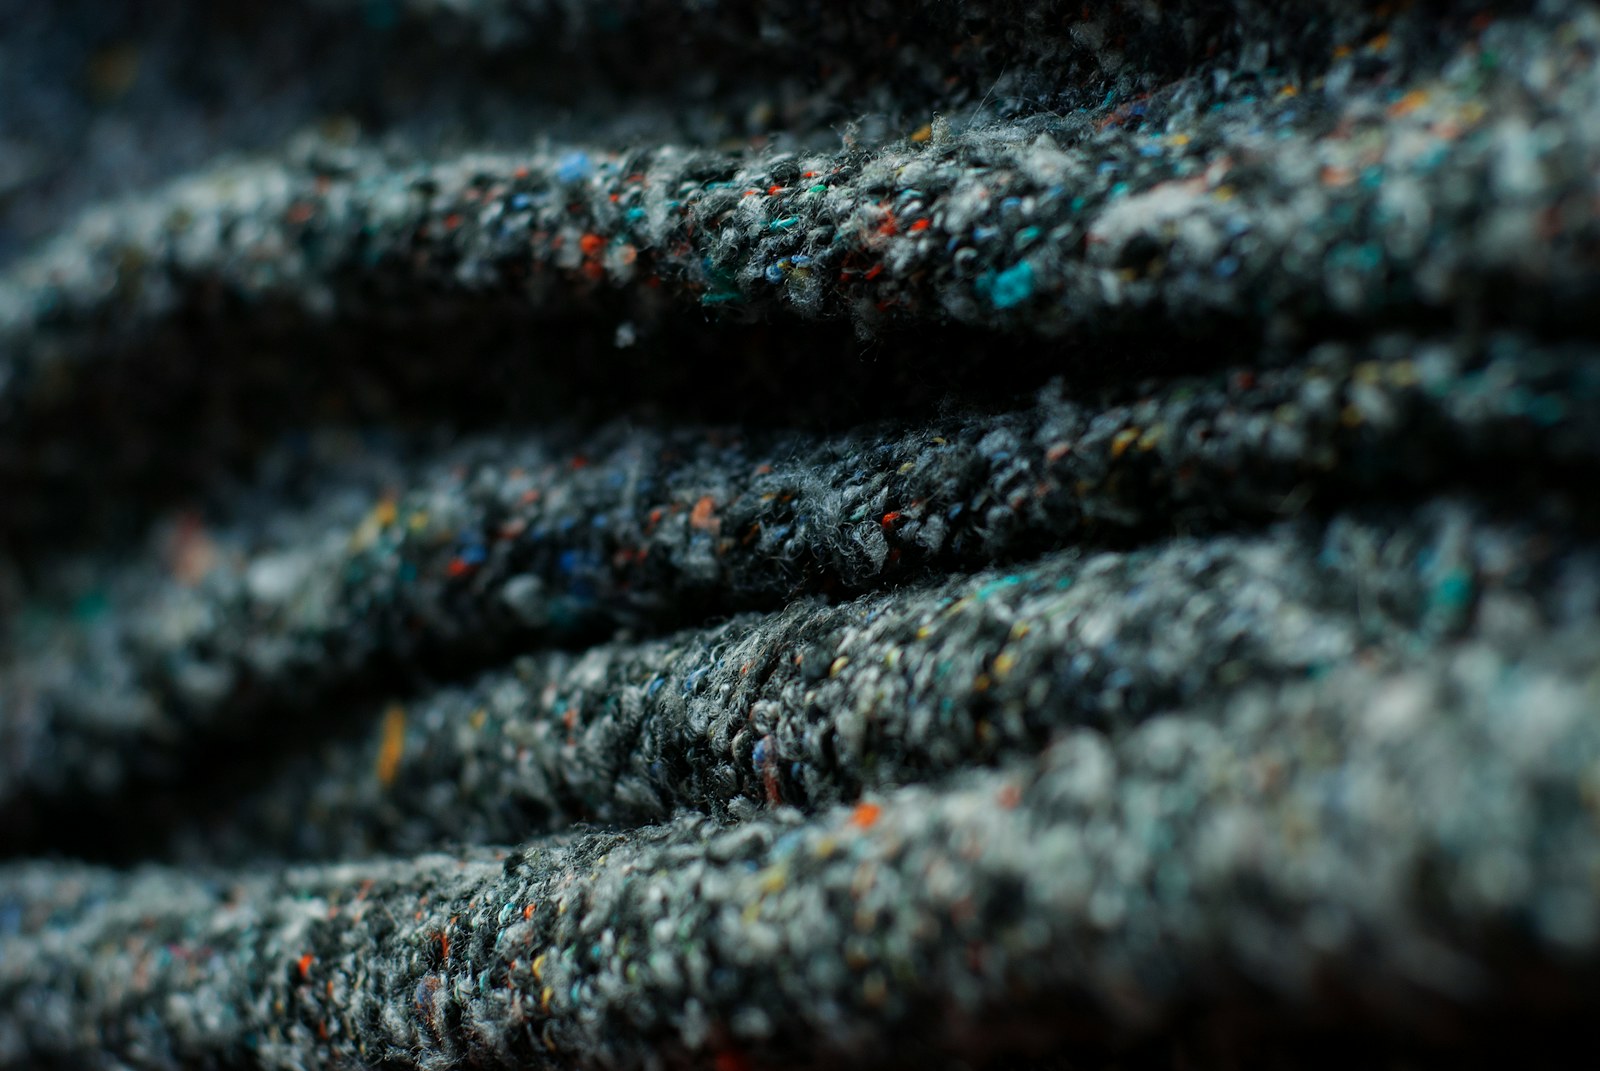
A commercial heavyweight T-shirt provides one useful reference. AS Colour’s Heavy Tee 5080 combines dropped shoulders with 280 GSM carded cotton, wide neck ribbing and shoulder-to-shoulder tape.
Layered outerwear creates a different amount of material around the join. A quilted or padded sample should include the actual outer cloth, filling and lining around the shoulder and armhole. With the arm relaxed, check the ridge created by the seam allowances and the amount of material gathering underneath. During a forward reach, watch the lining inside the front armhole and the pressure of the join against the upper arm.
A Short Body Can Keep the Dropped Shoulder
A dropped shoulder does not require a long torso. AS Colour’s Heavy Faded Minus Tee 5086 combines dropped shoulders with 240 GSM carded cotton and a body advertised as approximately 5 cm shorter than its regular Heavy Faded Tee.
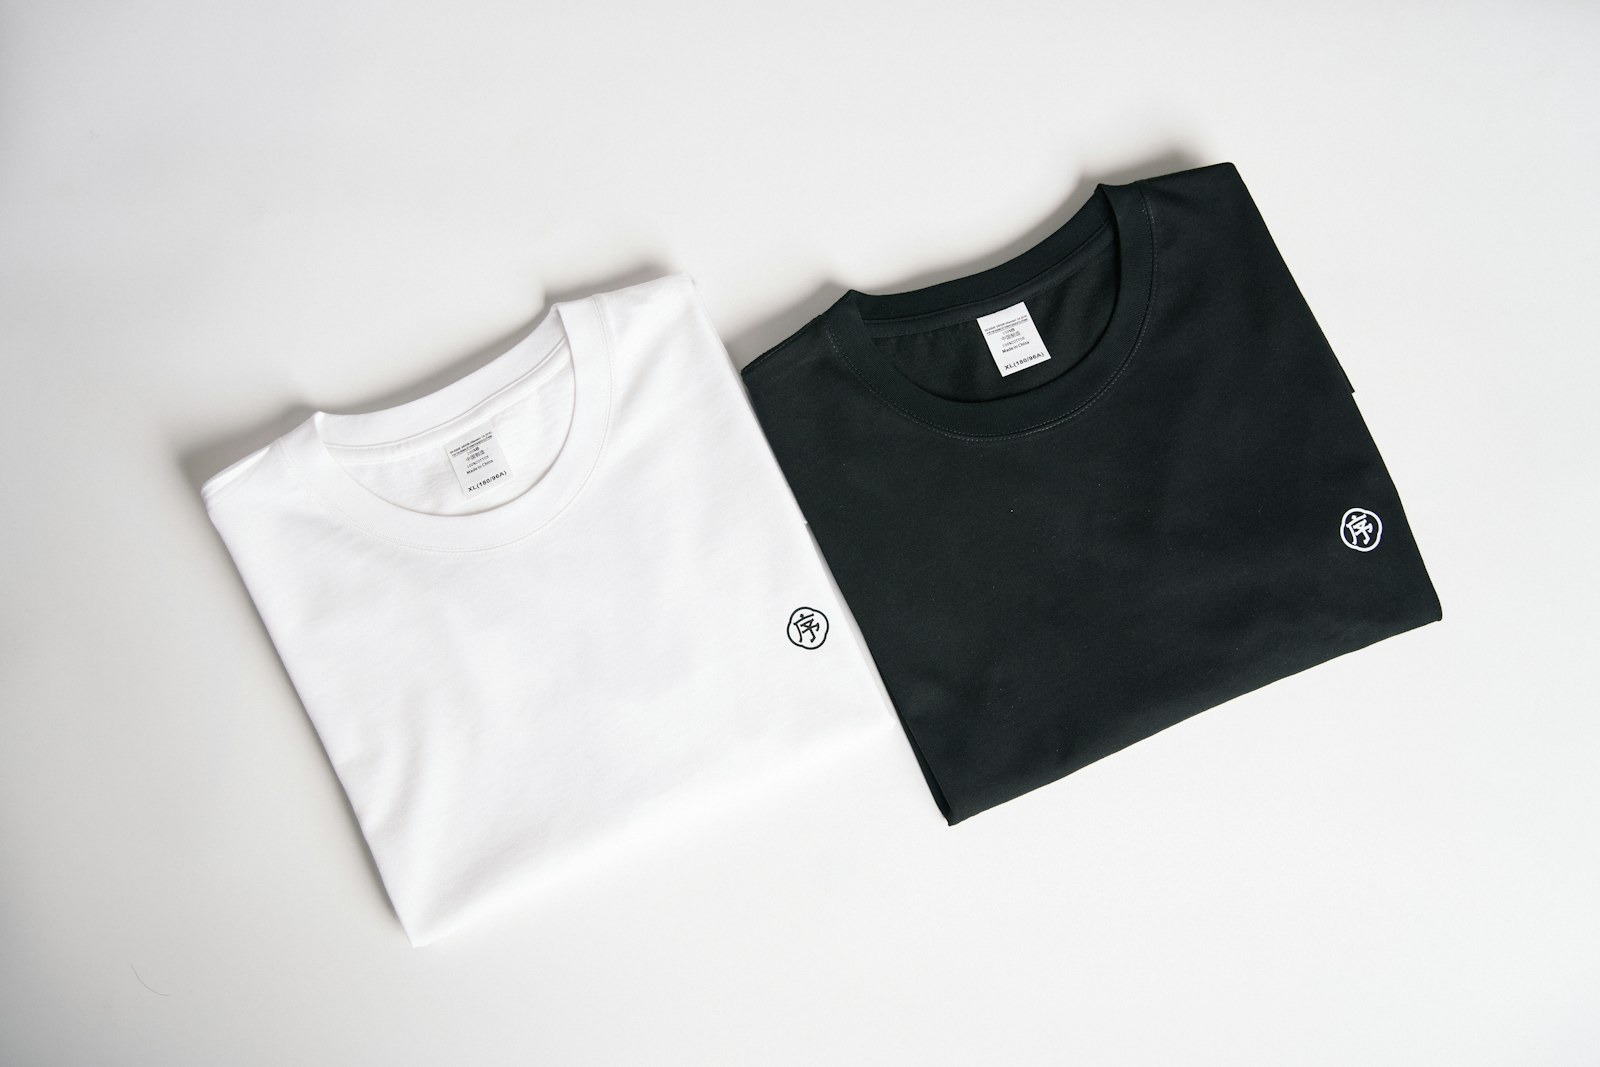
Chest room has its own measurement. In an illustrative symmetrical top, a flat chest width of 60 cm gives an approximate circumference of 120 cm. On a wearer with a 100 cm chest, the garment has 20 cm of positive ease.
The patternmaker can keep this chest circumference while shortening the body or moving the sleeve attachment. Those changes do not need to progress by the same amount.
The Frida shirt provides another documented proportion. It uses dropped shoulders and slightly forward shoulder seams with approximately 35 cm of full-bust ease. The pattern includes cropped and hip-length versions, and its larger size group adds front length for a fuller bust.
When the Stitch Line Looks Wavy
Persistent ripples along a sleeve join can come from sewing tension or uneven feeding.
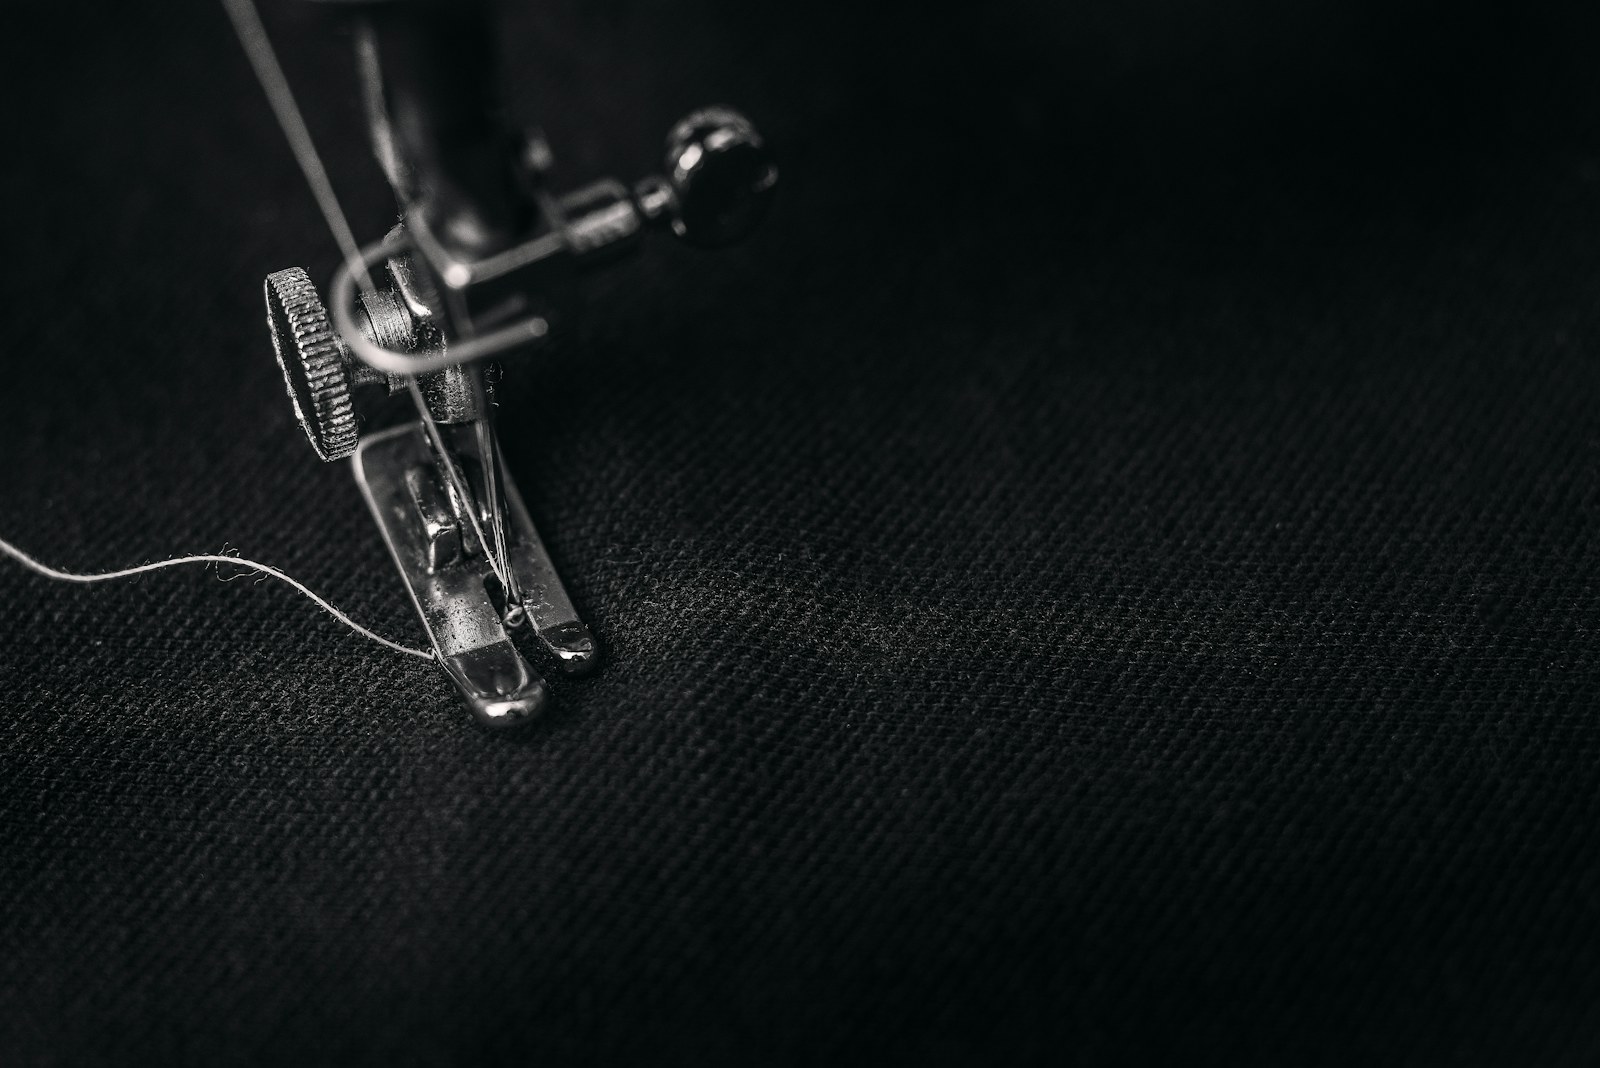
For a spare lockstitch trial, a short section of the upper and lower threads can be carefully cut without disturbing the fabric. If the puckering relaxes in that section, excessive thread tension is contributing to the problem. The trial seam can then be sewn again with lighter, balanced tension.
Unequal feeding can be checked on another spare seam. Make two cuts across the test seam and remove the stitching between them. A difference between the released layer lengths shows that one ply travelled farther than the other during sewing.
Presser-foot pressure, machine feed and the way the fabric is handled can then be examined. A knit seam made with overlock equipment has to be tested with its actual stitch structure and production settings.
Rippling can also appear after laundering when the fabric, thread or reinforcing tape changes size at a different rate. The washed seam trial should contain the same thread, tape and seam construction intended for production.
Measuring the Shoulder After Washing
The shoulder extension forms part of the garment’s overall neck-to-cuff length. Before laundering, record the relaxed shoulder width, the side-neck-to-sleeve-join path and the complete sleeve length.
After the garment completes the selected washing and drying procedure, lay it out in the same condition and repeat the measurements along the same routes.
For an illustrative result, a shoulder width of 60 cm before washing measures 58.8 cm afterward. The garment has lost 1.2 cm across this measurement.
(58.8 − 60) ÷ 60 × 100 = −2% dimensional change.
The allowable percentage comes from the specification for that style. Shoulder width, the neckline-to-sleeve-join measurement and overall sleeve length can have their own tolerances.
If new ripples appear around the sleeve attachment after washing, record their location together with the dimensional results and the fabric, thread and reinforcement used in the sample.
Keeping the Shape Across Sizes
Increasing a garment size does not require every upper-body measurement to grow at the same rate.
District’s DT1105 cropped crew illustrates this through its published measurements. From medium to large, flat bust width increases from 20¾ to 22¼ inches. Back length increases from 20 to 20½ inches, and center-back sleeve length moves from 32½ to 33⅛ inches.
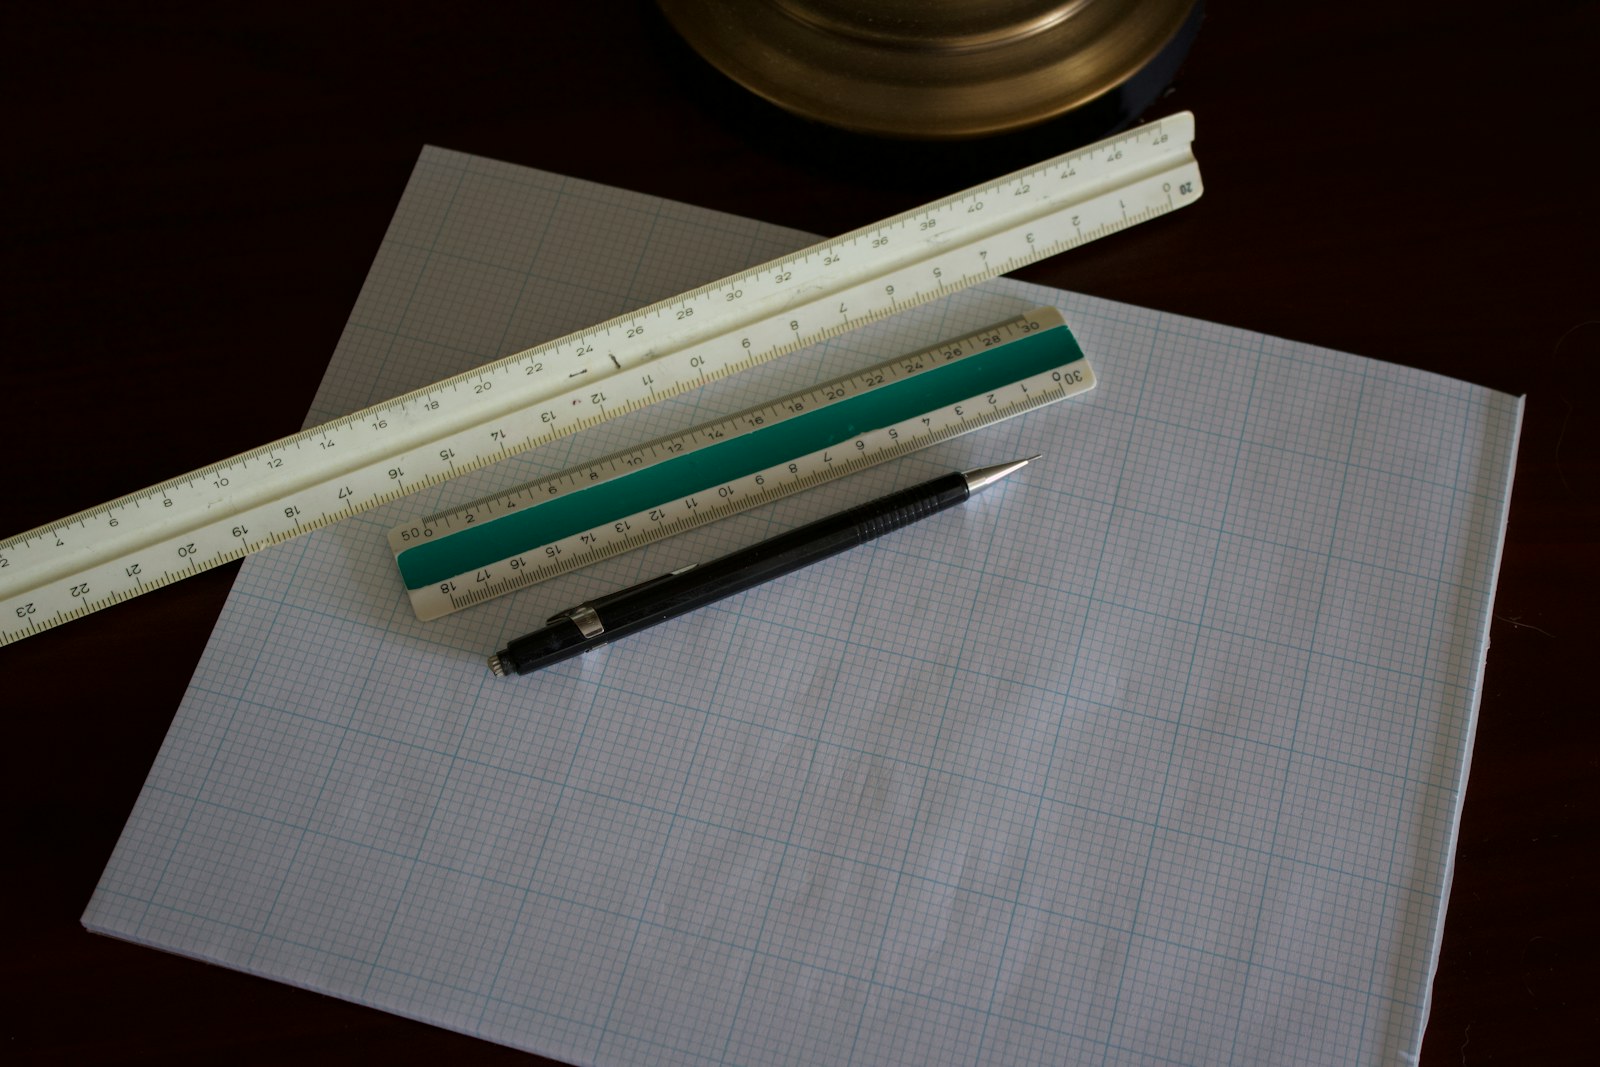
Its published measurement sheet does not include shoulder width, so the sleeve join has to be checked separately if the position of the drop matters to the design.
During a size-set review, try the base size, smallest size and largest size on wearers whose measurements correspond to the intended size chart. Mark each wearer’s natural shoulder point and the position of the sleeve join. Check the cuff with the arms relaxed and repeat the same forward-reach movement used during development.
If a larger size places the join much farther down the arm and also leaves the cuff too long, trace the additional length through the shoulder and sleeve patterns. When the upper arm feels tight, measure the garment at the marked pressure point, including any part of the arm covered by the extended body panel.
Some patterns change the construction itself as the size range grows. Brooklyn Tweed’s Balan cardigan, for example, adds underarm shaping in sizes 3–9, creating a modified drop-shoulder shape through that part of the range.