What Is Sublimation Printing and How to Order It
Sublimation printing colors polyester with dye that turns into a gas under heat. The gas soaks into the fibers and is locked inside once the fabric cools. Most of the time the design is printed on transfer paper first and pressed onto the fabric. Direct printing skips the paper: the dye goes straight onto the fabric, and heat afterward turns it into a gas inside the fibers. So direct printing is sublimation by another route.
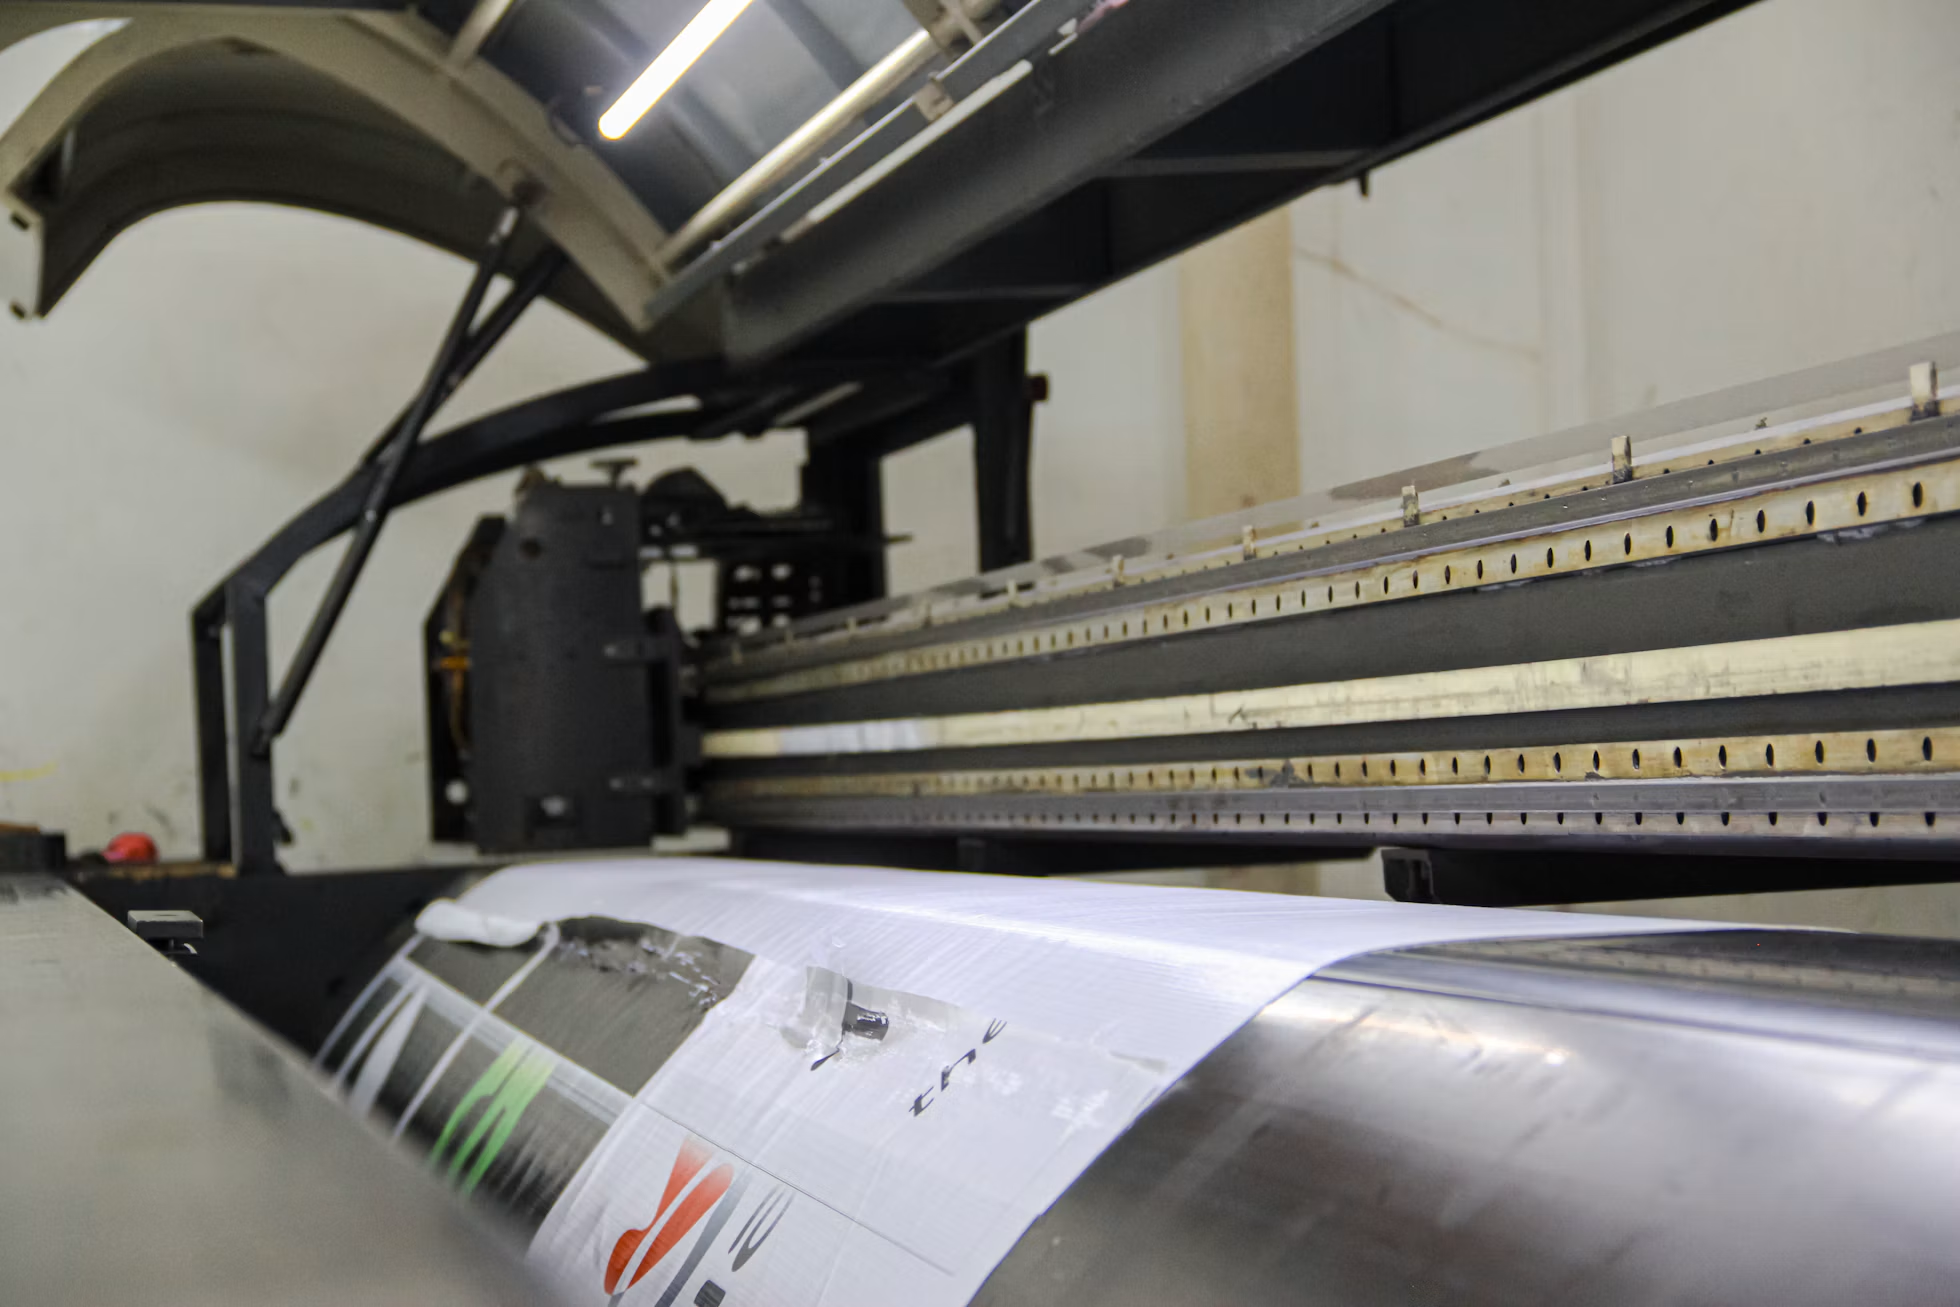
How sublimation printing works
Sublimation starts in an inkjet printer loaded with disperse dye ink. Textile mills have long used disperse dyes on polyester yarn, and sublimation ink is made from the ones that turn from solid straight into gas when heated. The printer puts your design on coated transfer paper in mirror image. It comes out the right way round once the paper is laid face down on the fabric.
The dye turns into gas inside the heat press while the polyester fibers soften and open slightly. The fibers close again as the fabric cools and trap the dye. The right temperature and pressing time differ from one fabric to the next. Factories test-press a new fabric before production for that reason.
Sublimation can be pressed onto a garment that is already sewn, or printed onto fabric that has not been cut yet. Factories that make all-over clothing for retail often print whole rolls before anything is cut. The paper and fabric travel together around the large heated drum of a calender before the printed roll goes to cutting and sewing.
Direct printing pushes the dye deeper into the yarn than a transfer does. That helps on scarves and flags, where people see both sides of the fabric, but fine lines and small text come out softer than they would from paper. Transfer printing is the safer request for a design with a crisp logo or small lettering.
Sublimation printing vs. screen printing, DTG and DTF
| Sublimation | Screen printing | DTG | DTF | |
|---|---|---|---|---|
| How the color gets on | Dye enters the fiber as a gas | Ink pushed through a stencil screen | Inkjet sprays water-based ink onto the garment | Printed film bonded on with adhesive powder and heat |
| Fabric | Polyester, or blends with at least 65% polyester | Cotton, polyester, blends | Cotton and high-cotton blends | Most fabrics, including cotton and polyester |
| Garment color | Light colors only | Any; dark garments need white ink underneath | Any; dark garments need a primer and white ink | Any; white is printed into the film |
| Feel | Like the bare fabric | Ink layer on top | Soft on light garments, heavier over white ink | A thin film of ink and adhesive |
Screen printing makes you pay for each screen before the first shirt is printed. A bigger order spreads that charge more thinly. Pressed sublimation, DTG and DTF have no screens to pay for. Their price per shirt barely changes between a dozen pieces and a few hundred. Cut-and-sew sublimation is closer to screen printing in this respect. Its sampling and testing are one-off costs that weigh more on 100 shirts than on 1,000.
Fabrics for sublimation printing
| Fabric | Typical use | What to know |
|---|---|---|
| 100% polyester jersey | T-shirts | Strongest color on a smooth, flat face |
| Polyester interlock | Team jerseys | Double knit with little stretch that holds its shape |
| Polyester mesh | Sportswear | Open holes add ventilation but snag more easily than interlock |
| Polyester piqué | Baseball and polo-style shirts | Textured face can break up fine detail; test the print first |
| Polyester-spandex, 85/15 | Stretch activewear | Slightly duller color, and the image can distort as the fabric stretches |
| Recycled polyester | Any of the above | Tolerates less heat; sheen can change under the press |
| Blends under 65% polyester | Casual blends | Muted color that fades with washing |
| Coated polyester | Rain shells | The coating can stop the dye from reaching the fiber |
Cotton is the reason blends fall short. Heat does not open cotton fibers the way it opens polyester. Dye that lands on cotton therefore sits on the surface until washing takes it away.
Color limits
Sublimation dye is see-through, and no white sublimation ink exists for printing over a colored shirt. Whatever color the fabric is will show through the print. Yellow printed on a pale pink shirt comes out orange, for example. This is why sublimation is done on white or very pale garments. Any white in your artwork is left as bare fabric.
Neon colors lie outside what standard sublimation inks can reproduce. They print dull unless the shop has fluorescent inks loaded.
When a knit stretches, its loops open far enough to show undyed fiber from deep inside the yarn. Those show up on a dark print as fine pale lines. Rib collars show them first. A collar stretches more than any other part of a T-shirt each time someone pulls the shirt over their head.
Durability
Lab wash tests published in 2021 gave transfer-printed polyester 4/5 for both fading and staining. A 5 on the gray scale labs use for these grades means no visible change. That puts 4/5 half a step short of perfect.
Labs test sunlight resistance by exposing a sample to a xenon lamp and grading the color change on that gray scale. Retailers often ask for grade 4 after 40 hours of exposure under AATCC TM16.3.
Heat after printing does more harm to a sublimated shirt than washing does. Above 138 °C (280 °F) the dye starts moving again and stains whatever touches the fabric. That movement is called dye migration. It is why a heat-applied neck label or vinyl lettering pressed onto a sublimated shirt can come out tinted. Sewing the label in avoids the problem entirely. If you prefer a heat-applied label, ask the label supplier for a material made to block dye migration and for lab results showing that it does.
An ordinary iron reaches 200 °C (392 °F) on its cotton setting. Your customers could set off dye migration at home with it. Your care label should therefore show the one-dot iron symbol, which limits ironing to 110 °C (230 °F), and list a cold wash and low tumble drying.
Ordering a left-chest print
A small logo on the left chest, pressed onto a shirt that is already sewn, makes up most sublimation work. Many shops that press stock blank shirts for these jobs take orders as small as one shirt.
Choose a 100% polyester blank in white or a pale color. Left-chest logos measure 6 to 13 cm (2.5 to 5 in) across and sit 8 to 10 cm (3 to 4 in) below the collar.
Send the artwork as an sRGB PNG with a transparent background, at 300 dpi at its printed size. Because sublimation leaves white unprinted, a JPG on a white background looks harmless. But JPG compression scatters faint off-white specks around the edges of a logo. Those specks print as a pale haze. If the background is even slightly off-white, it prints as a tinted box. Send the file the right way round; the shop does the mirroring.
Most of what you pay per shirt goes to the blank and the press time. Ink and transfer paper for a 10 × 10 cm (4 × 4 in) logo came to about five cents at 2019 prices. Even a 25 × 30 cm (10 × 12 in) print stayed under 40 cents.
Shops quote 7 to 12 business days of production before the shirts ship.
All-over orders
Pressing an all-over design onto finished blanks works only if the shirt lies completely flat on the press. Even then, the paper cannot reach the fabric folded into the seams. The thin white gaps left there are called smiles. They are easy to live with on a pale pattern. Fashion buyers who hear about them in advance accept them more readily. This route costs less than cut-and-sew and has no minimum.
Printing the fabric before it is cut gets color right into the seams. It costs extra sampling and several more weeks. That trade makes sense when smiles would show badly, as they would on 100 crew-neck tees covered in small teal motifs on a navy ground. A white line would break the navy at every seam of those tees. The logo on them is left as white jersey on the chest.
A printed rib collar on those tees would flash pale lines whenever the shirt went over a head. The collar is therefore solid navy rib that the mill dyes to match.
Artwork for a cut-and-sew order
The factory sends a pattern template with the pieces of the tee laid out size by size. Your designer places the artwork on it at full scale and saves it as an sRGB file of 150 to 300 dpi.
The cutter may stray up to 2.5 cm (1 in) from the line on the template. To keep a stray cut from exposing white fabric, the pattern continues at least 2.5 cm past every cut line; that margin is the bleed. The logo faces the opposite risk. If it sits closer than 2.5 cm to a seam, a stray cut can trim it.
Bleed turns a 74 × 56 cm size L front panel into 79 × 61 cm (31 × 24 in). Your designer's file for that panel should be roughly 4,670 × 3,600 pixels at 150 dpi.
If the factory scales one master file through the size range, the logo grows and shrinks with the pattern. Asking for hand placement at one fixed width keeps the logo consistent from the smallest size to the largest.
Color approval
Buy physical color standards for the navy and the teal from a color service such as Pantone or Archroma before sampling starts. Order a duplicate set for the factory. That way the factory checks samples against swatches identical to yours.
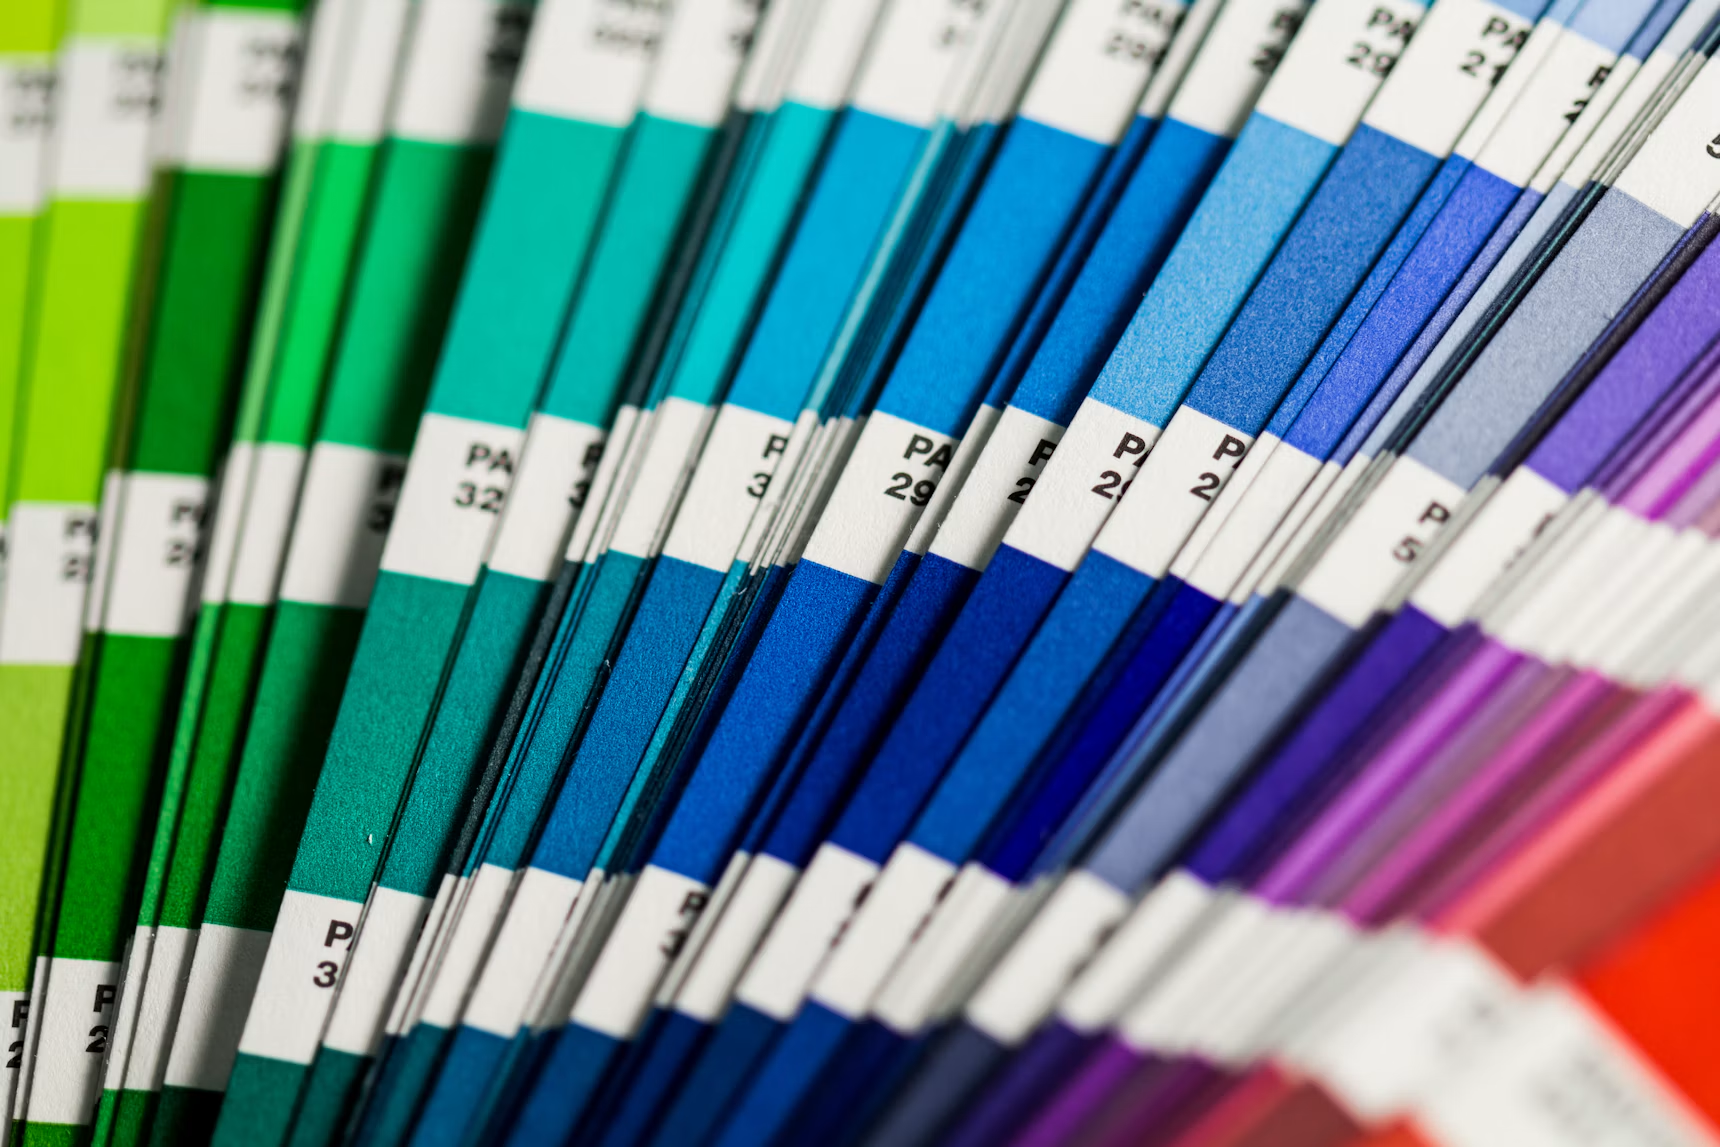
You may first receive a digital mockup or a photo of the printed transfer paper. Neither shows the final color. Blues in particular can look greenish on transfer paper until they are pressed. The teal in this pattern sits close enough to blue that only printed fabric shows its true shade.
The first printed fabric you see is the strike-off. It should be cut from the actual jersey and show one full repeat of the pattern; anything smaller than 15 × 15 cm (6 × 6 in) is too small to judge. The factory should compare it with your standards in a light booth under two lamps: a D65 lamp, which imitates daylight, and one similar to the lighting in your store. When it reaches you, lay it edge to edge with your copy of the swatches and look at them under one light at a time. Mixed light hides small differences.
The mill sends small dyed samples of the rib, known as lab dips, for the collar. Judge them beside the strike-off, since the collar sits right against the printed navy.
The factory sews samples in size M and in the smallest and largest sizes after you approve the strike-off. Check where the logo lands on them and how the pattern lines up at the side seams. To check for pale lines, have someone try on a sample one size smaller than they normally wear. The tighter fit stretches the jersey across the chest the way a snug shirt does in daily wear.
Lab tests for the purchase order
US labs test colorfastness with AATCC methods and grade the results on that 1-to-5 gray scale. Colony Brands, a US catalog retailer, asks its suppliers for 3.0 in the laundering test on ordinary apparel. For color-block items, which put dark and light panels side by side, it asks for 4.5. Any staining on your tees would show first on the white logo inside the navy. That makes color-block grades the right level for your staining tests.
| Test | AATCC method | Grade to write in the PO |
|---|---|---|
| Laundering | TM61 | 4.5 |
| Crocking (color rubbing off) | TM8 | 4.0 dry, 3.5 wet |
| Dye transfer in storage | TM163 | 4.5 |
| Lightfastness | TM16.3, 40 hours | 4.0 |
A basic test package at a large lab such as SGS or Intertek costs $300 to $700 per style and covers colorfastness and shrinkage. It is worth agreeing before sampling on whether you or the factory pays for it.
Costs beyond the unit price
Cut-and-sew factories count minimums per color, often starting at 50 pieces. An order of 100 tees in a single colorway is well above that. Sampling and testing are paid once, however many tees you make.
Ask for 5% extra printed fabric as a misprint allowance. Panels cut from it come from the bulk print batch and match it. Once that fabric is used up, the factory has to reprint a short size weeks later from a new strike-off. You then approve its navy against the first batch all over again.
Lead time
Two strike-off rounds take 4 to 20 business days while the mill dyes the lab dips in parallel. Sample sewing then takes 5 to 18 business days, after which the lab needs 5 to 10. Bulk production takes 4 to 8 weeks after you approve the samples. The whole order needs 7 to 18 weeks from final artwork to finished tees in cartons.
Sources
- Impressions, "Allover Sublimation on Team Garments"
- Özomay and Özomay, "The Effect of Temperature and Time Variables on Printing Quality in Sublimation Transfer Printing on Nylon and Polyester Fabric," European Journal of Science and Technology, 2021
- GRAPHICS PRO, "Cost Savings of Wide-Format Sublimation Versus Small-Format" (2019)
- GRAPHICS PRO, "A Word on Sublimation and Dye Migration" (2020)
- HQTS, "Colorfastness to Light Test AATCC 16.3"
- Kohl's, Color Review Process & Evaluation Requirements
- Colony Brands, textile testing standards