Raglan Sleeves and the Baseball Tee
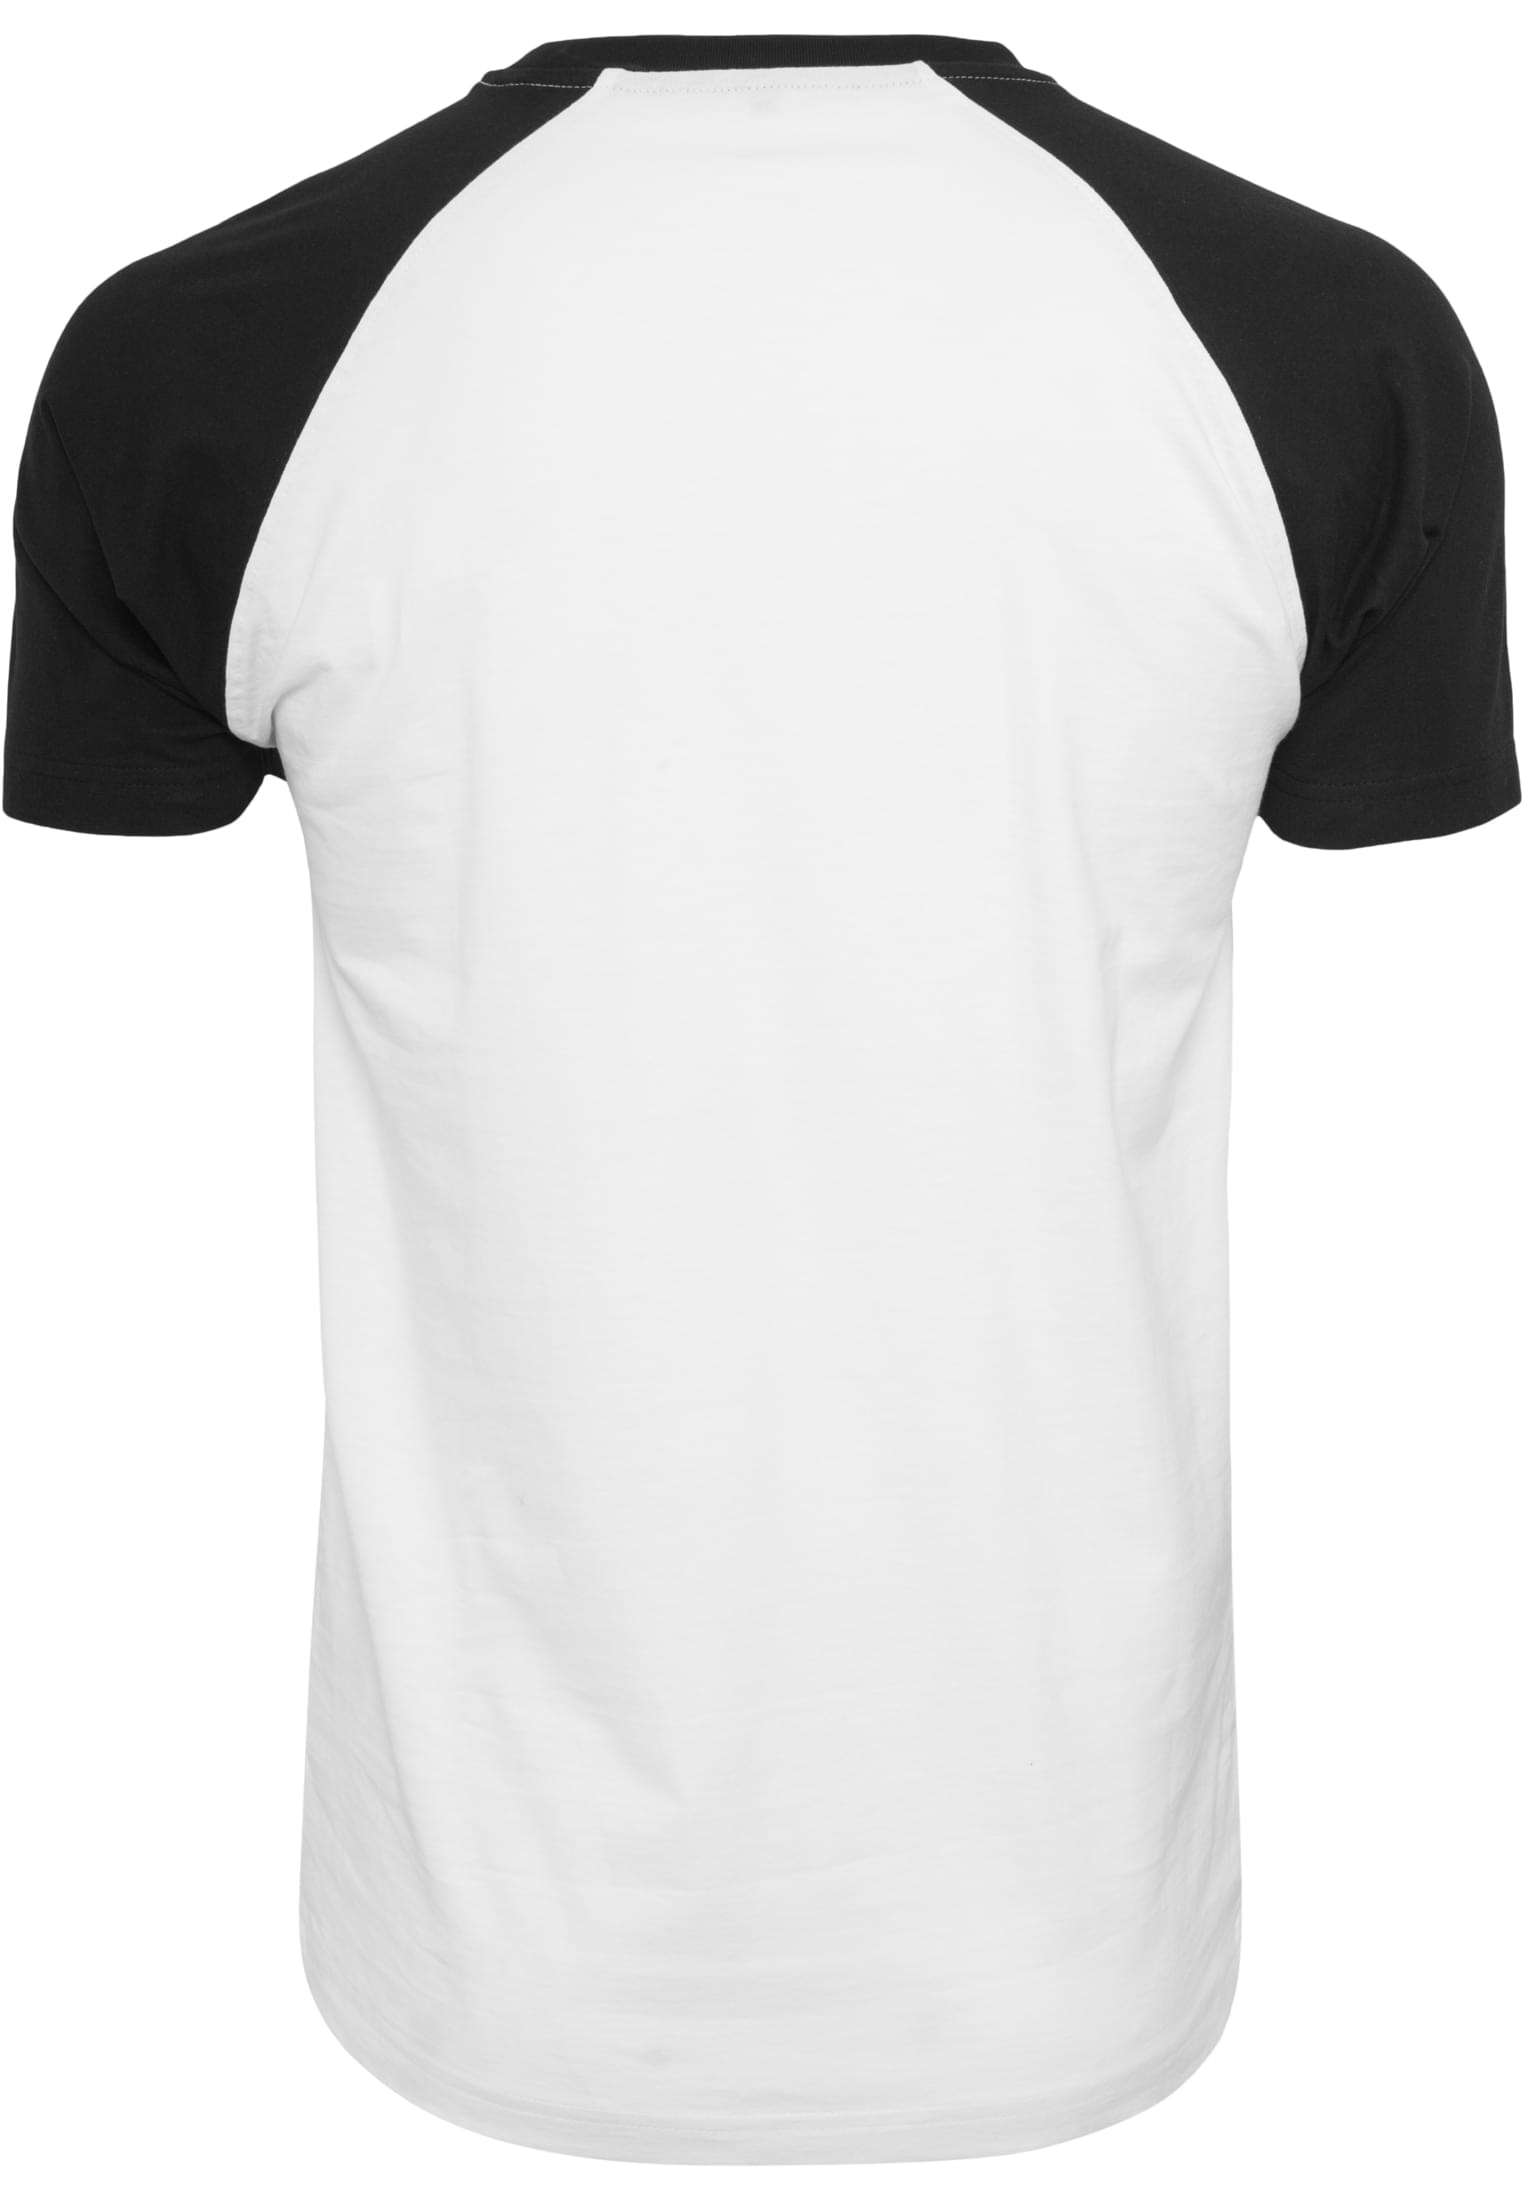
A raglan sleeve extends to the neckline and includes the fabric covering the shoulder. Its front and back edges join the body along diagonal seams that run toward the underarm. On a baseball tee, contrasting sleeve fabric makes these lines easy to see, framing the upper chest and continuing over the shoulders.
The familiar baseball tee is a knitted pullover with a crew neck, contrasting sleeves and, frequently, a three-quarter sleeve length. Designers also use the shape for short-sleeve tops, full-length shirts, cropped styles and Henleys. Sleeve length, body width, neckline and hem shape determine how much of the traditional baseball look remains in the finished garment.
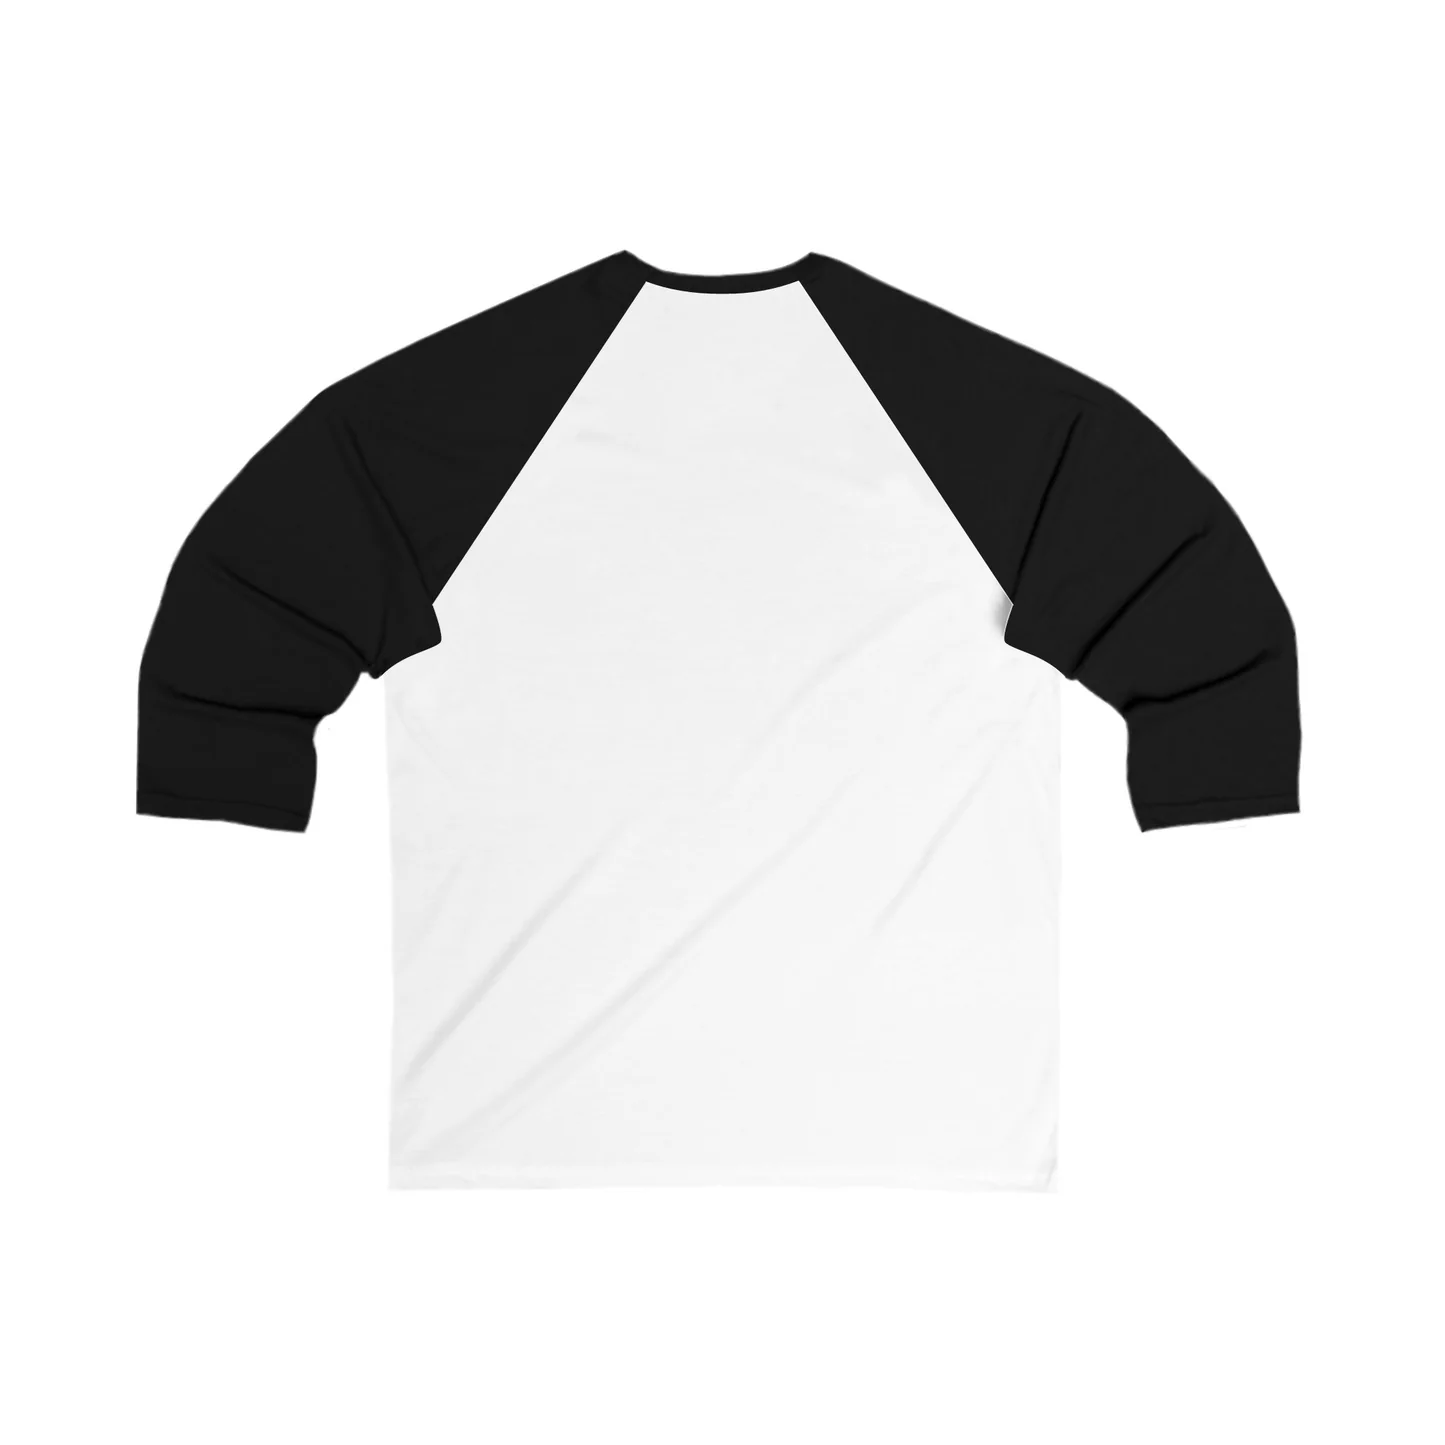
Where the Sleeve Meets the Body
Looking closely at a raglan tee, the sleeve fabric can be followed from its opening all the way to the neckband. Across the front, its joining seam separates the sleeve from the chest panel. Another seam runs over the back toward the underarm. The upper sleeve has to accommodate the shoulder’s slope and volume within this arrangement.
A set-in sleeve attaches around an armhole at the outer edge of the body panel. Extending that body panel beyond the natural shoulder point produces a dropped-shoulder cut, with the sleeve attachment sitting farther down the upper arm. Following the joining line makes these constructions identifiable on a plain, single-color shirt.
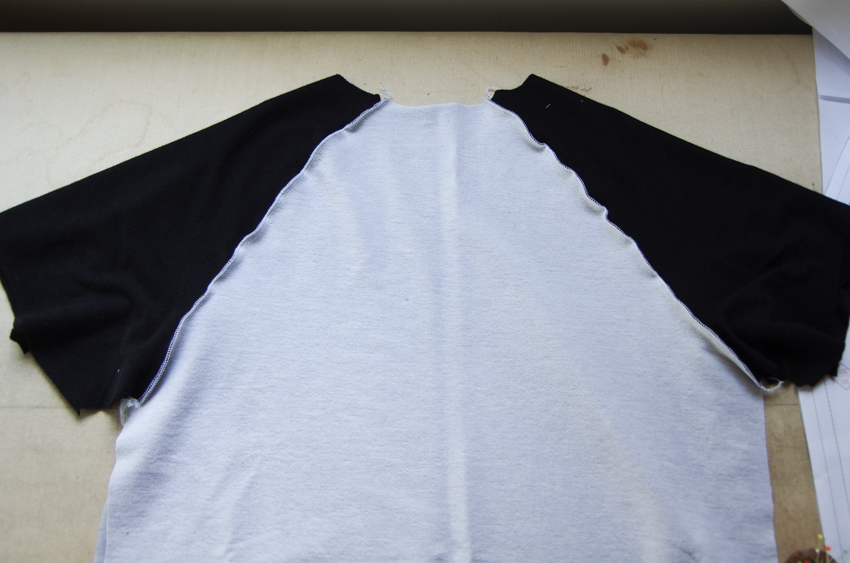
Some raglans have an additional seam running along the top of the shoulder and down the sleeve. The Françoise sewing pattern uses separate front and back sleeve pieces joined in this way. That upper seam provides another place to shape the shoulder and arm, particularly in a garment that needs more defined shaping than a loose jersey T-shirt.
The Baseball Reference
The contrasting sleeves recall the appearance of an undershirt worn beneath a sleeveless baseball uniform. A historical example appears in the National Baseball Hall of Fame’s discussion of Ted Kluszewski’s 1959 Topps card: his black Pirates undershirt is visible beneath the outer uniform vest. A pale-body, dark-sleeve T-shirt echoes that layered appearance in a single garment.
Contemporary sewing patterns and commercial products use the baseball reference with different proportions. Seamwork describes Bowen as inspired by a 1970s baseball T-shirt, giving it full-length raglan sleeves and a short Henley opening. Frankie offers cap, three-quarter and full-length sleeves with a curved, dipped hem. Spiritex produces a short-sleeve baseball raglan with a ribbed crew neck.
The term baseball tee generally refers to this casual pullover family. Uniform-style baseball jerseys commonly have a full-button front, with separate front panels and fastening details running down the center of the garment.
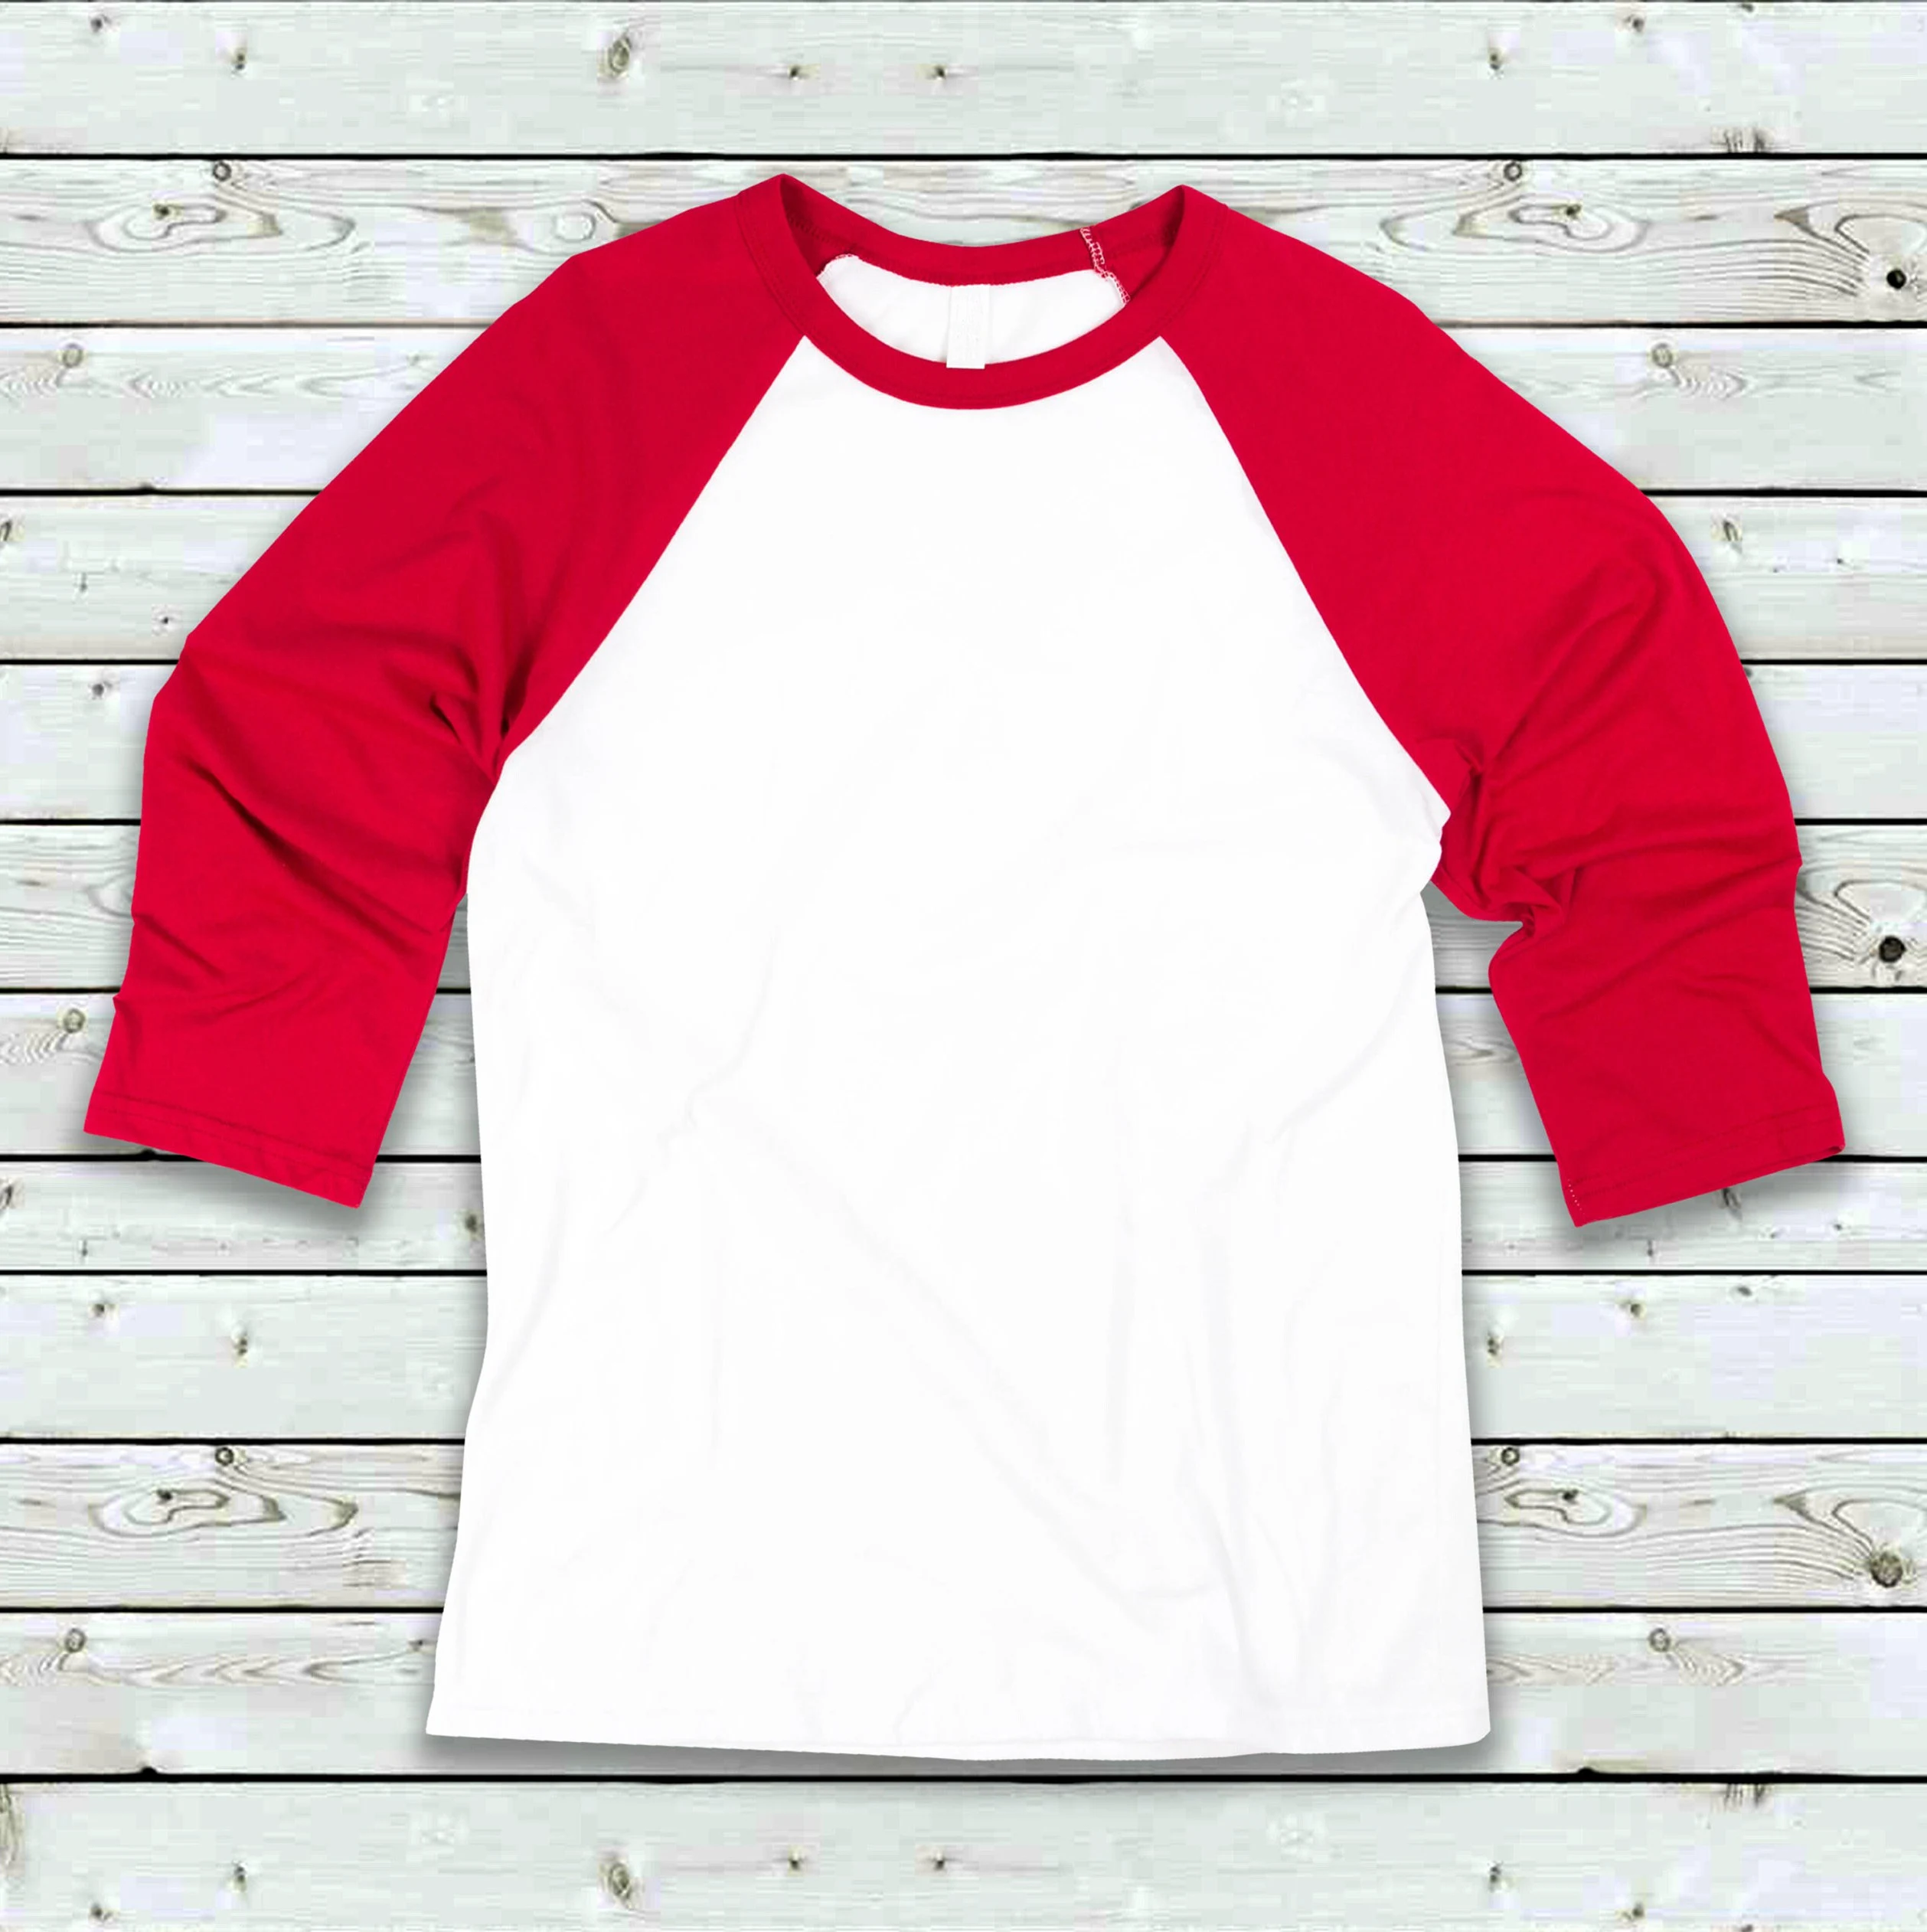
Where a Three-Quarter Sleeve Finishes
A three-quarter sleeve exposes part of the forearm, although its exact position depends on the wearer’s arm length and the garment’s upper-body dimensions. Published sleeve measurements also vary according to where the tape begins.
Sport-Tek measures the T200 sleeve from center back neck, across the shoulder and down to the sleeve hem. Its finished-garment size sheet gives the following measurements:
| Measurement | Small | Medium | Large |
|---|---|---|---|
| Chest width, laid flat | 20½ in | 22 in | 23½ in |
| Back body length | 29 in | 30 in | 31 in |
| Sleeve length from center back | 26¾ in | 27½ in | 28¼ in |
Chest width is taken one inch below the armhole, and back length begins at the high shoulder point. Across these three sizes, chest half-width increases by 1½ inches per size, body length by 1 inch, and center-back sleeve length by ¾ inch. Those increments describe the published sizes of this particular shirt.
Using the medium as a worked sizing example, a 22-inch flat chest gives approximately 44 inches of garment circumference. On a wearer with a 40-inch chest, that leaves about 4 inches of circumferential ease. The amount of room around the upper arm remains a separate part of the fit.
For custom development, the measurement drawing should establish an upper-arm measuring point. One possible convention is 2.5 cm below the underarm junction, with the tape crossing the sleeve perpendicular to its length. Once chosen, that position needs to remain consistent through sampling and production. Sleeve-opening width is measured across the finished hem with the fabric resting naturally.
An underarm-to-hem dimension helps describe how far the sleeve extends below the body. Front and back raglan lengths follow their respective joining lines from neckline to underarm. Vertical armhole depth needs its own measurement between defined horizontal levels. The diagonal seam includes both vertical and horizontal distance.
Fitting Across the Upper Back
The upper sleeve needs room around the shoulder and arm, with its shape following the wearer’s shoulder slope. Back width and armhole depth also affect how the shirt moves. These areas can be adjusted separately during pattern development.
The first fitting is useful with the wearer’s arms resting naturally. Folds that are already present can then be distinguished from those appearing during movement. A sleeve that rotates around the arm at rest deserves attention at its front and back joins, especially if the underside seam has moved away from the intended position.
Reaching forward at chest height brings the upper back under tension. Pulling between the shoulder blades gives a reason to examine the back panel and rear raglan area. Tightness concentrated around the biceps calls for an upper-arm measurement and a closer look at the sleeve fabric’s extension. These observations help locate a trial alteration without adding unnecessary width throughout the shirt.
A small release in a basted sample can show whether additional room at the suspected restriction improves movement. Keeping that alteration localized makes its effect easier to understand. For example, releasing part of the rear raglan join can be assessed before changing the chest width or the entire sleeve.
An overhead reach brings the neckline and hem into the fitting. Observe how far the body rises and whether the front neck presses toward the throat. When the arm is lowered, the sleeve should be examined in its resting position again. Persistent rotation, gathered fabric at the underarm or a neckline that remains displaced gives the patternmaker a specific problem to investigate.
Jersey for the Body and Sleeves
A color-blocked baseball tee can contain a solid body, heathered sleeves and a ribbed neckband. These components may come from separate fabric ranges, with different compositions and recovery characteristics.
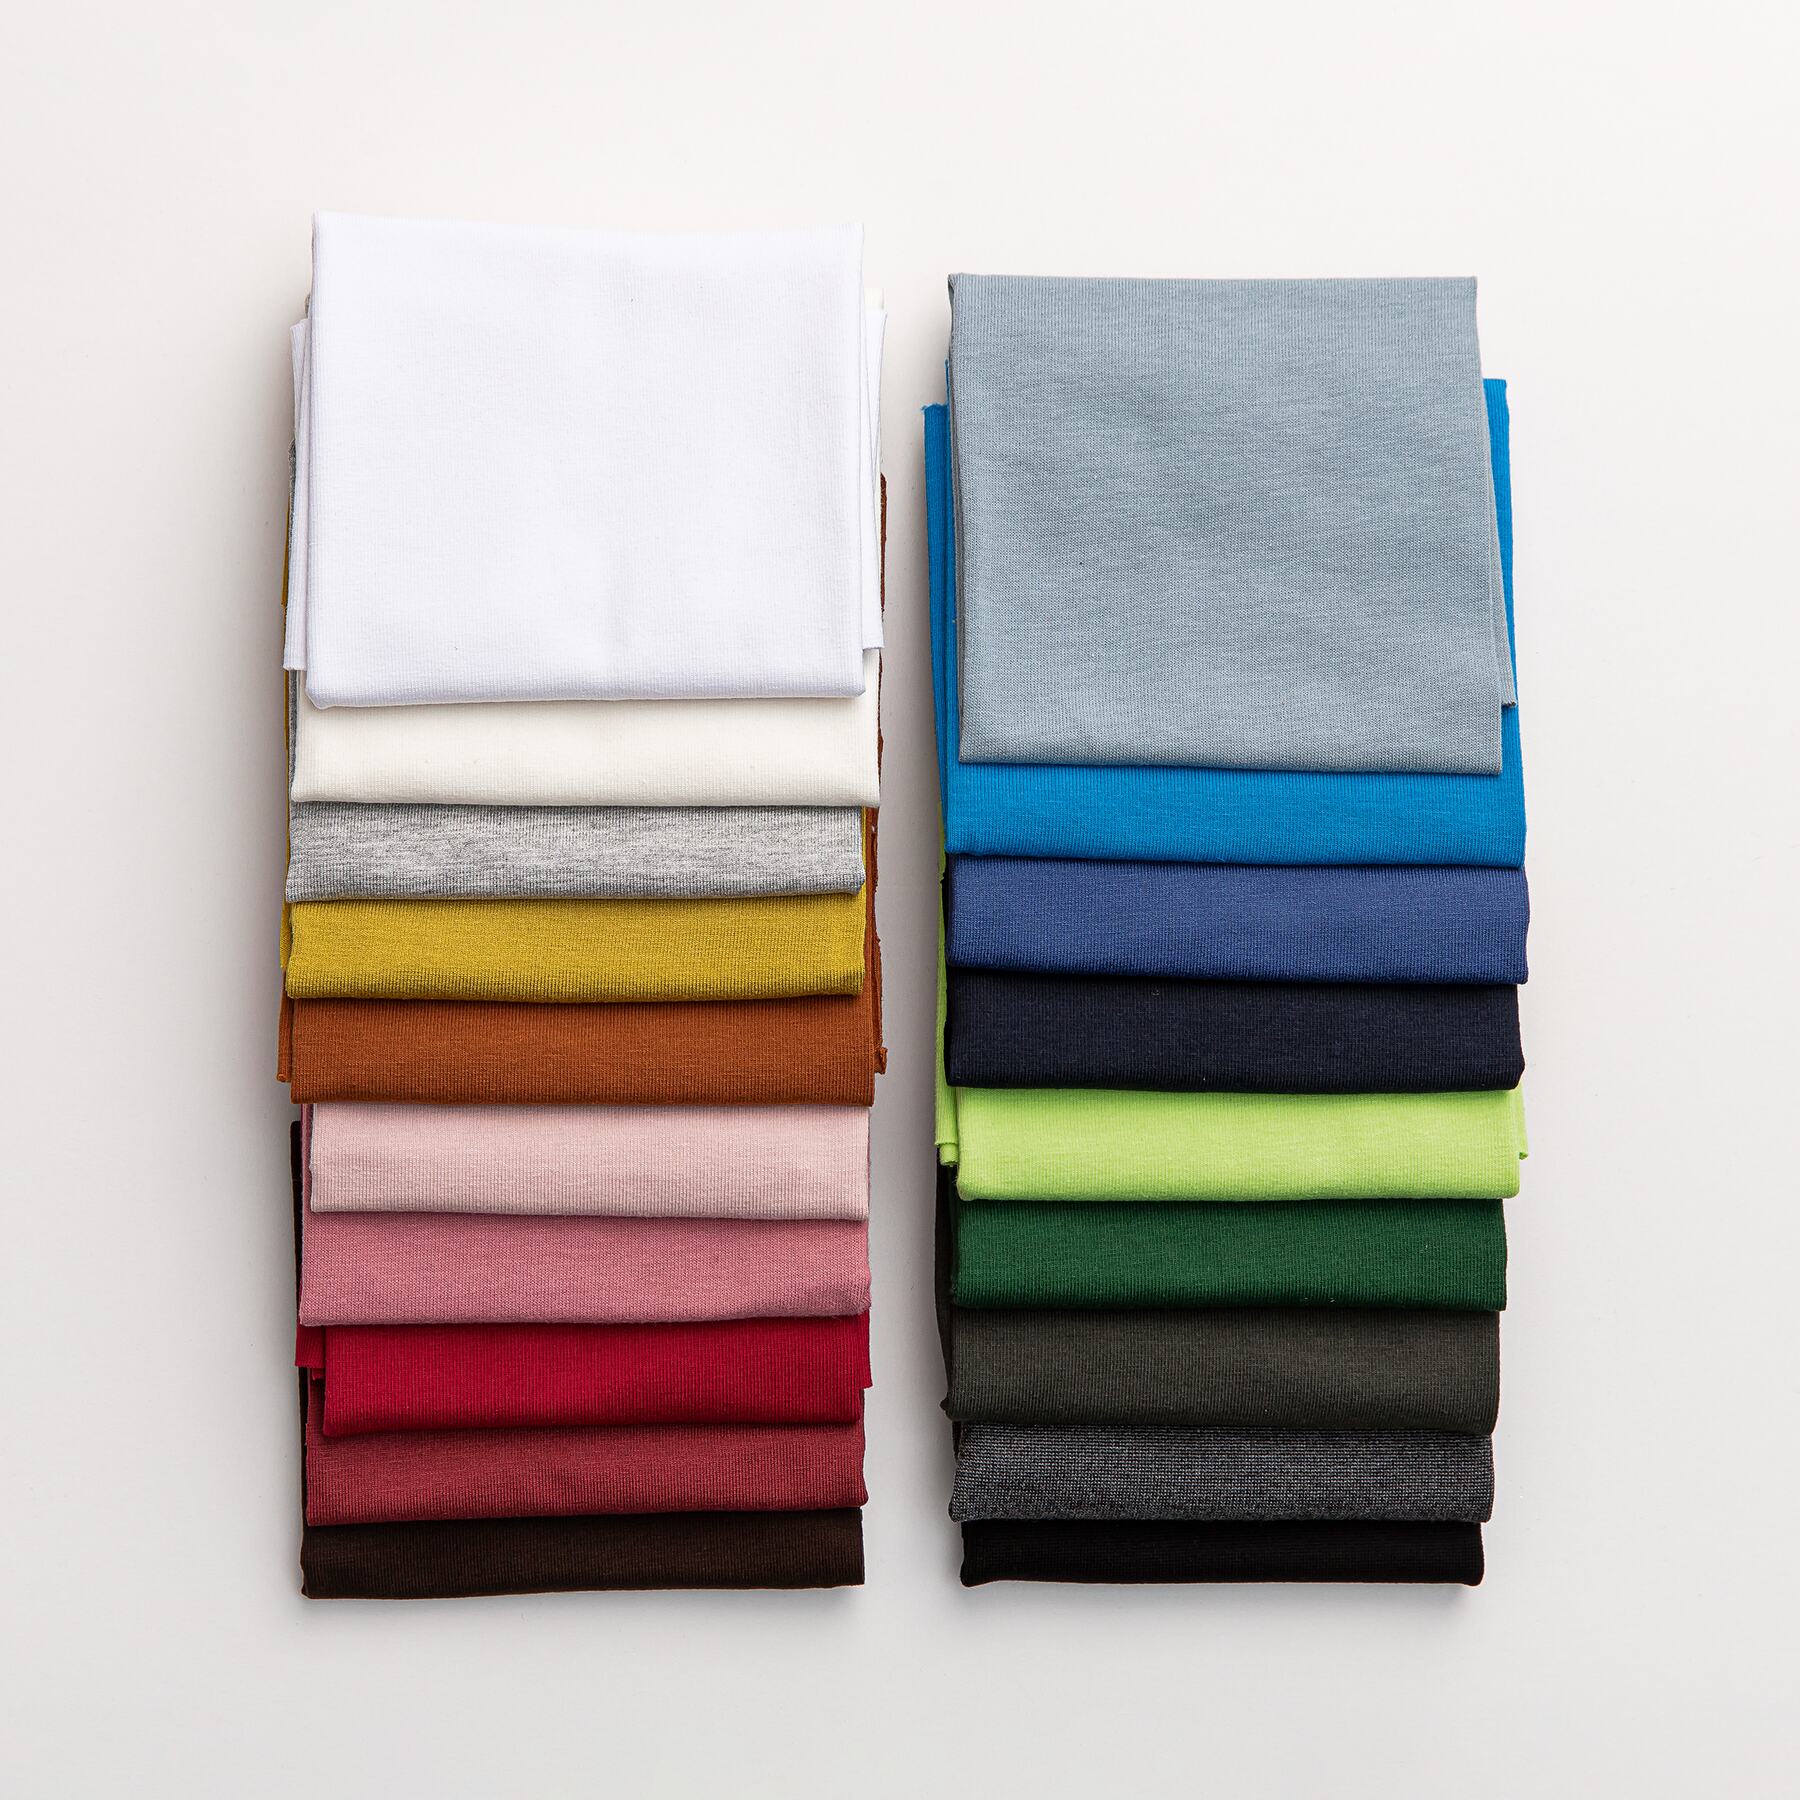
Published baseball tees provide several material references:
| Style or color group | Composition | Published yarn information | Fabric weight |
|---|---|---|---|
| BELLA+CANVAS 3200, solid colors | 52% combed ring-spun cotton, 48% polyester | 40 single | 3.6 oz/yd², approximately 122 GSM |
| BELLA+CANVAS 3200, triblend colors | 50% polyester, 25% cotton, 25% rayon | 40 single | 3.8 oz/yd², approximately 129 GSM |
| Sport-Tek T200 | Ring-spun combed cotton | Yarn count not stated in the referenced specification | 5.2 oz/yd², approximately 176 GSM |
The GSM figures are rounded conversions of the manufacturers’ published ounce weights. BELLA+CANVAS lists different compositions by color group, making the selected combination important when ordering samples or replacement material.
On a development sheet, the body, sleeves and neckband can each have a material entry covering composition, construction, finished weight and fabric or dye-lot reference. The heathered sleeve should remain identifiable even when its weight is close to that of the solid body.
A sewn trial shows how the chosen fabrics behave along the raglan join. Examine the seam after the panels have relaxed, then after laundering. Differences in component extension, relaxation and dimensional change can produce puckering. A ripple that appears after washing may require a material or finishing adjustment as well as a review of the sewing settings.
Stretch Around the Arm and Neck
Fabric requirements depend on the pattern’s intended fit. Frankie specifies at least 10% crosswise stretch. Bowen recommends a medium-weight knit with at least 25% two-way stretch, and Jalie 3245 calls for 40% stretch across the grain and along the length. These are requirements for the named patterns, whose dimensions were developed around the recommended materials.
At the elbow and sleeve opening, the cloth repeatedly extends and relaxes during wear. The resting measurement after release helps show whether the fabric is likely to remain enlarged.
For a worked calculation, begin with a 10 cm marked section and extend it to 12.5 cm. The increase is 25%. Suppose the section measures 10.2 cm after release and a stated rest period; the remaining growth is 2% of its starting length.
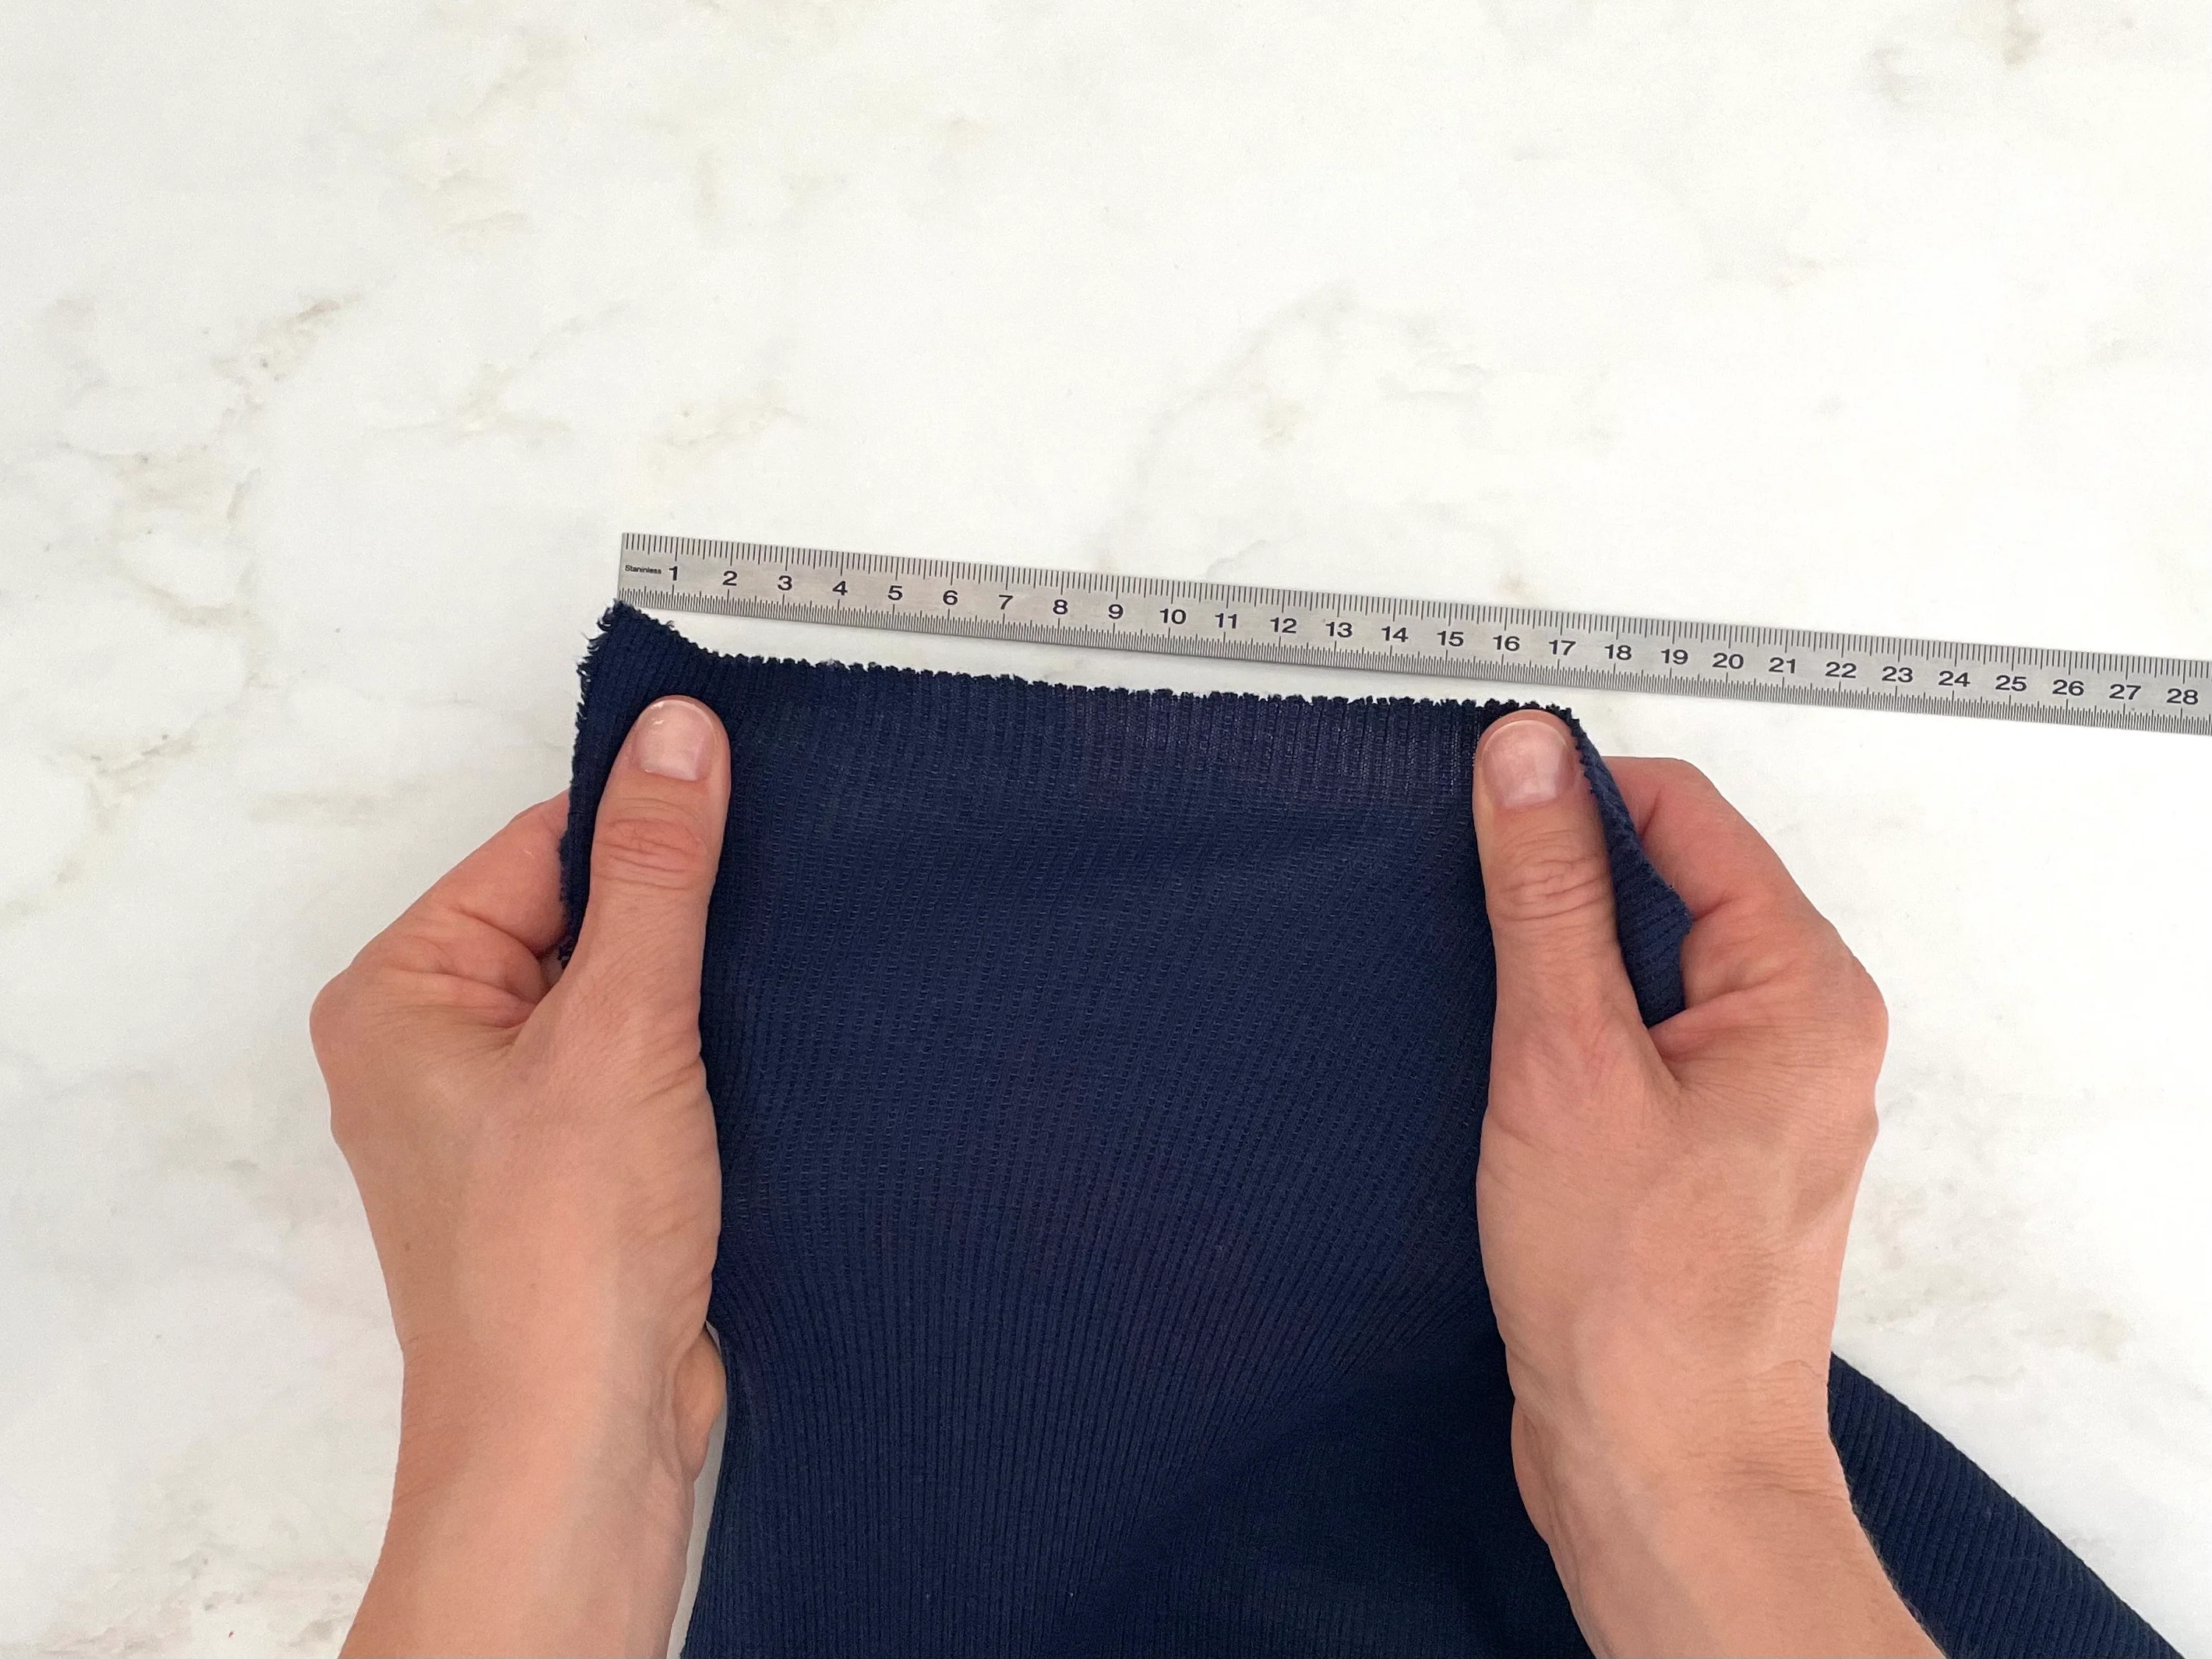
A reproducible test also specifies how that extension was applied. ISO 20932-1 provides strip and loop methods for assessing fabric elasticity and related properties. A report should identify the specimen direction, gauge length, applied force or prescribed extension, holding conditions and recovery interval. The body and sleeve fabrics can then be compared under the same procedure.
The neckband experiences another movement as the garment passes over the head. Its dimensions and recovery need to work with the complete neckline, including the portions formed by the sleeve tops.
Making the Neckband Fit
A raglan neckline runs across the front body, both sleeve tops and the back body. To measure it on the pattern, bring the pieces together along their stitching lines and exclude the joining seam allowances. The resulting curve represents the opening to which the band will be attached.
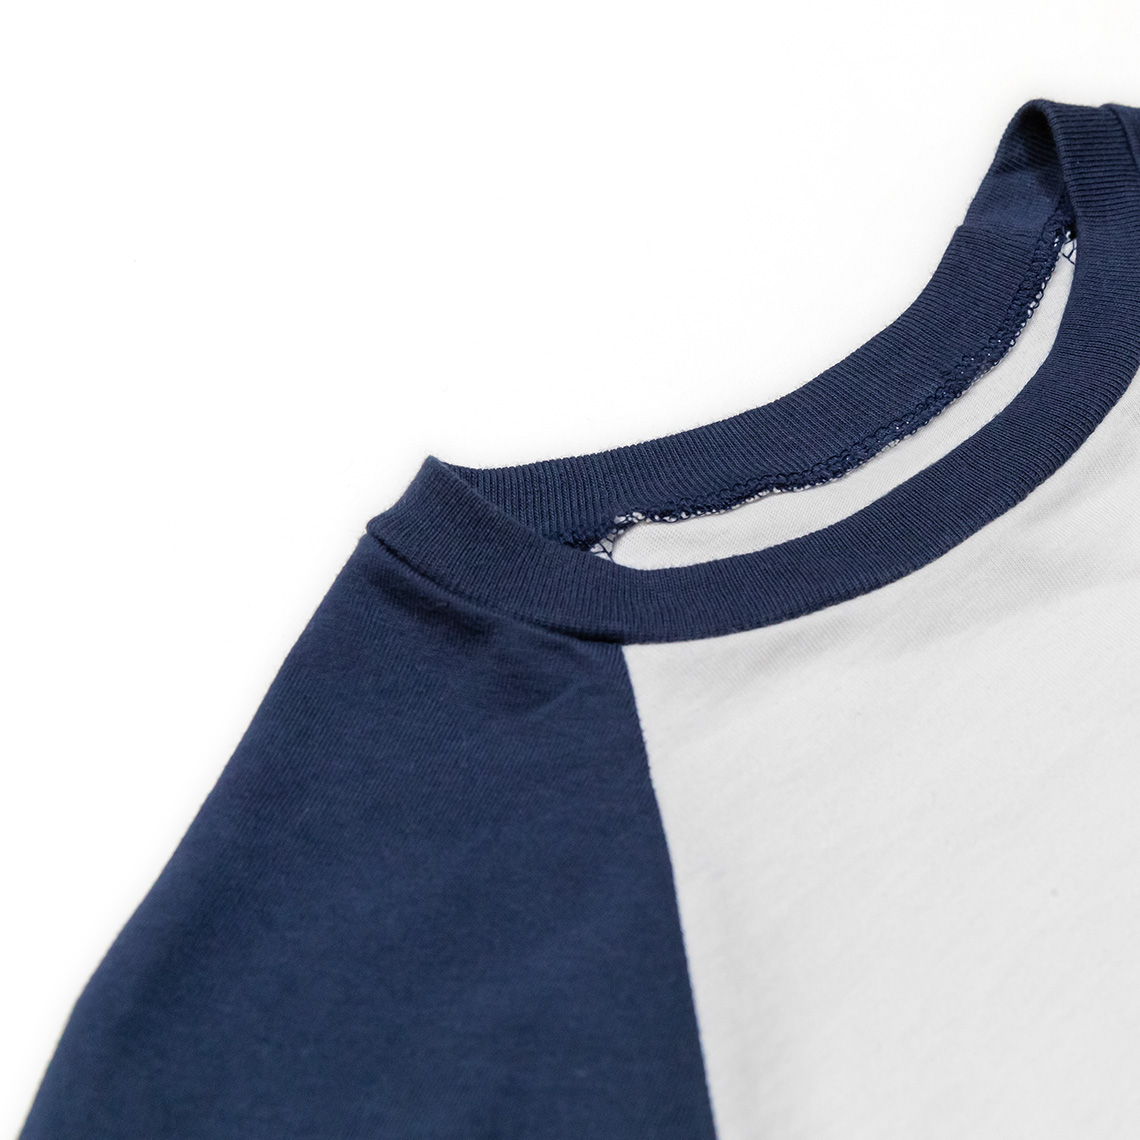
One published raglan-neckline alteration method uses a 15% reduction from the measured neckline for its neckband calculation, followed by the appropriate joining allowance.
The following worked example uses a 60 cm neckline, a trial band ratio of 0.85, and 1 cm seam allowance at each short end:
Full neckband cutting length = 60 × 0.85 + 1 + 1 = 53 cm
After the short ends are joined, the band has a resting circumference of 51 cm. Fitting it around the 60 cm neckline requires an additional 9 cm:
Attachment extension = 9 ÷ 51 × 100 = approximately 17.6%
The extension is calculated from the band’s 51 cm resting circumference. That explains why the attachment stretch is 17.6% after a cutting calculation that shortened the original neckline measurement by 15%.
For a half-length pattern cut on the fold, the pattern length in this example is 26.5 cm. Unfolding the fabric produces the complete 53 cm cutting length with the two short-end joining allowances included.
Band width is another calculation. For a straightforward band folded lengthwise, cutting width equals twice the intended finished width plus twice the neckline attachment seam allowance. The short-end joining allowance and the neckline attachment allowance should be shown separately because they are used in different operations.
The trial band then needs to be sewn in the selected material. During fitting, the wearer should put the garment on and remove it as well as stand in it. Observe how the opening passes over the head and how the band settles afterward. Its finished width, recovery and the extension available in the attaching seam all contribute to that movement.
At the Underarm Join
A knit raglan can be assembled while the body panels remain open. The sleeve edges join their corresponding front and back body panels first; closing the sleeve undersides and body sides then forms the garment. This leaves the curved raglan joins accessible before the garment becomes a closed tube.
The front and back sleeve edges need to remain identifiable after cutting. Their curves and lengths may differ, and the pattern’s notches establish the intended orientation. Matching the neckline and underarm endpoints alone can leave an intermediate section incorrectly distributed along the body.
At the underarm, several seam allowances come together in a small area. Inspect the inside for an uncaught layer, skipped stitches or a hard stack of fabric. Gentle extension across the join can reveal thread breakage or gaps that are difficult to see while the garment lies flat.
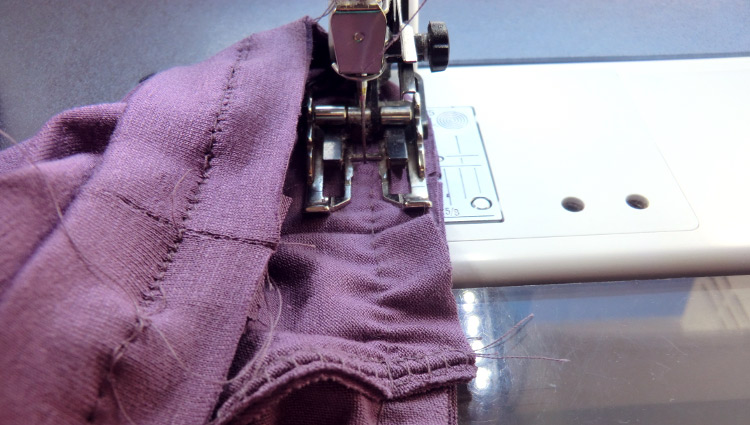
For industrial sample development, a knitted T-shirt sewing configuration can use the following starting points:
| Operation reference | Stitch type | Stitches per 3 cm | Approximate stitch length | Listed needle range |
|---|---|---|---|---|
| Joining seam | 514 four-thread overlock | 14–16 | 1.88–2.14 mm | Nm 70–90 |
| Knitted hem | 406 coverseam | 14–18 | 1.67–2.14 mm | Nm 70–90 |
The stitch-length ranges are arithmetic conversions of the published densities. These settings are useful starting points for trials with the selected jersey and thread.
A 514 stitch forms a four-thread overedge join. The 406 coverseam uses two needle threads and one looper thread, producing the parallel face lines commonly seen on knitted sleeve and bottom hems. Hem depth and the position of those needle lines should be specified alongside the stitch type.
Needle choice includes the point and the machine system. A jersey ball point moves between knitted loops rather than cutting directly through them, reducing the risk of material damage. The needle system must also fit the sewing machine; two needles with the same nominal size may belong to different systems.
Rippling along a raglan seam can begin when the panels are pulled during sewing. As the cloth relaxes, excess fabric gathers beside the stitches. Excessive thread tension and unequal feeding can create similar puckering. A trial using the actual body-and-sleeve combination should be allowed to rest before its surface is judged. This makes it possible to examine feeding, tension and component relaxation before pressing changes the appearance.
The Curve at the Bottom Hem
A curved baseball-tee hem carries additional length through the center front or back and rises toward the sides. Published raglan tees use dipped bottoms and curved tails, making the height of the side seam clearly visible when the shirt is worn untucked.
A custom drawing needs center-front length, center-back length and the hem position at the side seam. The curve connecting those points determines how gradually the fabric rises. Include the finished hem depth so the sewing line can follow the intended outline.
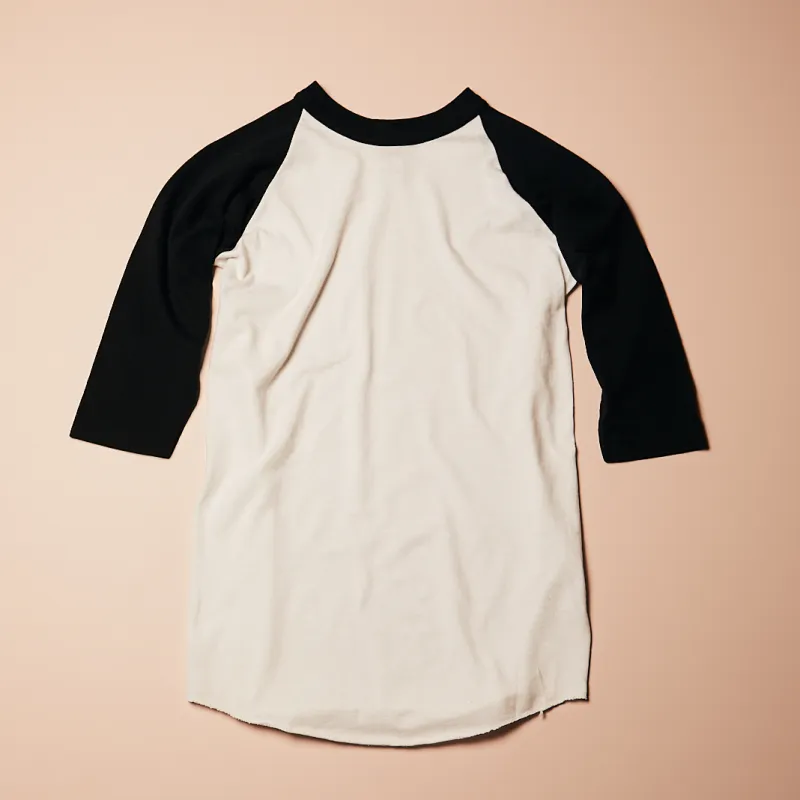
When developing a cropped version, redraw the side transition using the new center lengths. A fitting with the intended trouser rise shows how much waist is exposed at rest and during an overhead reach. The side hem can sit noticeably higher than the center front, particularly when a pronounced curve has been retained from a longer shirt.
A Graphic on the Upper Chest
The body panel narrows toward the neckline between the raglan seams. A graphic positioned high on the chest needs clearance at its upper corners as well as sufficient width farther down.
Sport-Tek publishes a 12-inch-wide by 18-inch-high full-chest decoration area for the T200. Its usable area depends on garment size, decoration method and the equipment used.
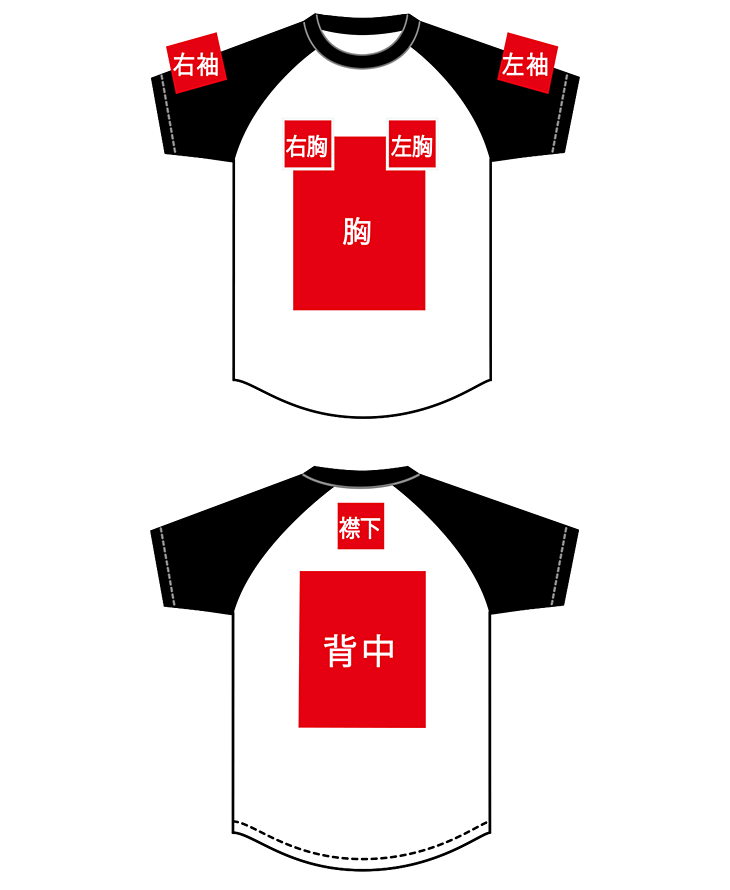
For a development layout, place the intended artwork on the smallest garment in the order. Mark its top and bottom positions and measure from center front to each raglan seam at several heights within the design. The smallest available half-width limits a centered rectangular graphic.
In an illustrative layout, the narrower side provides 15 cm between center front and the raglan seam. With a chosen 1 cm clearance, the centered width becomes:
Artwork width = 2 × (15 − 1) = 28 cm
The decorator needs to assess that selected clearance with the equipment, garment-loading method and placement tolerance being used. Checking the same artwork on the largest size shows how its position and surrounding space change across the range.
Heat transfers also require a suitable pressing surface. Raised seams affect how pressure reaches the area near the raglan join. Platen shape and pressing accessories can help the garment lie flatter around those raised areas. The transfer material’s specified time, temperature and pressure remain part of the application setup.
The placement drawing can show artwork width and height, center alignment and distance below the neckline seam. Any size-specific changes should appear alongside the garment sizes they apply to.
Washing a Complete Two-Color Sample
A finished baseball tee brings the body, sleeves, neckband, thread and decoration into the wash together. Unequal dimensional changes can show up as ripples along the raglan seams, an uneven sleeve opening or distortion around the neck.
Published care information provides one reference for finished garments. A short-sleeve organic-cotton baseball raglan sold by Spiritex carries a warning of approximately 5% garment-length shrinkage with hot machine washing and drying, alongside care instructions recommending cold washing and low-temperature tumble drying. The 5% figure is presented as product-care information rather than a complete published laboratory report.
For development testing, AATCC TM150 addresses dimensional changes in garments after home laundering. AATCC TM135 covers fabric dimensional change. The selected washing program, temperature, drying procedure and number of cycles need to accompany the measurements.
Measure the dry, conditioned garment at fixed reference points before laundering and repeat the measurements after the specified drying and conditioning. Let the sample rest naturally during measurement. Chest width, front and back body length, sleeve length and neck opening should each have their own result, with left and right sleeves retained separately when assessing symmetry.
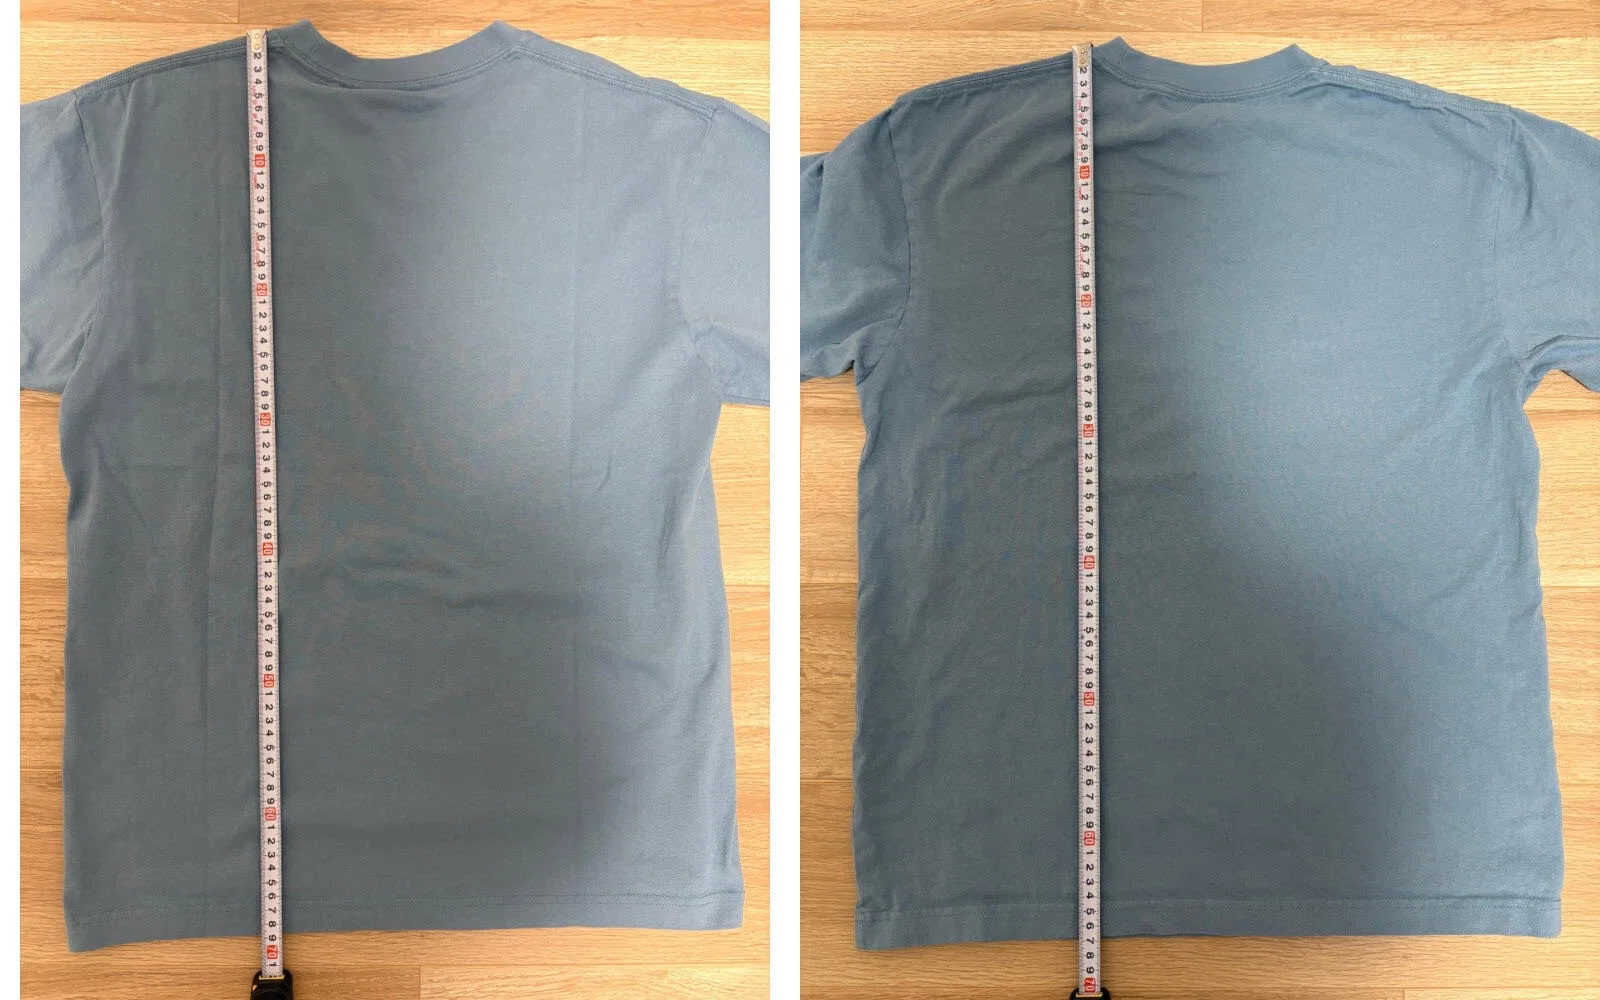
Dimensional change (%) = (after-wash measurement − before-wash measurement) ÷ before-wash measurement × 100
A reduction produces a negative percentage. Growth produces a positive value. The diagonal raglan joins also need visual inspection because their paths cross the fabric’s lengthwise and crosswise directions. Separate straight measurements cannot describe every ripple or twist that appears in the assembled shirt.
After drying, repeat the forward reach and elbow bend used during the original fitting. Observe the sleeve opening’s position on the forearm, the way the neckline settles and any change in the resting sleeve orientation.
Dark Sleeves Against a Pale Body
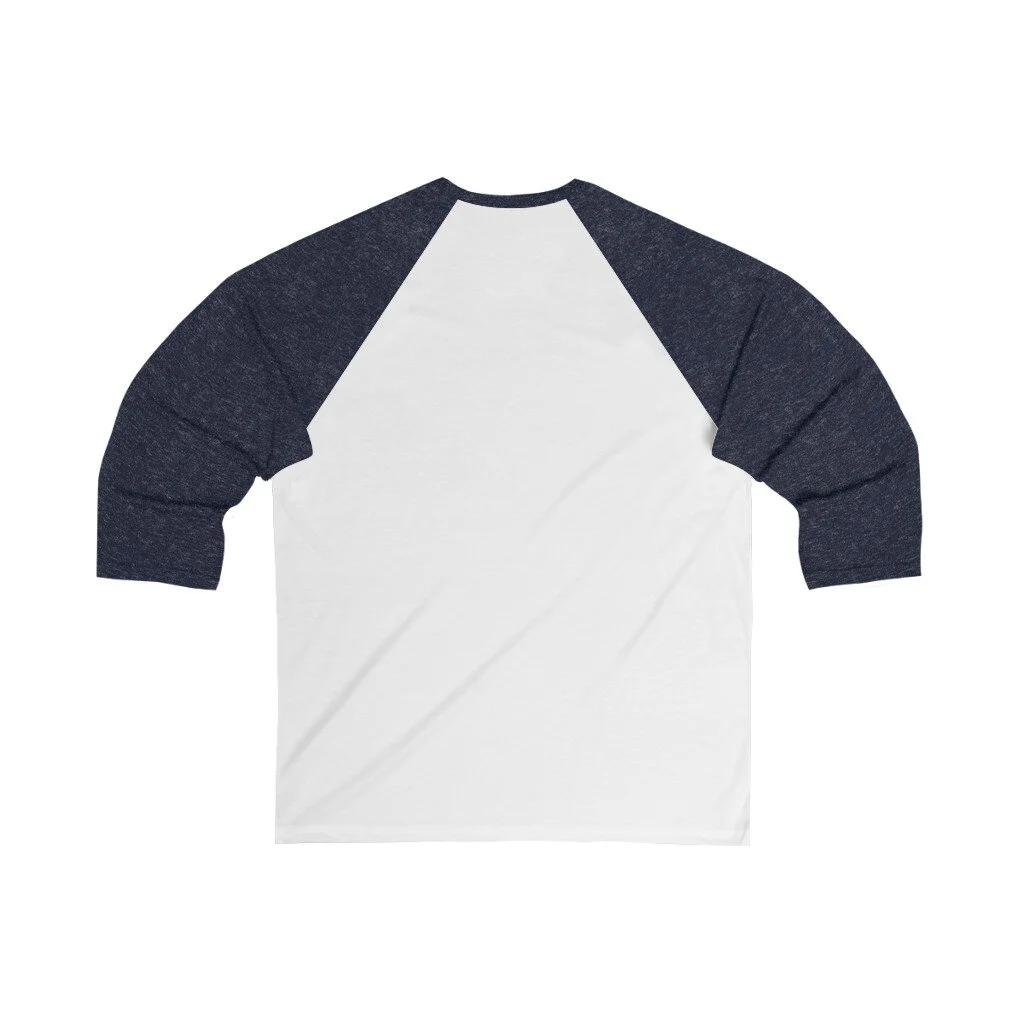
Color assessment needs to include the actual sleeve-and-body combination. On a white-body, navy-sleeve tee, the materials remain in contact along the raglan seams and around parts of the neckline. Retaining a complete sample of each proposed combination makes those areas available for inspection after laundering.
AATCC TM61 evaluates accelerated laundering colorfastness. Its scope includes a 45-minute test that roughly approximates specified color-loss and surface effects from five typical hand or home launderings under the selected conditions. The particular test option and conditions belong on the report.
Rubbing can be assessed with AATCC TM8, which transfers color from the textile surface onto standardized white cloth under controlled dry and wet procedures. Dry and wet results are reported separately. The sewn-sample wash review adds an assessment of transfer onto the actual body fabric, which may respond differently from standardized laboratory cloth.
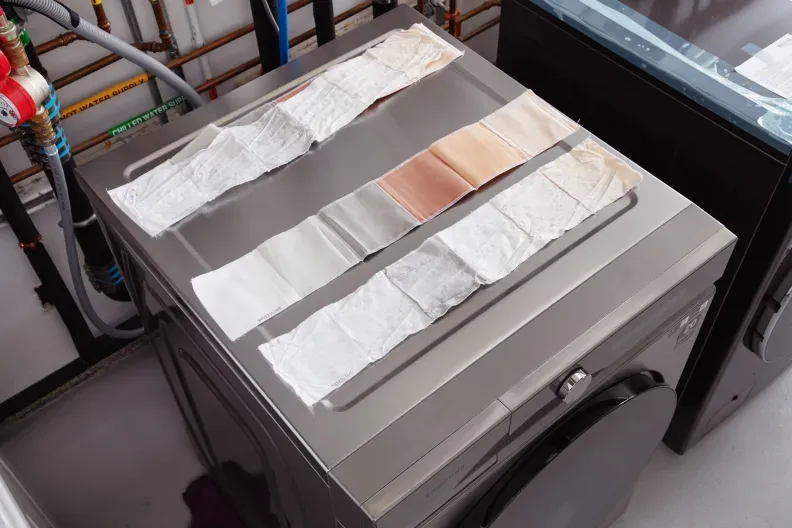
Retain an unwashed sleeve reference for grading any change in the original shade. Dye deposited on the pale body is assessed as staining with the appropriate scale. Separate gray scales are used for color change and staining: Grade 5 represents the unchanged or unstained reference end, with progressively greater visible differences represented by lower grades toward Grade 1.